Wax melts are a fantastic way to enjoy the aroma of candles without needing a flame. If you’ve ever wondered how to make wax melts at home, you’re in the right place!
This fun DIY project allows you to customize scents and colors, creating a personal touch for your living space. Wax melts are also safer than traditional candles, making them perfect for households with kids and pets.
Learning how to make wax melts is easier than you might think. With just a few basic materials like wax, essential oils, and molds, you can create a variety of melts in different shapes and scents.
This craft project is enjoyable and provides a great opportunity to experiment with various fragrance combinations. Whether you prefer calming lavender, invigorating citrus, or seasonal spices, the choice is yours!
Making wax melts at home also offers a cost-effective way to keep your home smelling delightful. Store-bought wax melts can be pricey, especially if you love changing scents often.
By learning how to make wax melts, you can make your own batch that lasts for weeks, if not months. Plus, homemade wax melts make thoughtful gifts for friends and family, showcasing a unique blend of creativity and practicality.
In this guide, we’ll take you through the step-by-step process of how to make your own wax melts that are beautiful and fragrant. You’ll learn everything you need to know, from selecting the right wax and fragrances to using molds for fun shapes.
What You’ll Need
Method
1. Lay down some newspaper or parchment paper to protect your surface from spills.

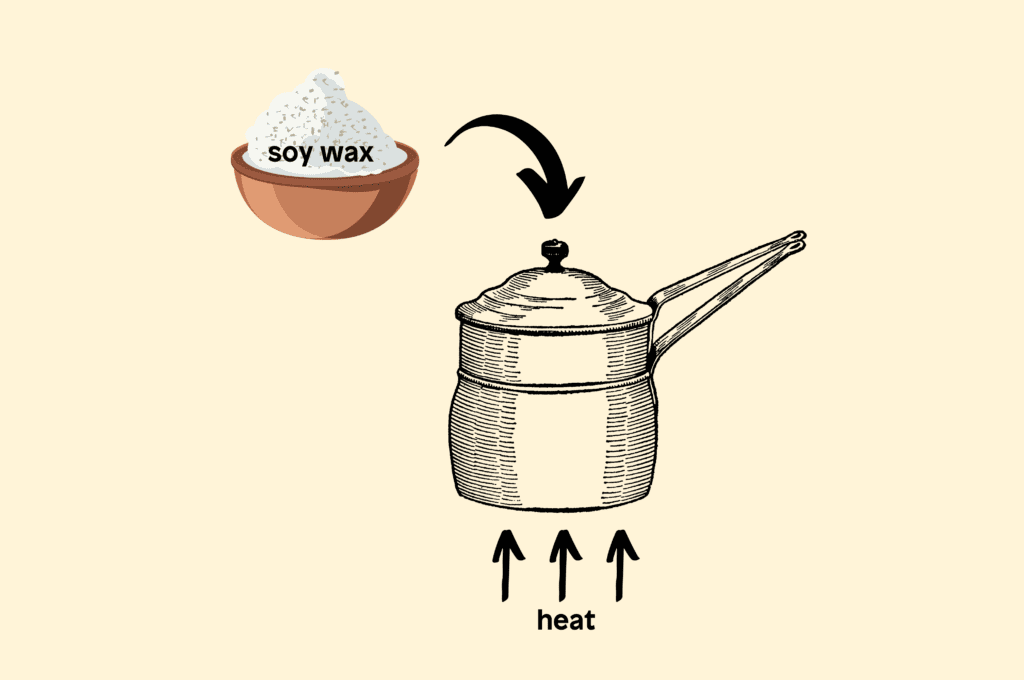
2. Using a double boiler, melt the wax over low to medium heat. If using a microwave, place the wax in a microwave-safe bowl and heat in short bursts, stirring in between, until fully melted.
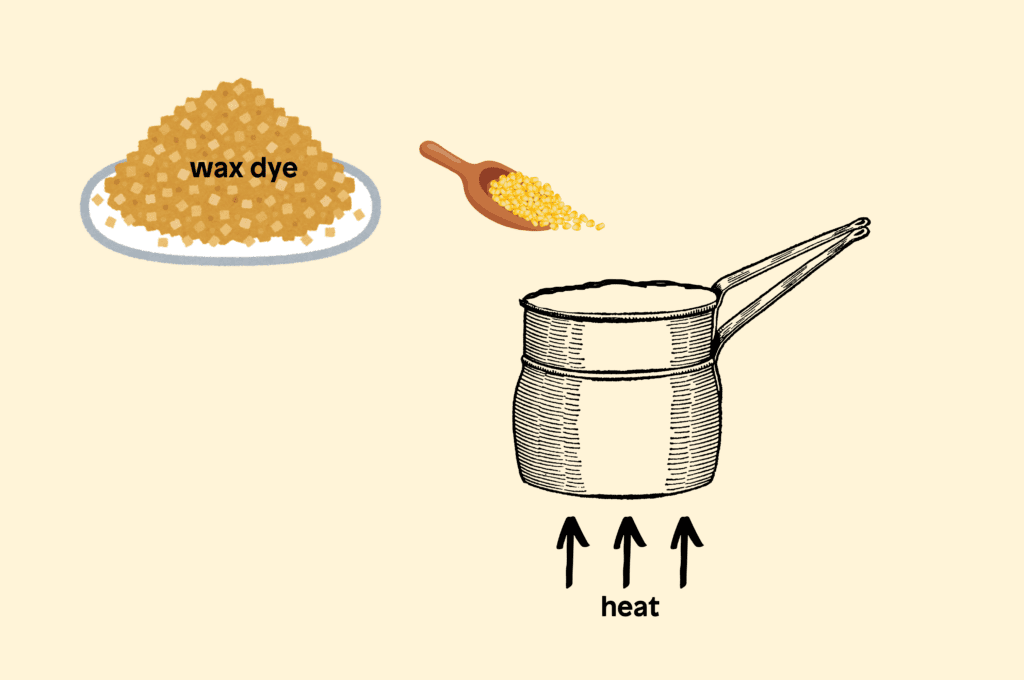
3. If you want colored wax melts, add a small piece of crayon or wax dye to the melted wax and stir until fully dissolved.
4. Once the wax is melted and colored, remove it from the heat. Add your chosen essential or fragrance oils. Use about 1 ounce (30 ml) of oil per pound (0.45 kg) of wax for a strong scent. Stir well to distribute the fragrance evenly.
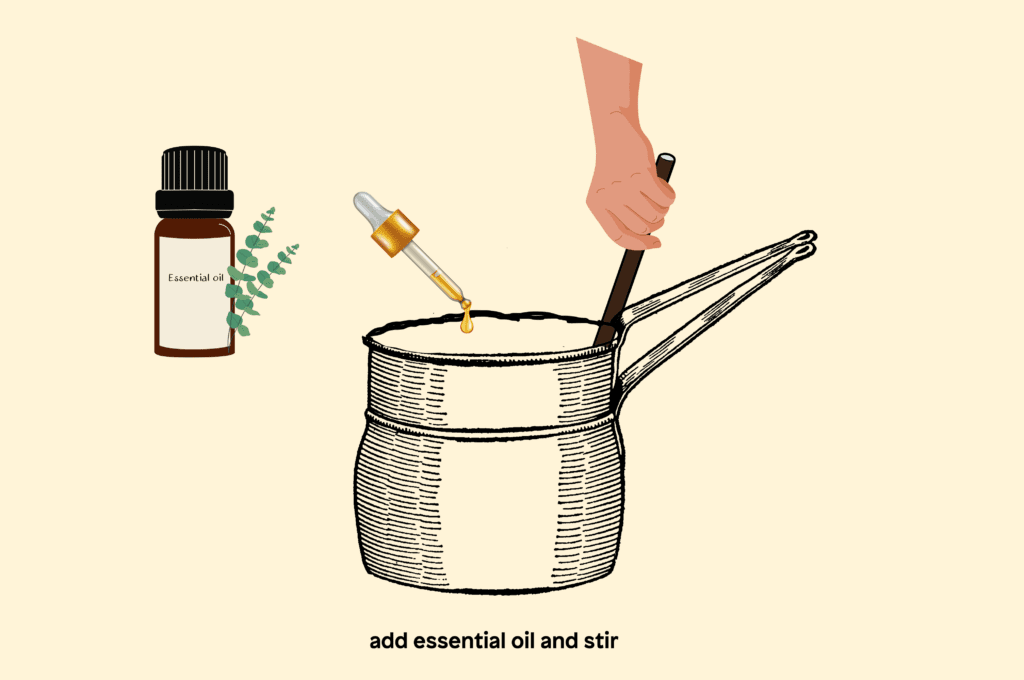
5. Carefully pour the scented wax into your silicone molds. Be sure to fill each mold just below the top to avoid overflow.
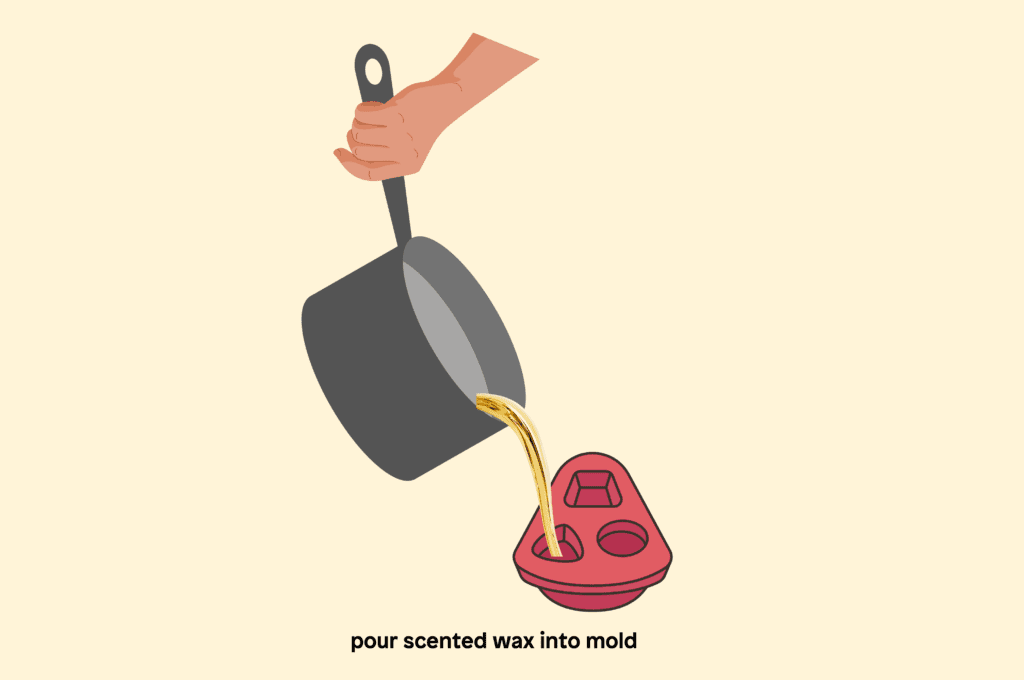
6. Allow the wax to cool and harden in the molds. This can take a few hours, depending on the room temperature and the size of the molds.

7. Once the wax melts are completely solid, gently pop them out of the molds.
8. Store the wax melts in a cool, dry place, or place one in your wax warmer to enjoy your homemade fragrance!


Enjoy creating your own beautiful and aromatic wax melts, perfect for any room in your home! Once you’ve mastered how to make soy wax melts, you might be interested in exploring more DIY projects.
For example, learning how to make resin molds or even creating gingerbread man coloring pages can be great ways to continue your creative journey!


