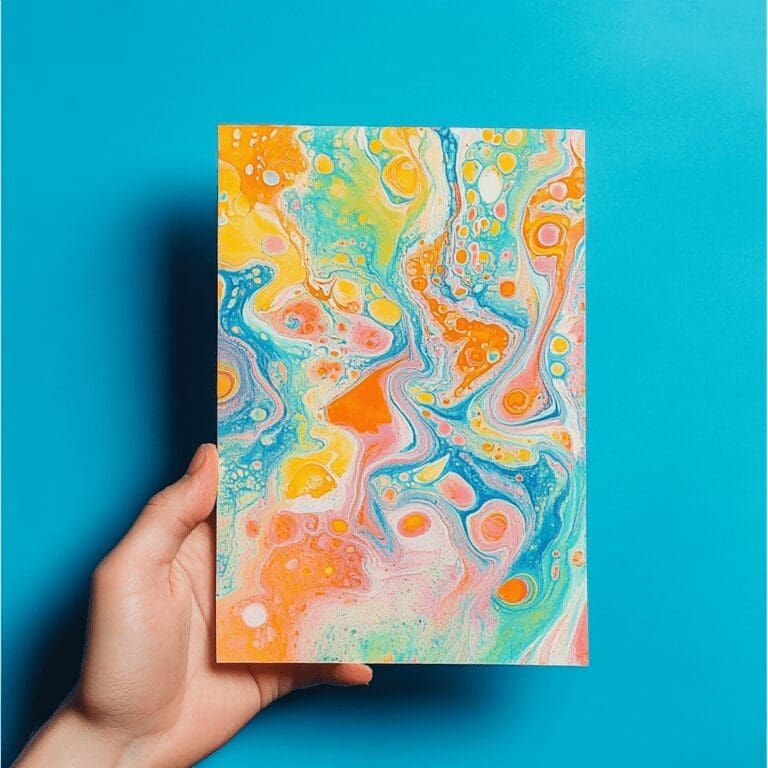
Paper marbling is a mesmerizing and creative craft that turns plain paper into a colorful masterpiece through a fun and simple process. It’s a perfect activity for a cozy afternoon at home and is sure to spark both children’s and adults’ imaginations.
This ancient art form, known as Japanese marbling paper or Suminagashi paper marbling, involves floating paints on water and creating beautiful, swirling patterns. Besides ending up with unique decorative papers that can be used for various art projects, greeting cards, or book covers, the process itself is engaging, providing a great opportunity to learn about color mixing and pattern design.
With the rise in popularity of DIY crafts, many people are exploring paper marbling kits and methods like DIY paper marbling with acrylic paint. Whether you decide to use traditional methods or modern acrylic paper marbling techniques, the results are always stunning.
This craft also teaches patience and attention to detail, as the intricate patterns require a gentle touch. Additionally, learning how to make marbling paper can be a delightful family activity, encouraging creativity and collaboration.
For those interested in diving deeper, explore water marbling paper techniques for even more ways to create diverse and striking designs. So, gather your materials, whether you’re using a paper marbling kit or experimenting with your own supplies, and enjoy the artistic journey.
What You’ll Need
- A shallow baking pan or tray
- Room temperature water
- Drying rack or newspaper
Method
1. Begin by preparing your paper. If you’re using alum, mix it with water as per the instructions on the package.
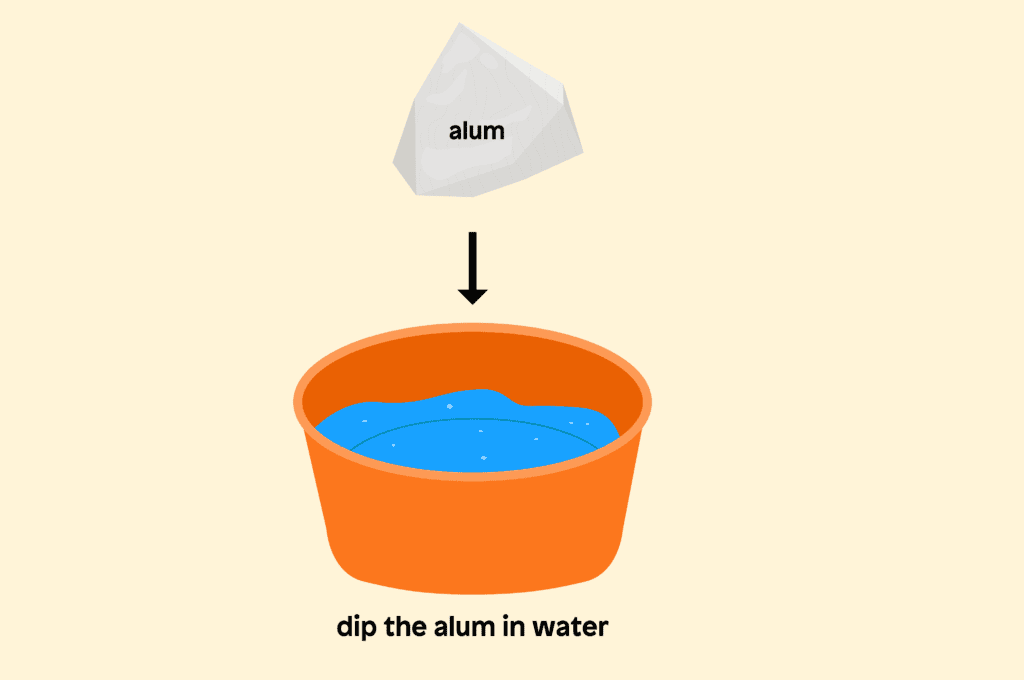
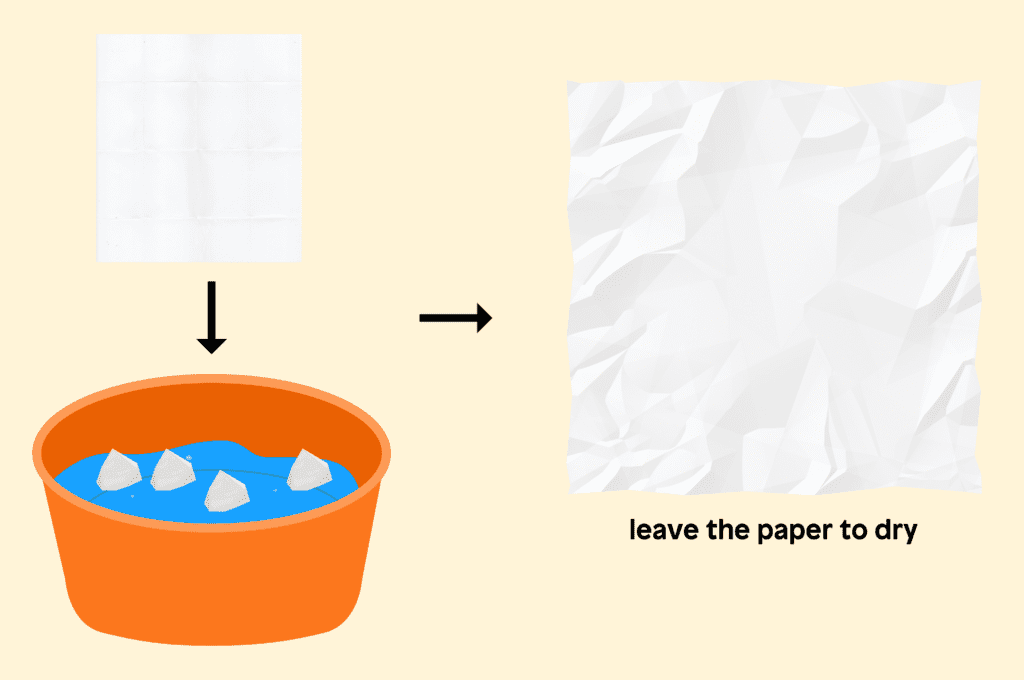
2. Soak your paper in the solution. Then, allow the paper to dry completely. This step helps the paint to adhere better to the paper.
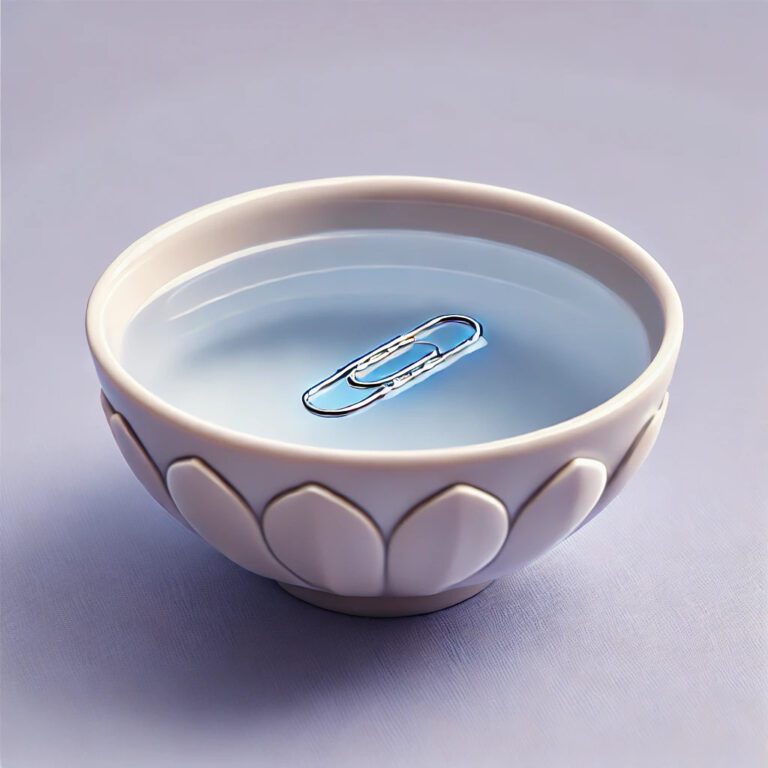
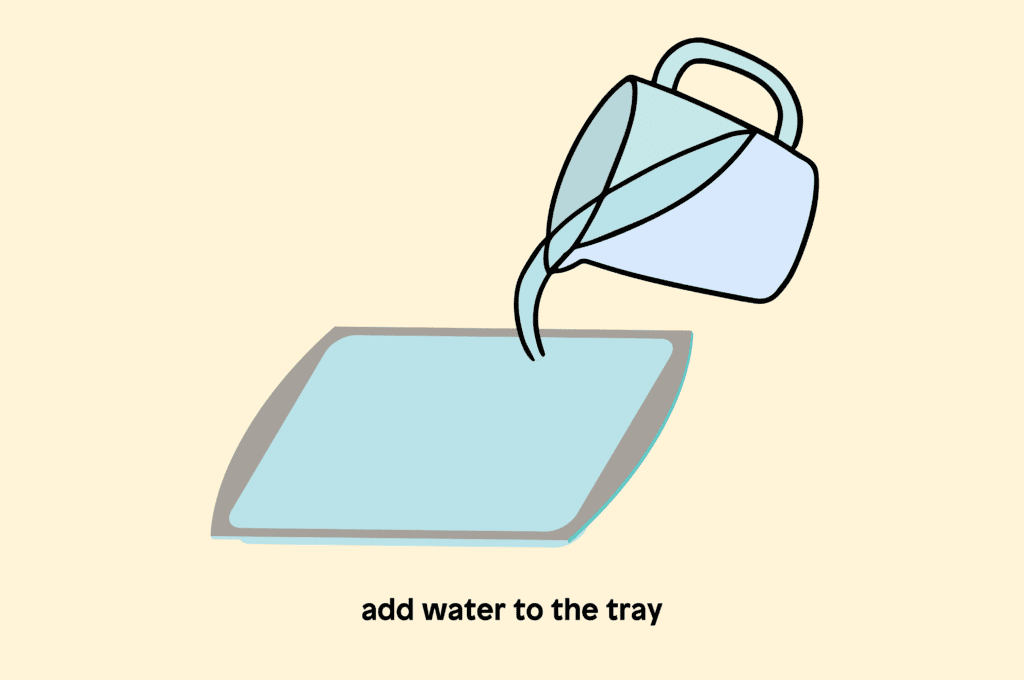
3. Next, fill your shallow pan or tray with room-temperature water. The water should be deep enough to completely submerge a sheet of paper.
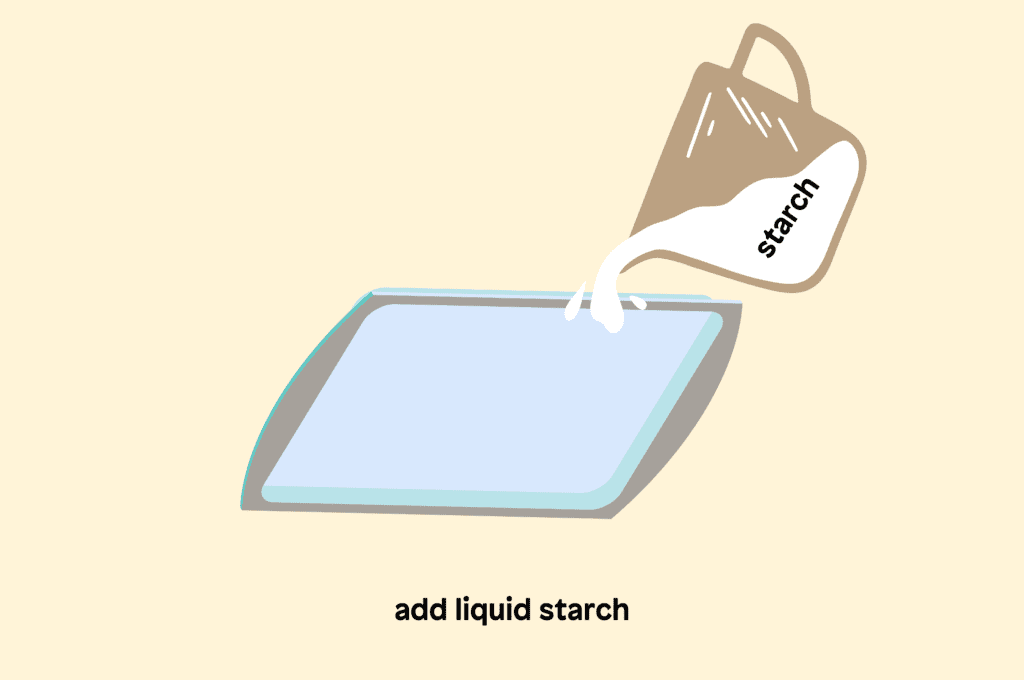
4. Slowly pour liquid starch or carrageenan into the water, as it will help the paint float on the surface. Stir gently until well mixed.
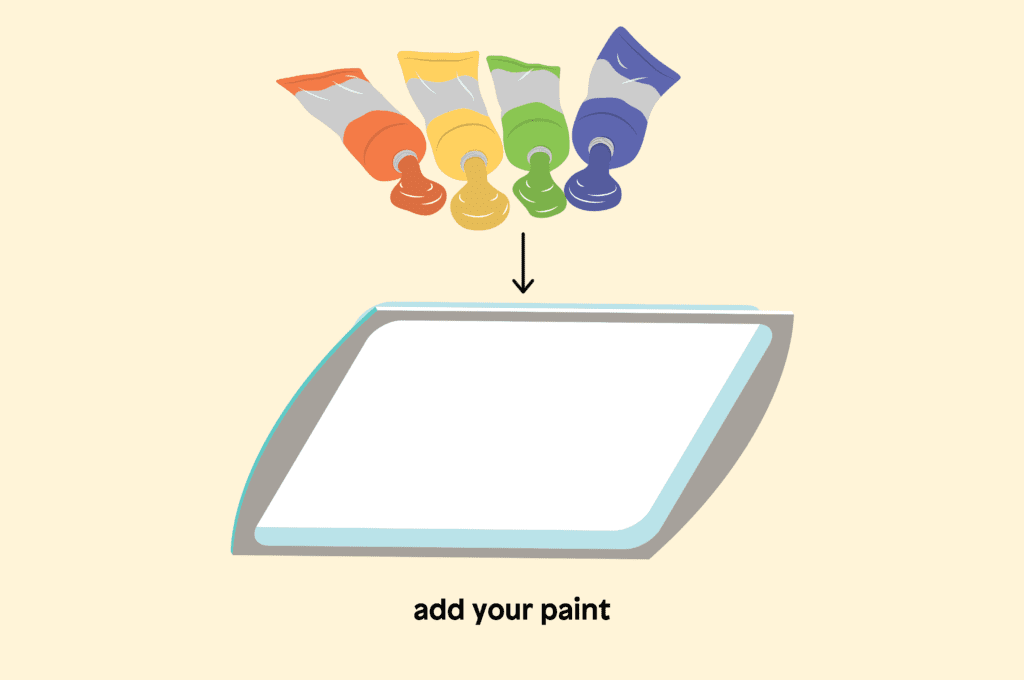
5. Choose the acrylic paints you want to use for marbling and gently squeeze a few drops of each color onto the water’s surface. The colors should spread out and form a thin layer.
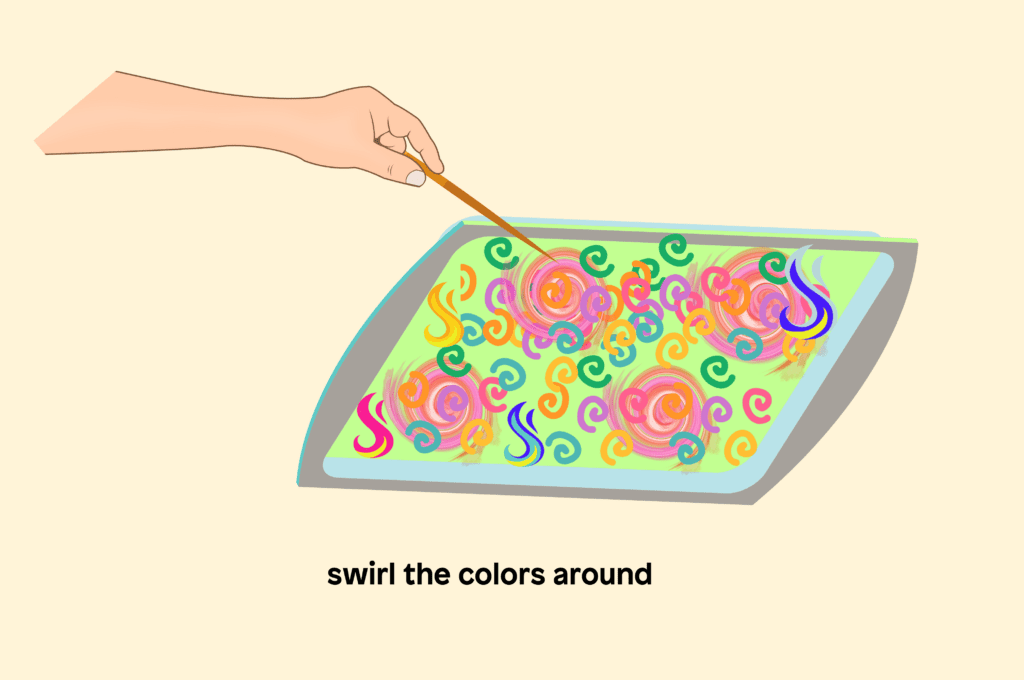
6. Take a toothpick or skewer and swirl the colors around to create your desired marbled pattern. You can make swirls, zig-zags, or any other design you like.
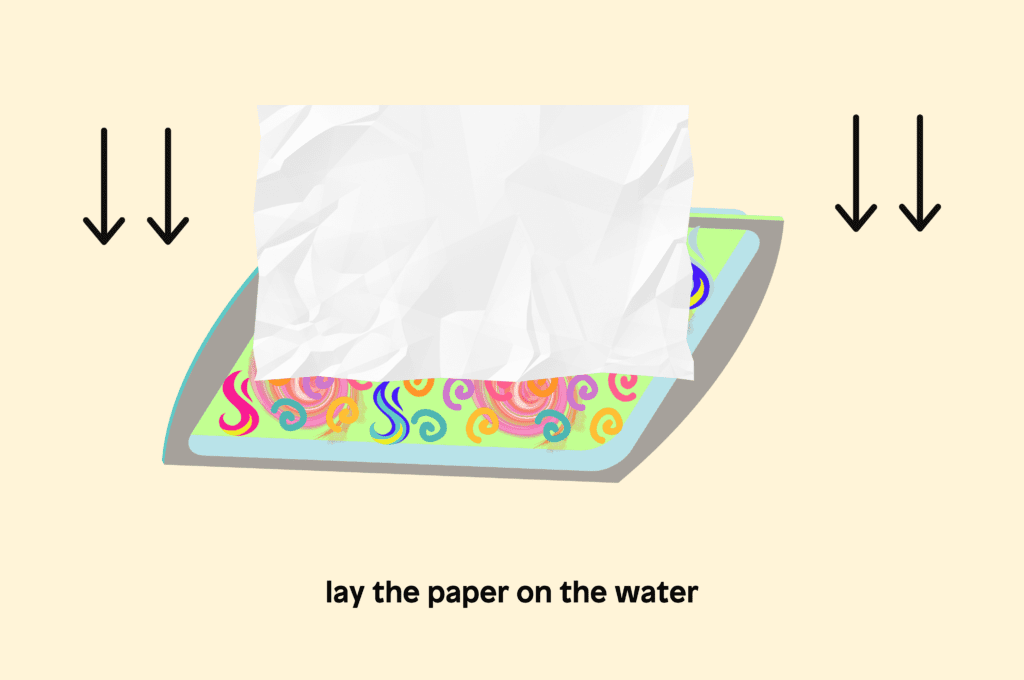
7. Carefully lay a sheet of prepared paper on top of the water, ensuring it’s flat and fully in contact with the paint.
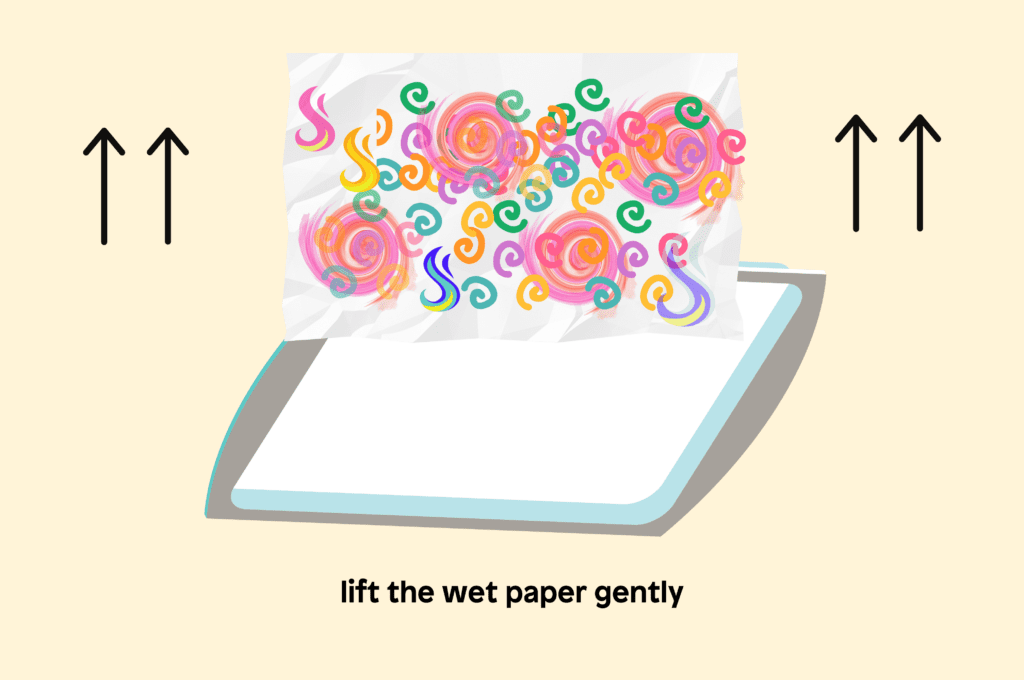
8. Let the paper sit for a few seconds to absorb the paint, then gently lift it off the water’s surface, starting at one corner and pulling up with an even motion.
9. Set the marbled paper on a drying rack or hang it up to dry. You can also lay it on a newspaper if a rack isn’t available. Allow it to dry completely.
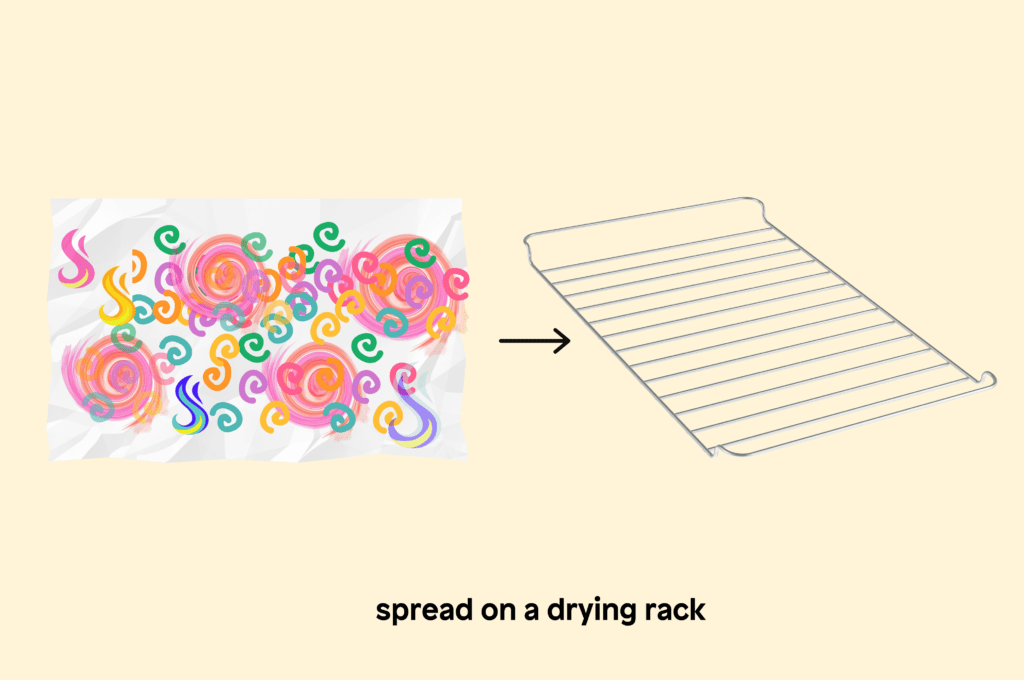
10. Repeat the process with more sheets of paper as desired, and feel free to experiment with different color combinations and patterns.
11. Once dry, use your marbled paper for any number of creative projects, or simply admire your beautiful handiwork.
Remember, crafting is about enjoying the process as much as admiring the result. Paper marbling can be slightly messy, so be sure to cover your workspace and wear clothes you don’t mind getting paint on.
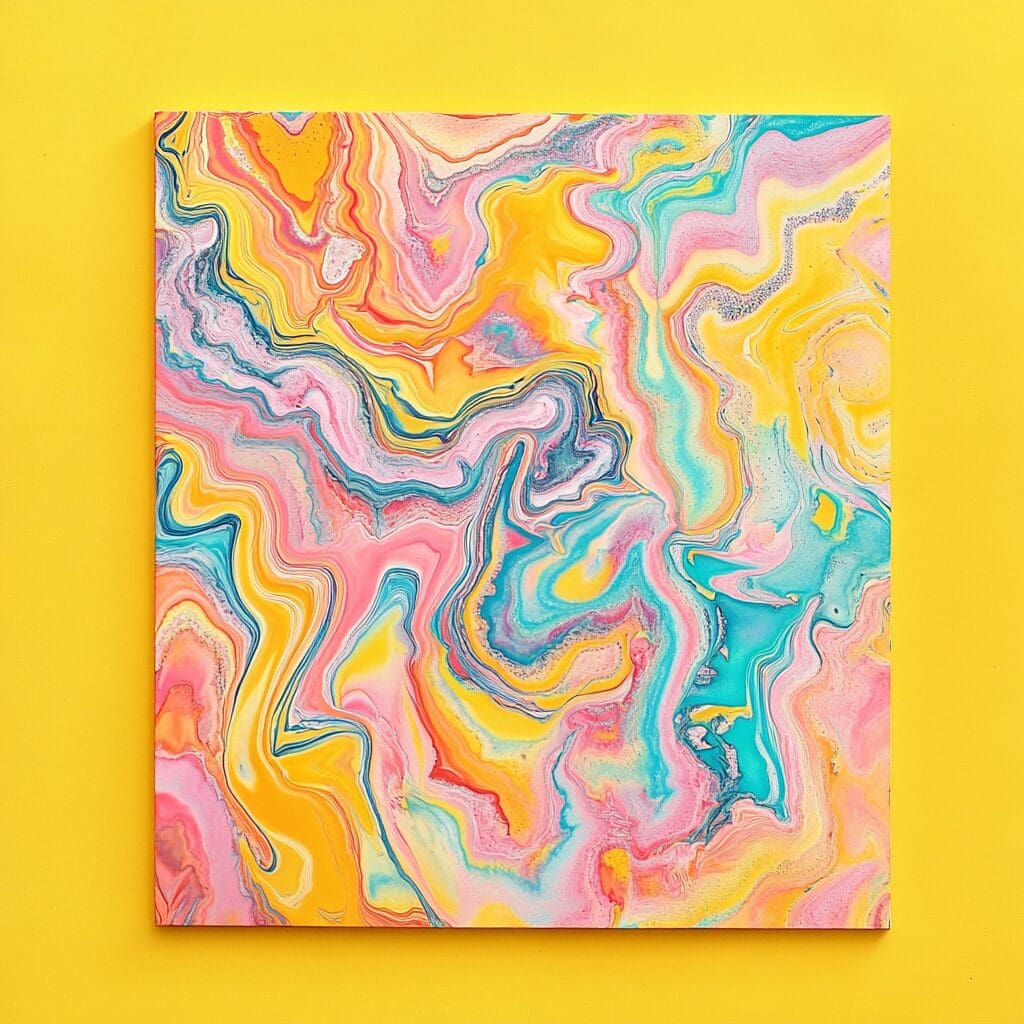
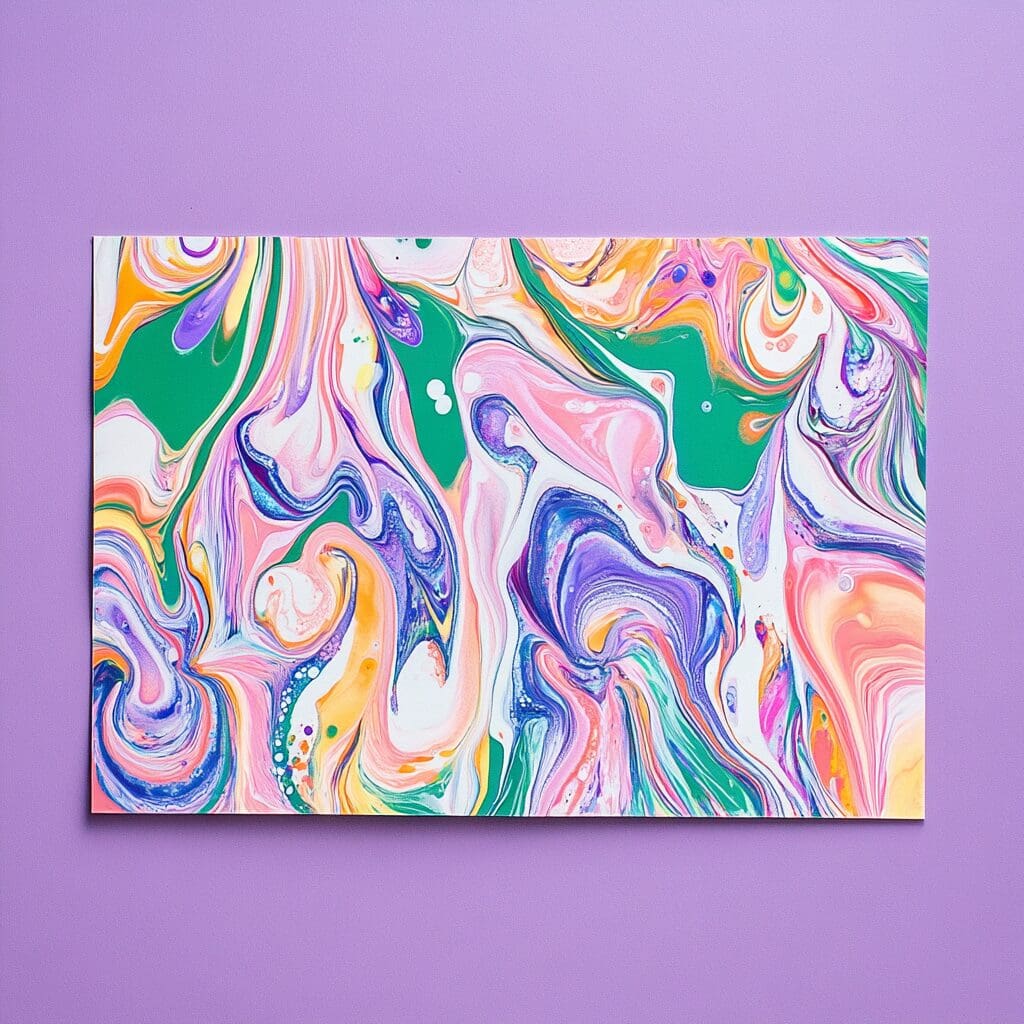
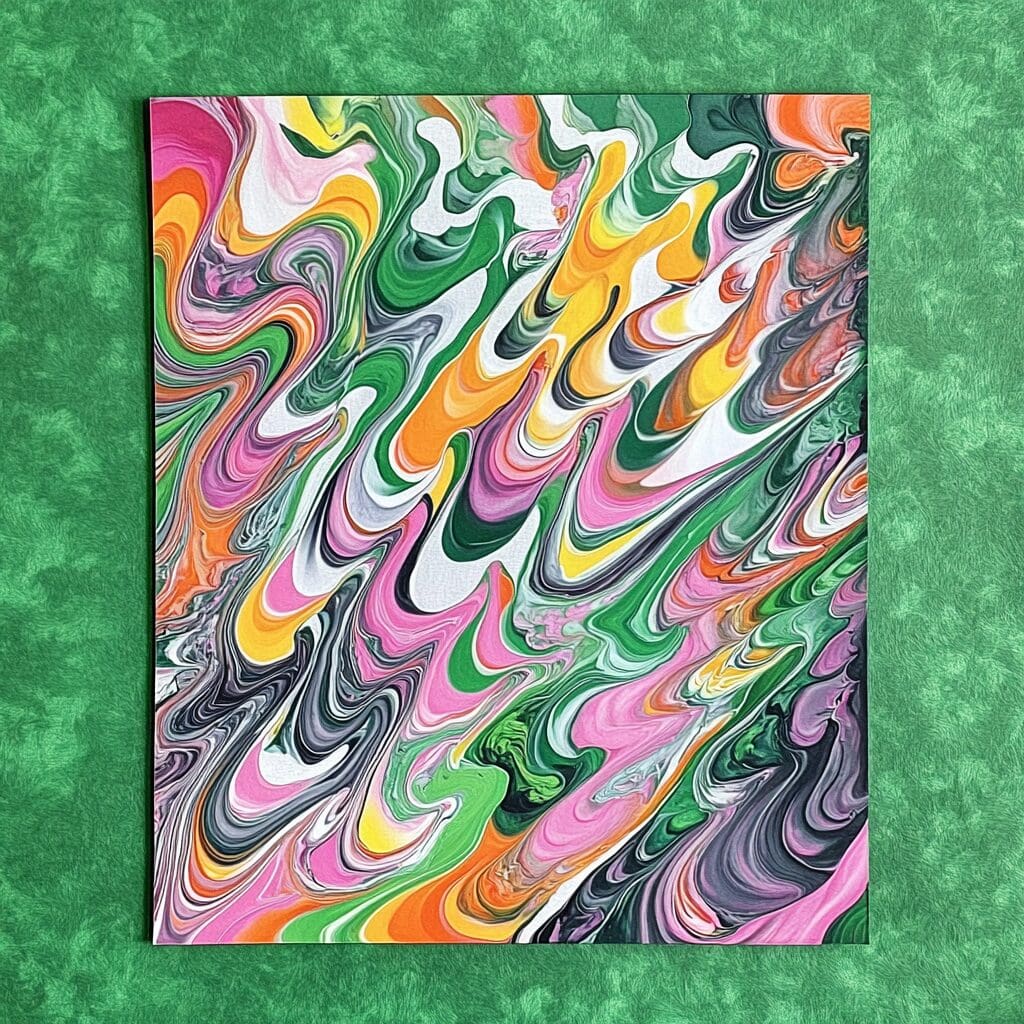
It’s always a good idea to help young children with steps that involve water or paint to keep the mess under control. This ensures a smooth and enjoyable crafting experience for everyone involved.
By supervising these steps, you can also teach children about cleanliness and the importance of tidying up after a fun activity. Most importantly, have fun with this artistic expression and savor the unique designs you and your family create together.
Crafting not only brings joy but also enhances creativity and strengthens family bonds. It allows children to explore their artistic abilities and develop fine motor skills while adults can enjoy the relaxing and therapeutic aspects of crafting.
The shared experience of creating something beautiful can improve communication and teamwork within the family. You can take pride in the beautiful artwork you produce, knowing that each piece reflects your collective effort and creativity.
For more fun and creative projects, check out our other crafts ideas like rock painting and snail craft. Explore these exciting activities and make more wonderful memories together!
FAQs
Source
https://blog.bookstellyouwhy.com/the-history-and-techniques-of-marbled-paper

