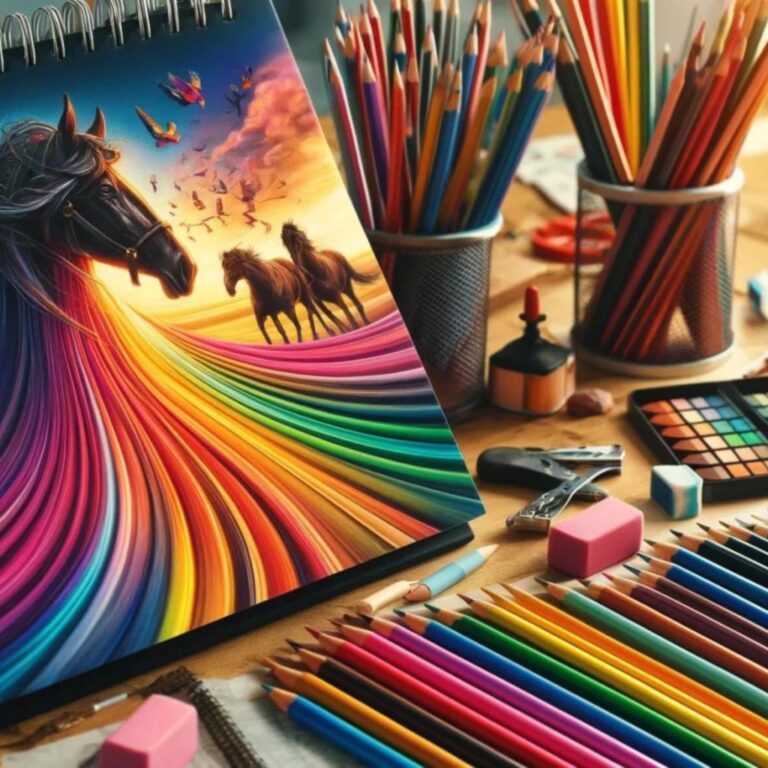
Using colored pencils can unlock many possibilities for artistic expression. To truly understand how to use colored pencils, it’s important to master the basics of layering and blending. These techniques are essential for creating vibrant, lifelike illustrations with depth and realism.
With colored pencils, you’re not just coloring; you’re transforming a flat surface into a dynamic canvas full of shades and textures. Let’s explore how to use colored pencils and how the simple act of coloring becomes a beautiful dance of colors and strokes.
Knowing how to use colored pencils involves practicing basic techniques like layering and blending, which help you turn simple coloring pages into rich, multidimensional artworks.
This understanding elevates your artistic creations as you’ll find a fascinating world where colors mix and blend beautifully. This journey will change how you see colored pencils, helping you create art that captures light, shadow, and texture, and turns simple sketches into captivating visual stories.
What You’ll Need
Method
1. Start with light pressure and build up the color gradually. Gentle strokes will allow you to add more layers and create richer colors.
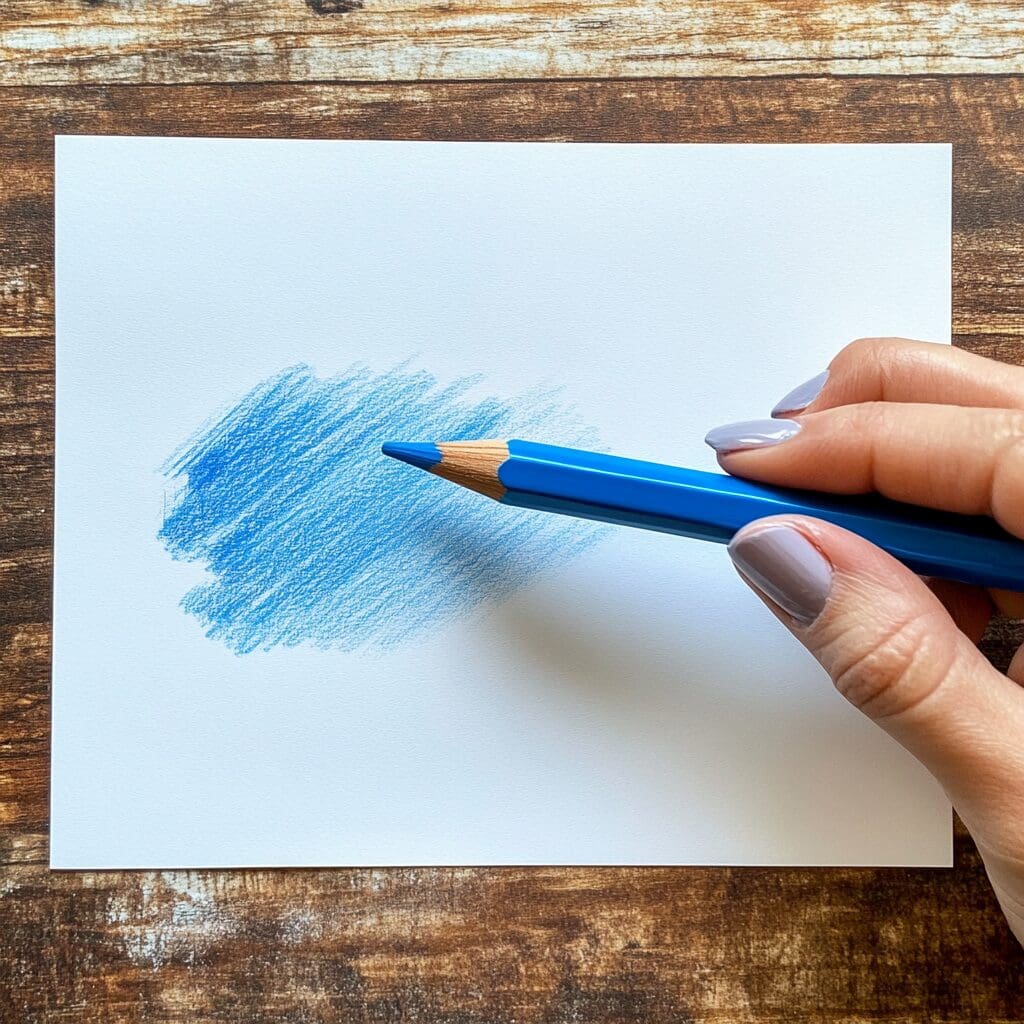
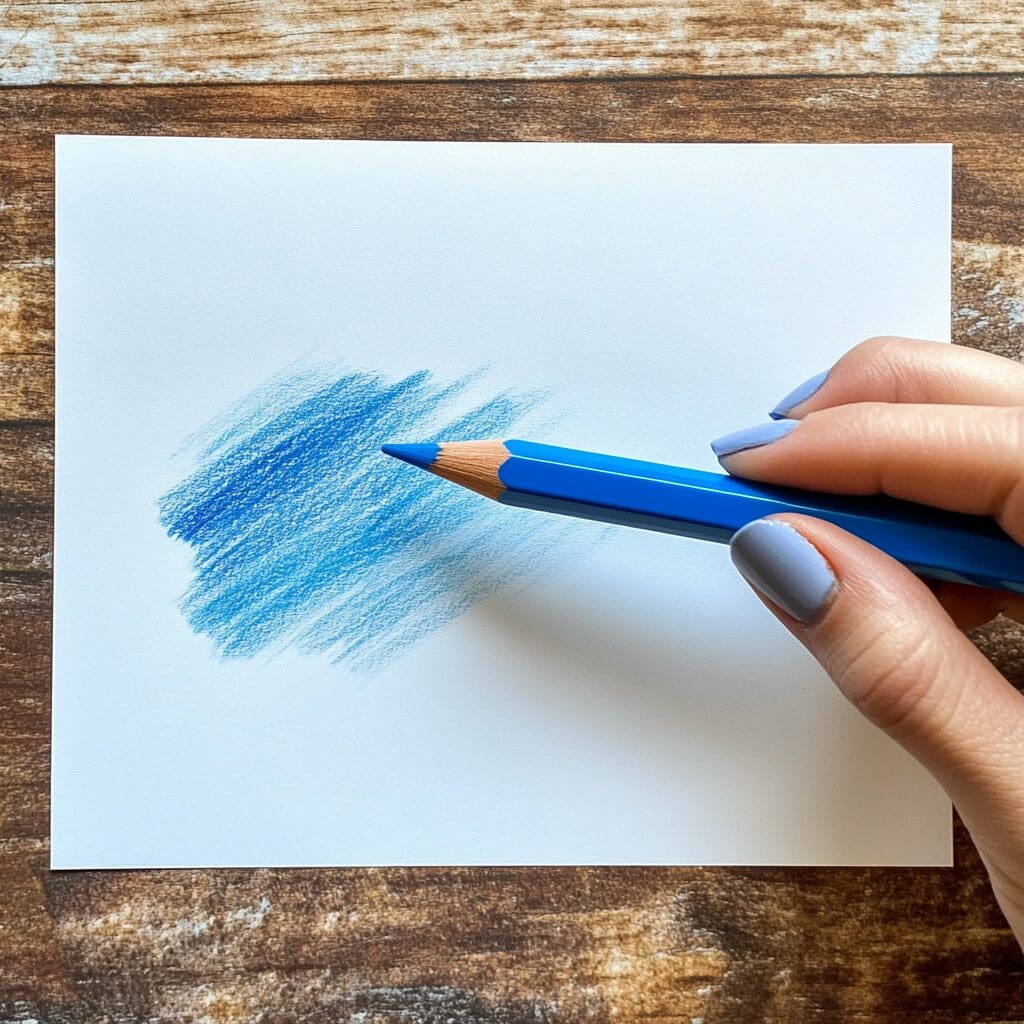
2. Experiment with colors by laying one color over another to see how they interact. You can create new hues and shades by overlapping complementary colors.
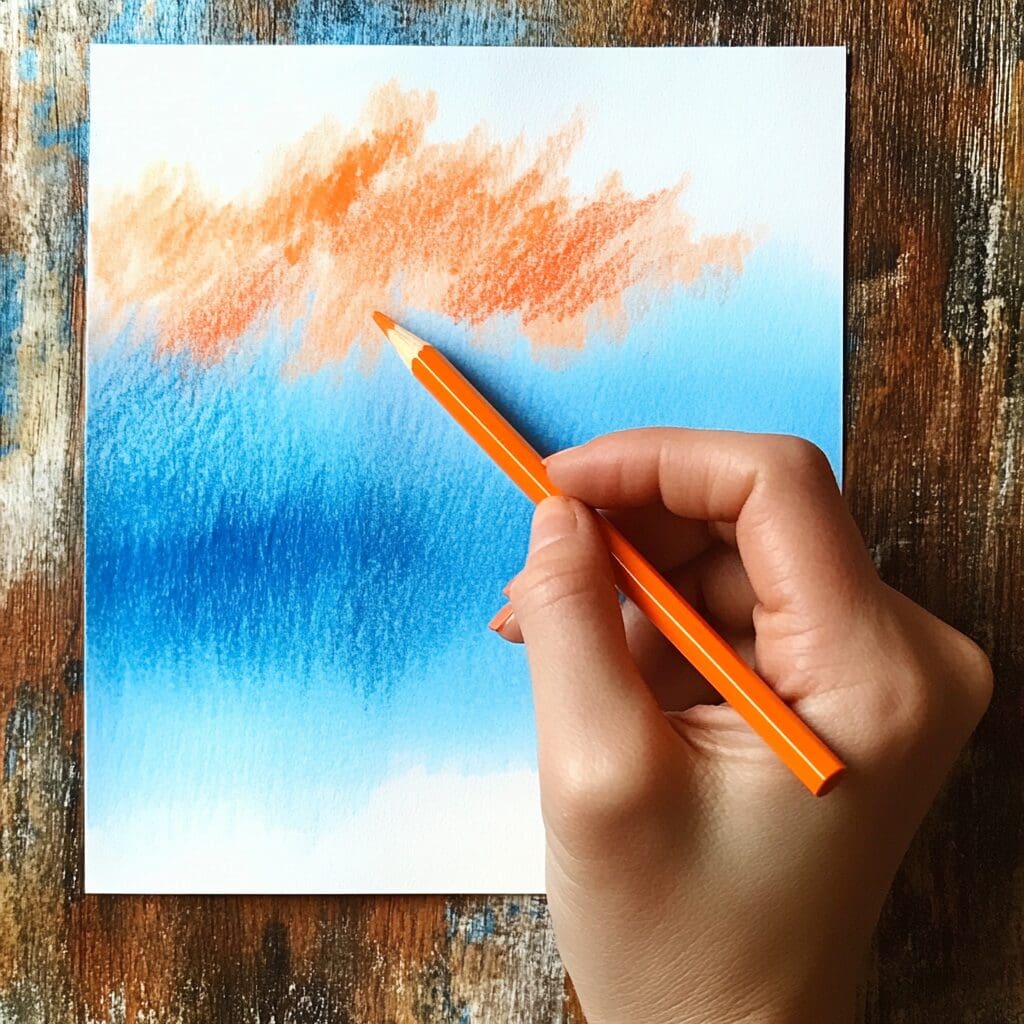
3. Pay attention to the direction of your pencil strokes. Consistent stroke direction can create texture and movement in your piece.
4. Use the side of your pencil tip for broad strokes to fill in larger areas, and the point for details and fine lines.
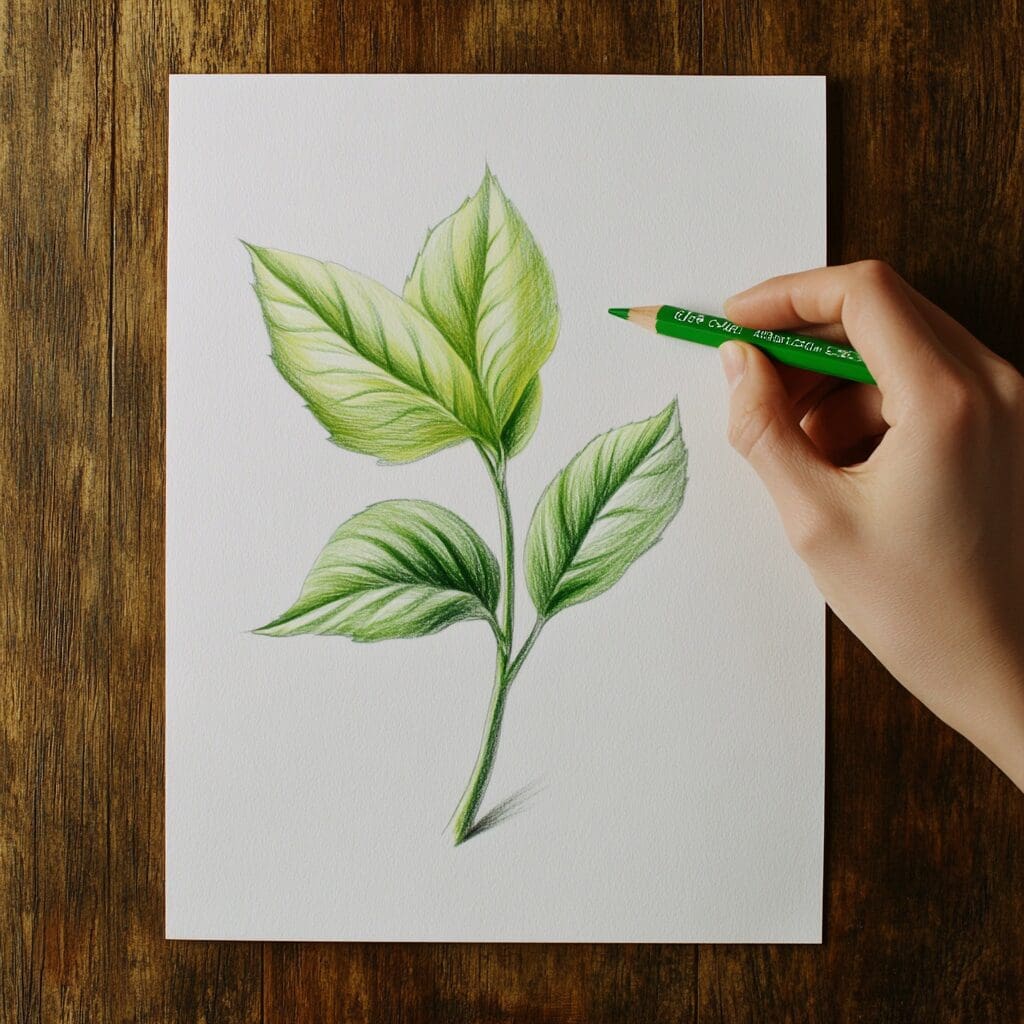
5. When blending, start with your lightest colors and progress to the darker shades. This helps maintain the purity of the lighter tones.
6. To blend colors seamlessly, use a colorless blender pencil or a white pencil to soften and meld the edges together.
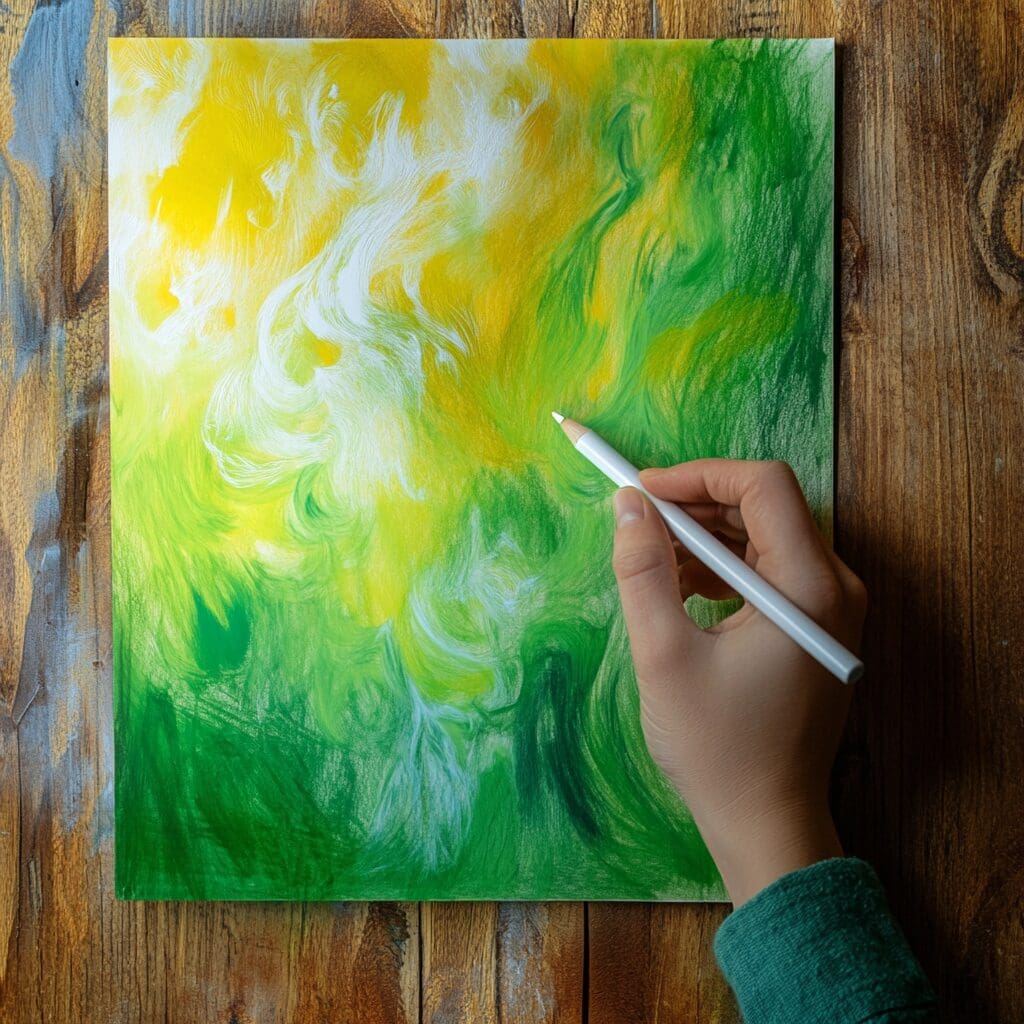
7. For a smoother and more painterly effect, try using a blending stump or smudge stick. Gently rub it over the area you want to blend.
8. If you’ve gone too dark or need to correct a mistake, use a kneaded eraser to lift off some of the colors or lighten a layer.
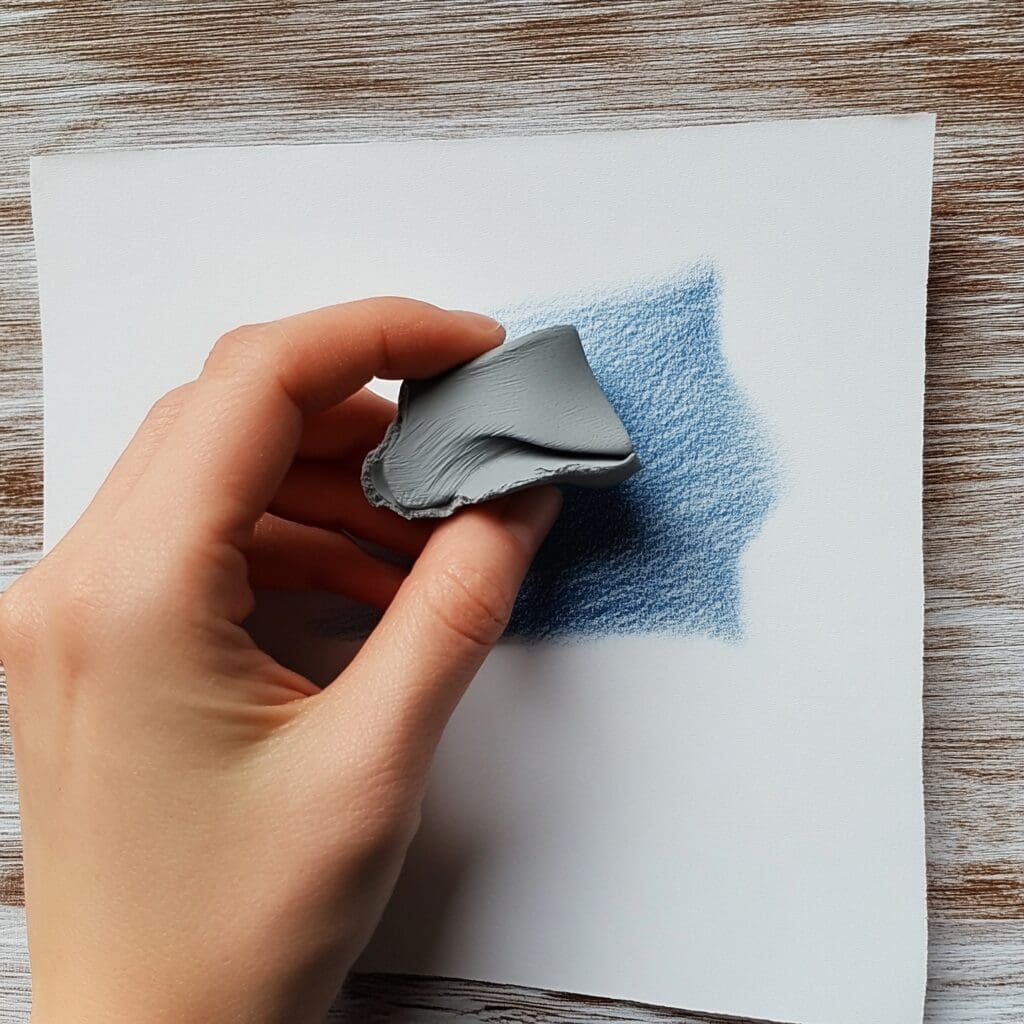
9. Enhance contrast by alternating between applying light and dark colors, which can help create the appearance of depth.
10. Finally, remember to keep your pencils sharp for the most precise lines and to preserve your paper’s texture.
Additional Tips
- Start with a base color and gradually layer additional colors to build depth and richness. This method helps create a more realistic and three-dimensional effect.
- Apply heavy pressure with a light-colored or colorless pencil to blend and smooth out the layers, giving your artwork a polished look.
- Use cross-hatching, which involves drawing intersecting lines, to create shading and texture. This technique is useful for adding dimension and can be varied by changing the spacing and angle of the lines.
- Use a scribbling motion to fill in large areas with color quickly. This can create an interesting texture.
Circular strokes can also be used to create soft, blended effects without harsh lines, ideal for smooth surfaces or skin tones. - For a watercolor effect, use solvents like rubbing alcohol or mineral spirits. Apply a small amount with a brush or cotton swab over your colored pencil work to dissolve and blend the pigment, giving a smooth finish.
- Scumbling involves applying small, circular strokes to create a soft, broken layer of color. This technique is great for adding subtle texture and color variation.
- Use various tools like a craft knife or a stylus to etch into the paper before or after applying color. This can create fine details or highlights by revealing the paper beneath the color.
- Apply a light, transparent layer of color over a dry base layer to alter the hue and tone without hiding the underlying details. This can be particularly effective for creating shadows and highlights.
- Experiment with different grades of colored pencils (soft, medium, and hard) to achieve various effects. Soft pencils are great for blending and vibrant colors, while harder pencils are suitable for fine details.
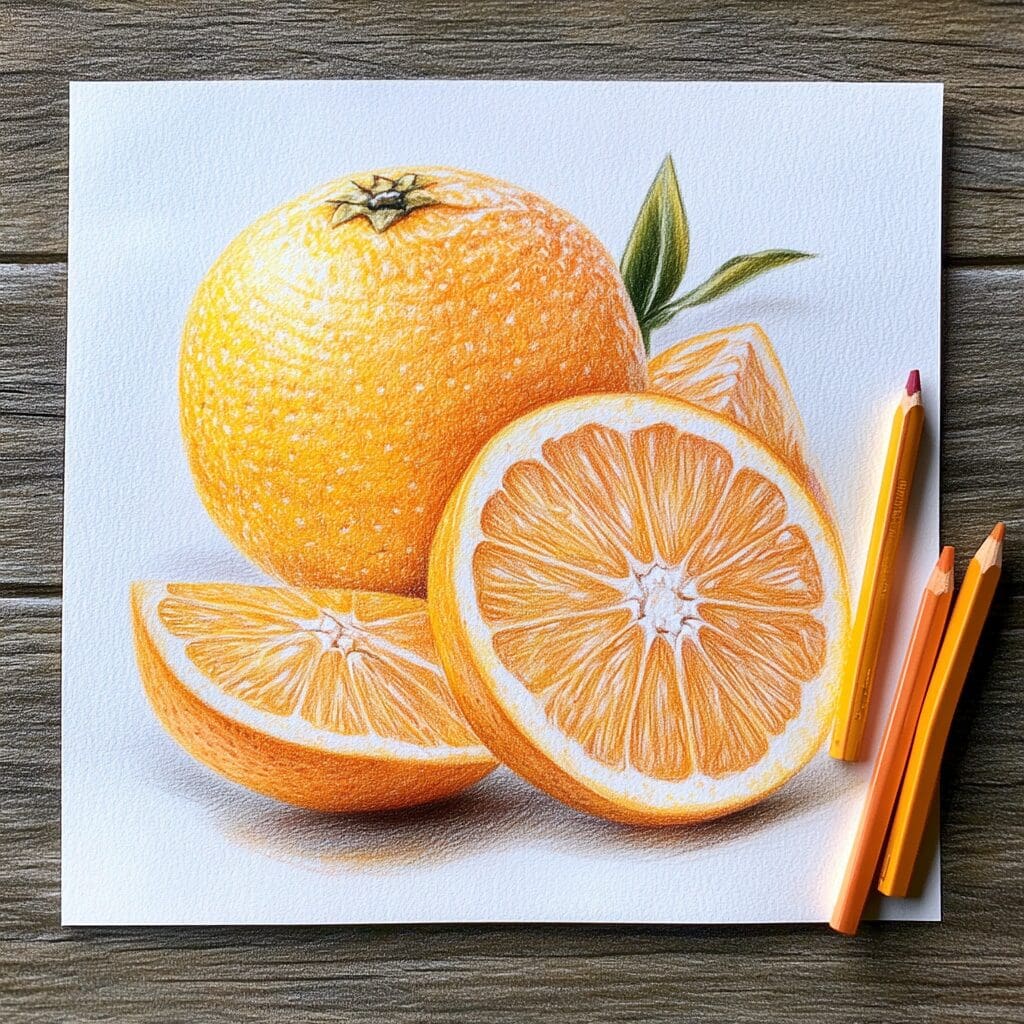
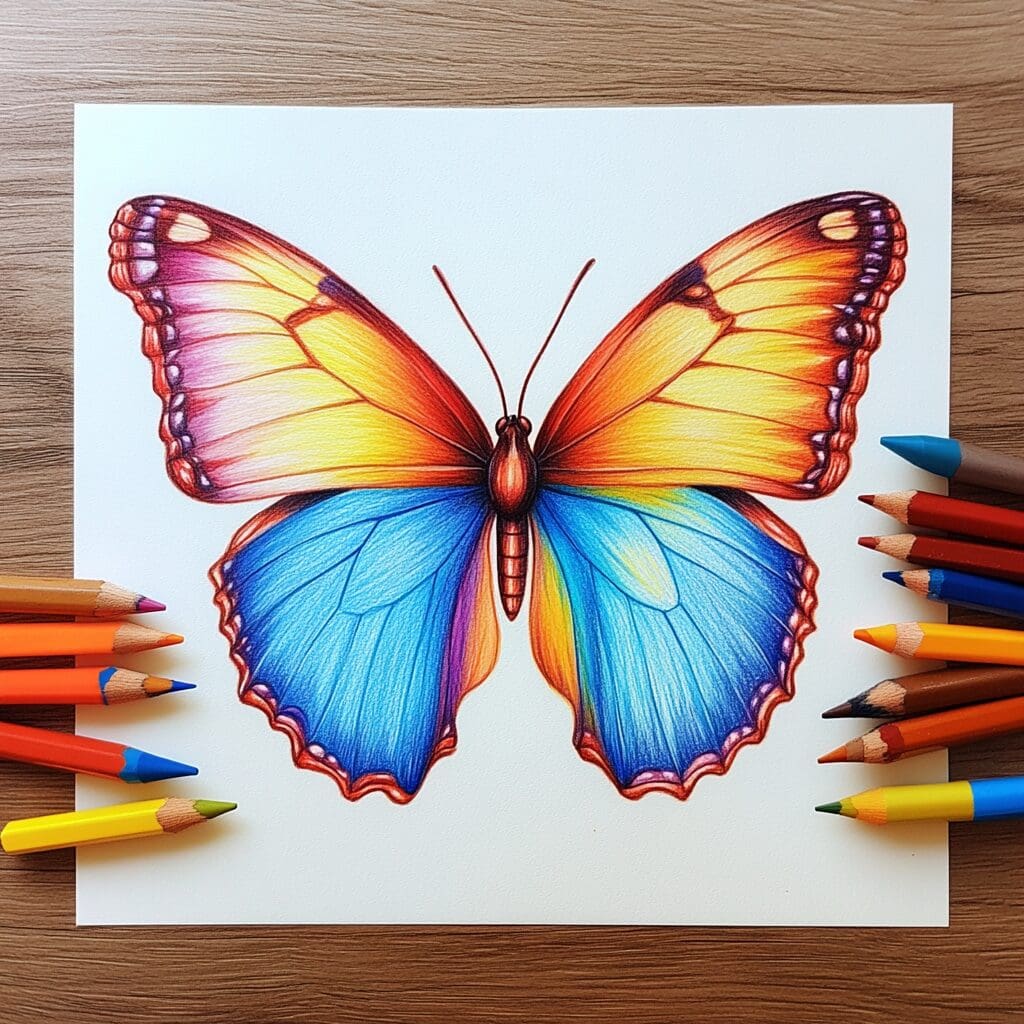
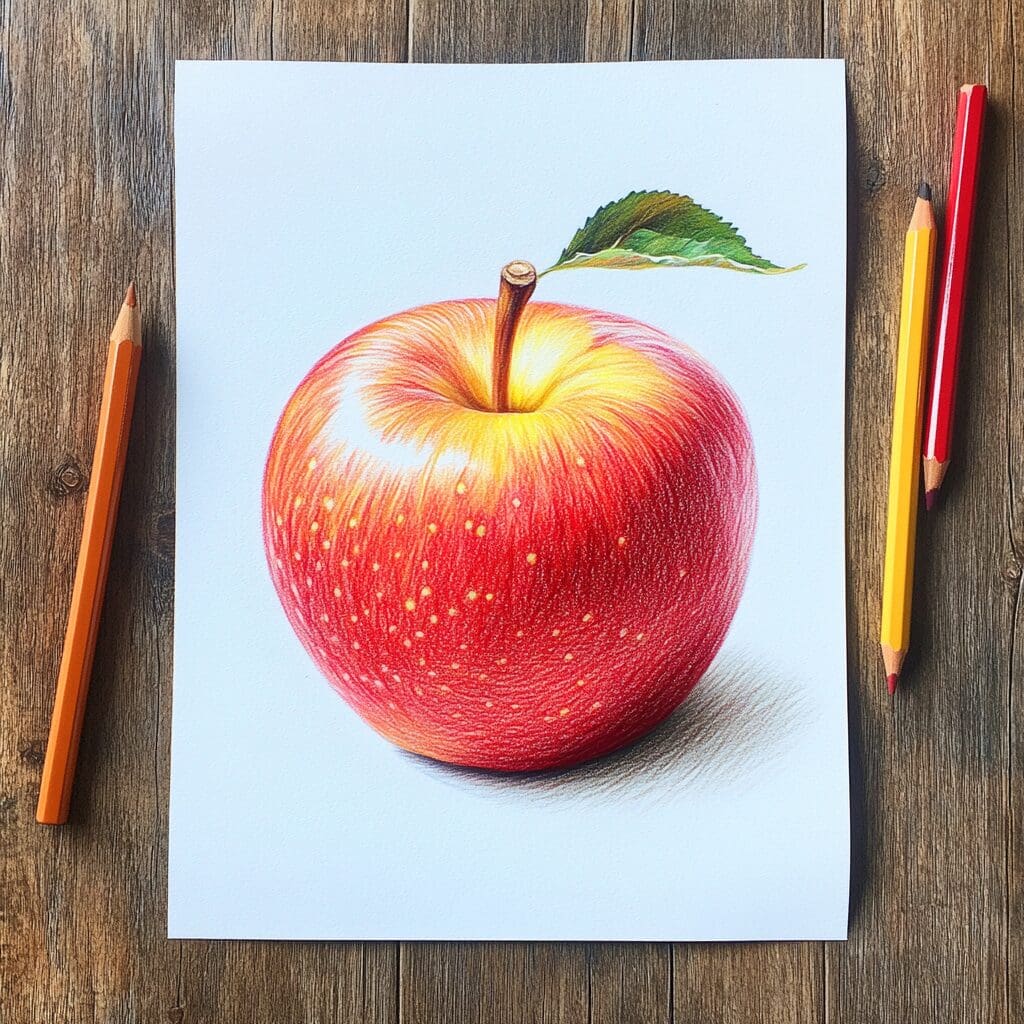
The act of coloring, once a straightforward task, becomes an artistic journey filled with discovery and learning. With each stroke, each subtle blend, your confidence and skill will grow, allowing your style to emerge and evolve.
Remember that patience and practice are your allies, revealing the exquisite potential of colored pencils in your capable hands. By mastering how to use colored pencils, you’ll open up endless possibilities for creativity.
So, as you gather your pencils and begin your next creative endeavor, embrace the calm and focus that the art of coloring naturally instills.
Celebrate each line and delight in the moments spent bringing your vision to life. Knowing how to use colored pencils like a pro can make these moments even more rewarding.
Ready to put your new coloring techniques to the test? Try out our specially designed coloring pages! From adorable farm animals to easter bunnies, we’ve got a variety of pages that will inspire your creativity and bring your colored pencil skills to life.
You could also explore our Elf Coloring Pages or specifically our Garden Coloring Pages, and let your artistic journey continue with endless fun and creativity!
FAQs
Source
https://www.pencil-topics.co.uk/layering-coloured-pencils.html

