Making resin molds at home is a wonderful way to create unique, personalized items. Whether you want to make jewelry, decorations, or custom-shaped objects, crafting molds can open up endless possibilities for creativity.
Learning how to make resin molds is an exciting and rewarding process that allows you to bring your artistic visions to life. By understanding how to make resin molds with silicone, you can create detailed and durable molds that capture every aspect of your chosen object.
Additionally, knowing how to make resin art with molds will enable you to craft beautiful and intricate resin pieces, perfect for gifts or personal keepsakes.
Creating resin molds at home is not only a cost-effective way to enjoy this versatile medium, but it also provides a great opportunity to experiment with different designs and techniques.
Imagine making a custom piece of jewelry that perfectly matches your style or a decorative item that adds a personal touch to your home. With the right materials and a bit of patience, you can master the art of resin mold-making and explore endless creative possibilities.
What You’ll Need
- Object to mold (e.g., small toy, figurine, etc.)
Method
1. Cover your workspace with newspaper or a plastic sheet to protect it from spills. Make sure your work area is well-ventilated.

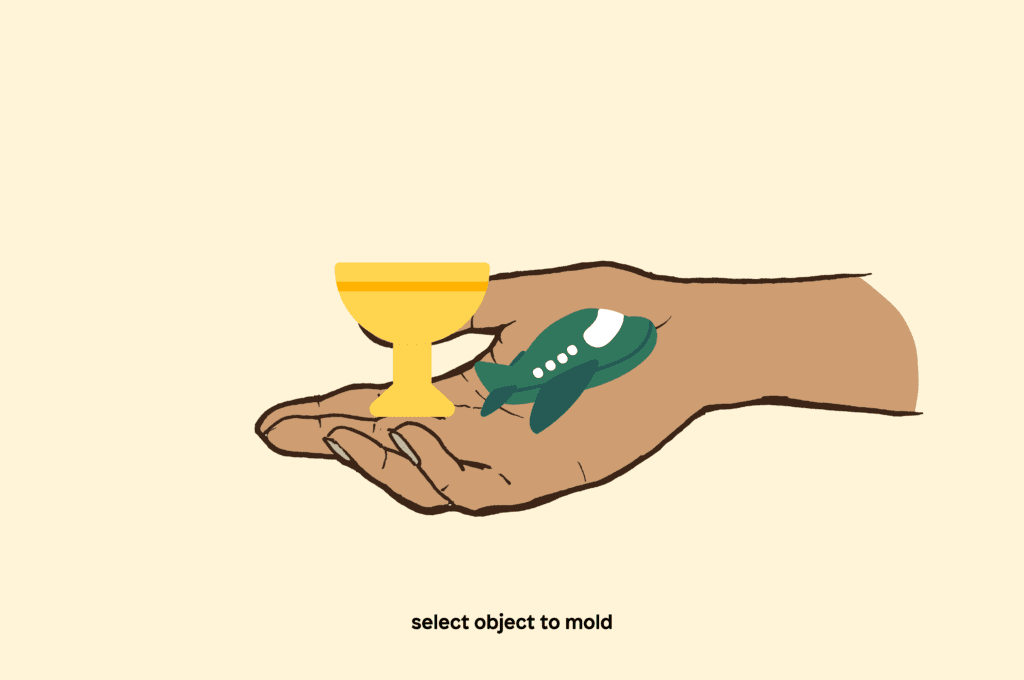
2. Select the object you want to make a mold of. Ensure it is clean and dry.
3. Use the hot glue gun to glue the object onto the bottom of the disposable cup or a small container. This will prevent it from moving when you pour the silicone.
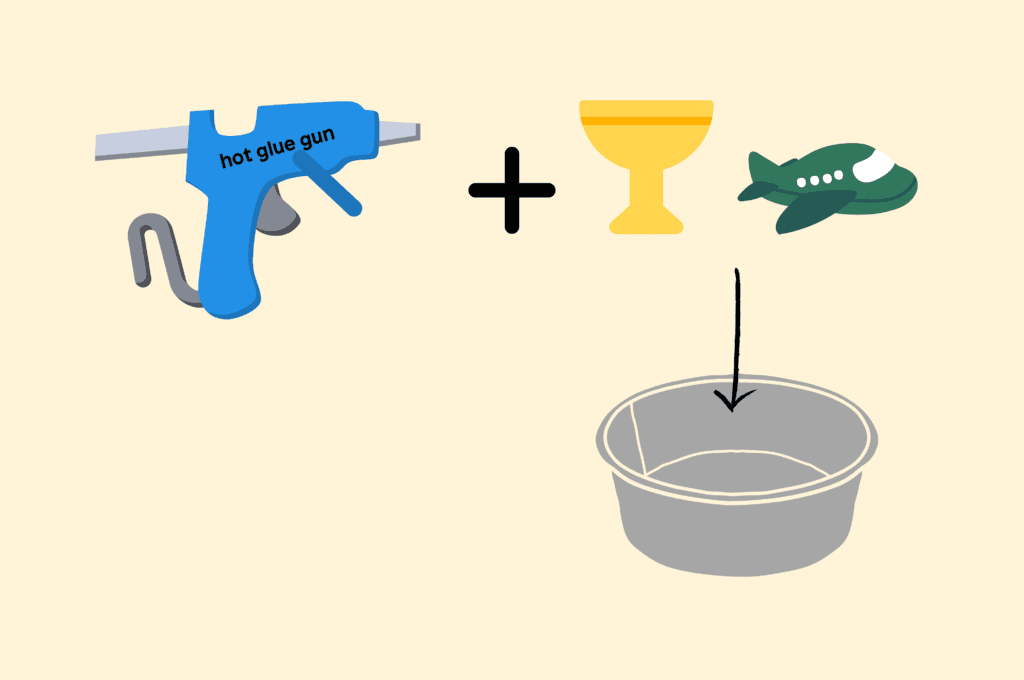
4. Lightly coat the object and the inside of the small container with non-stick cooking spray to ensure easy removal of the mold later.
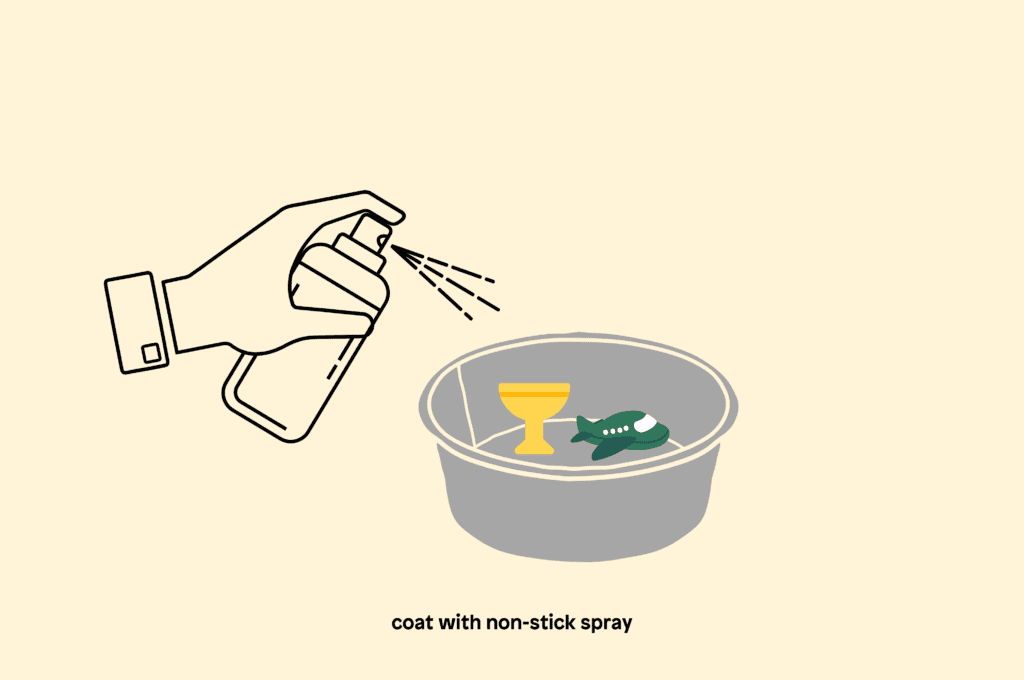
5. Follow the instructions on your silicone mold-making kit to mix the silicone thoroughly. Usually, it involves mixing equal parts of two components.
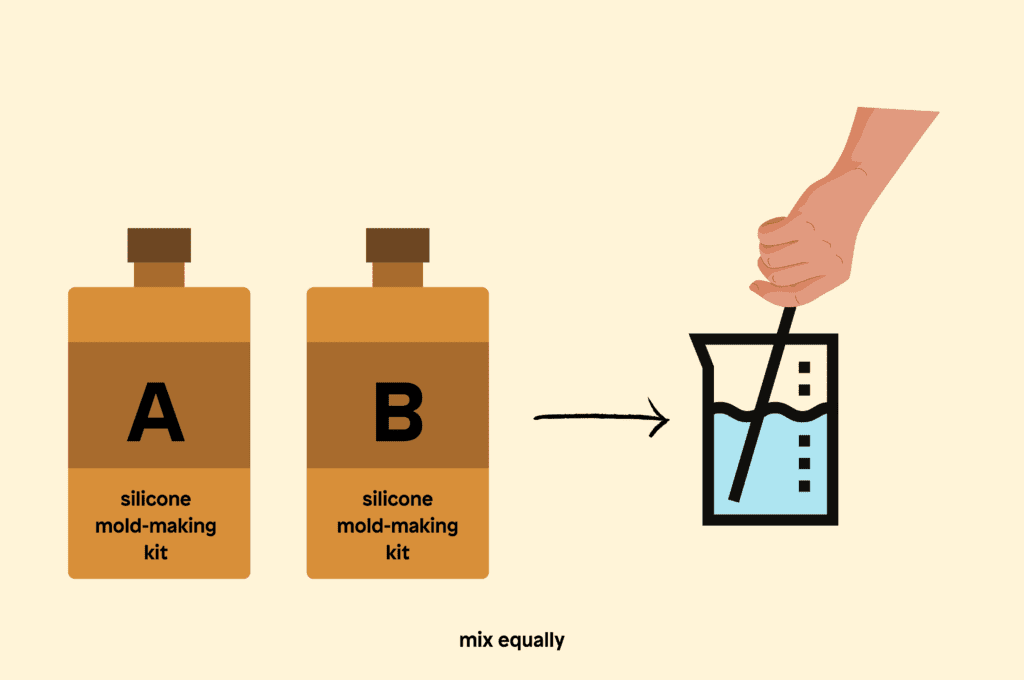
6. Pour the mixed silicone over the object in the small container. Ensure the object is completely covered and that there are no air bubbles. Tap the container gently to help any trapped air escape.
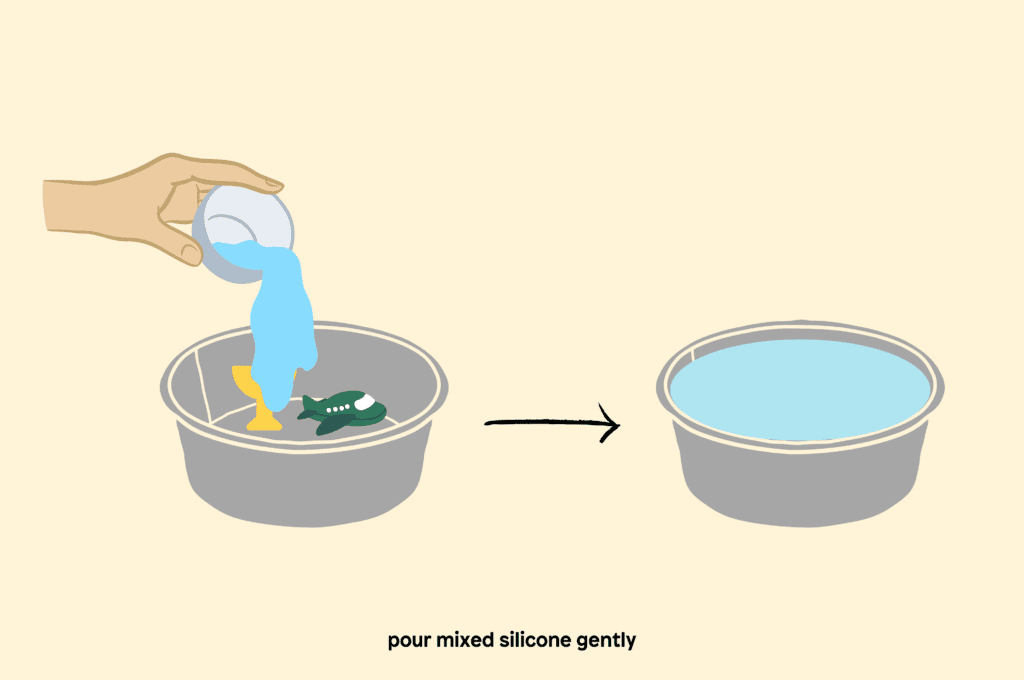
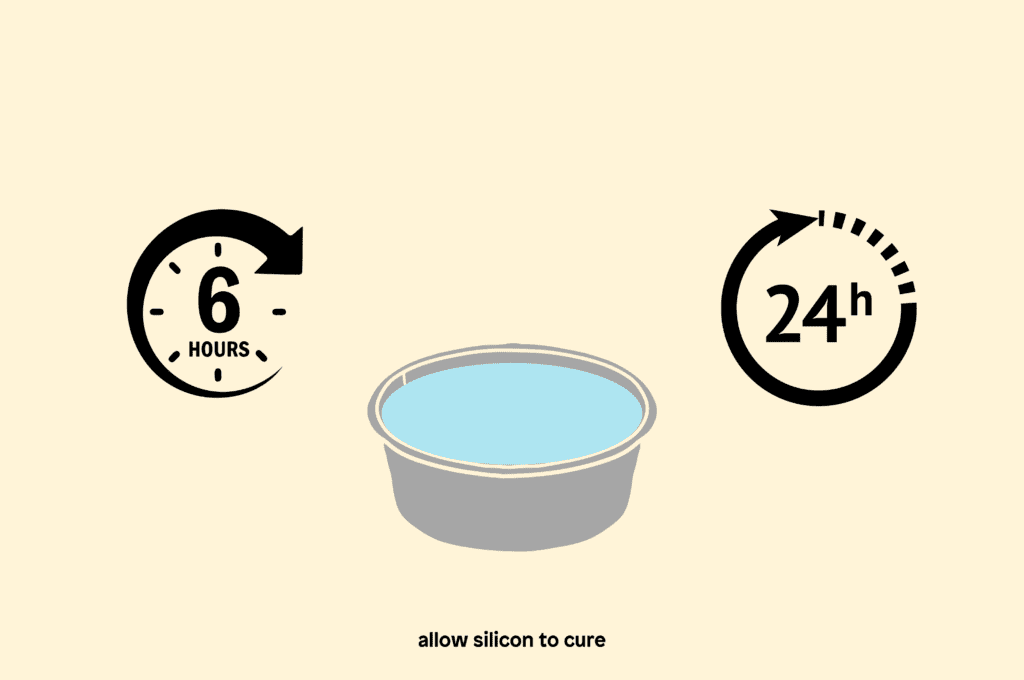
7. Allow the silicone to cure according to the kit instructions. This can take several hours or overnight.
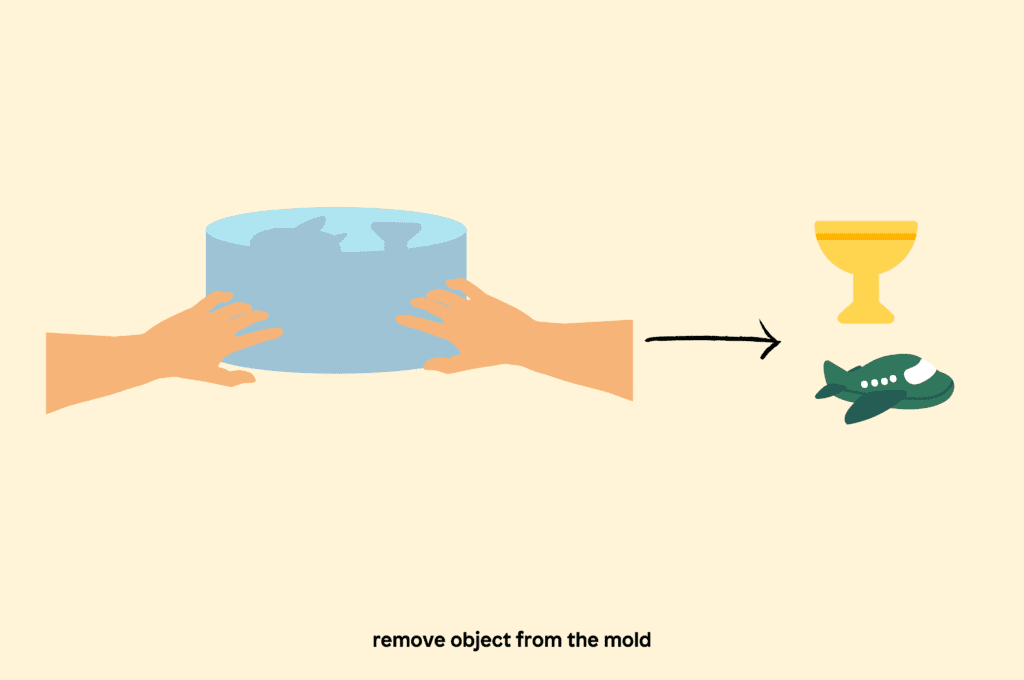
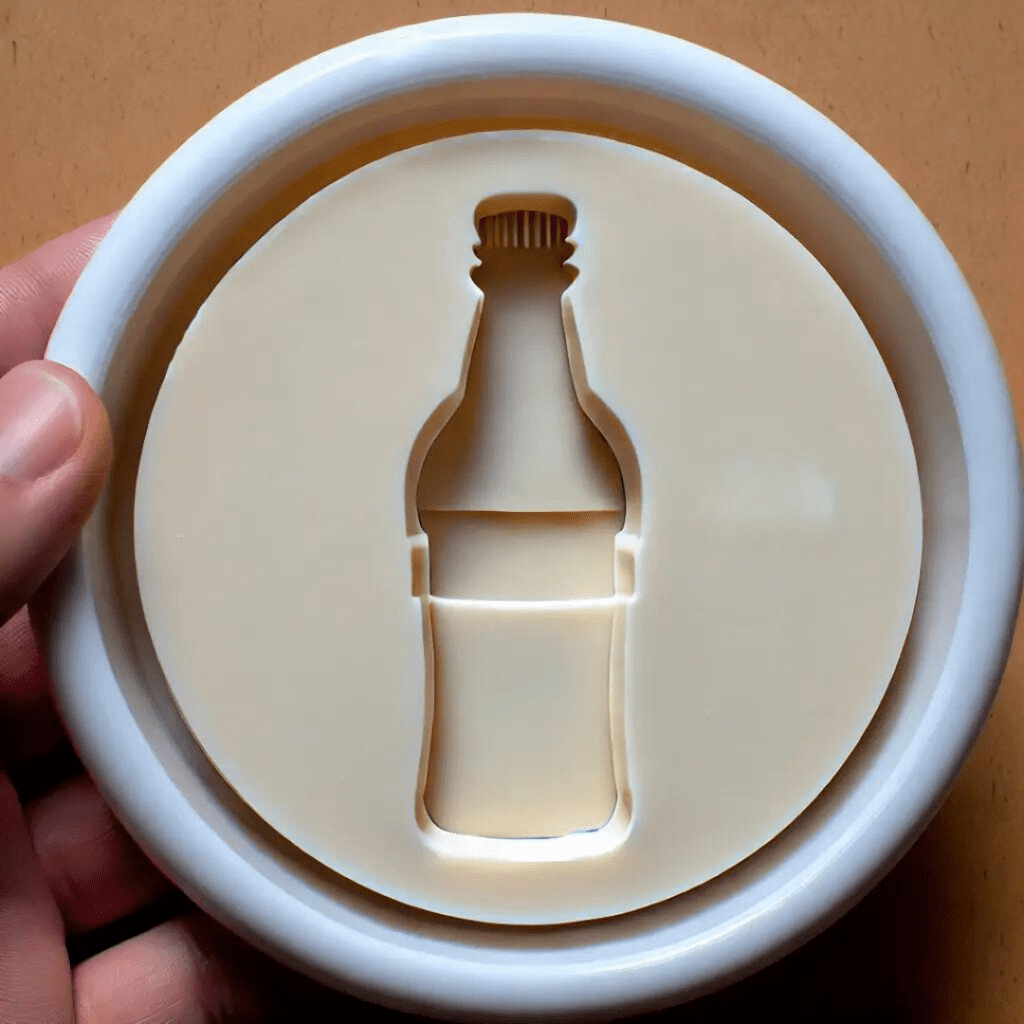
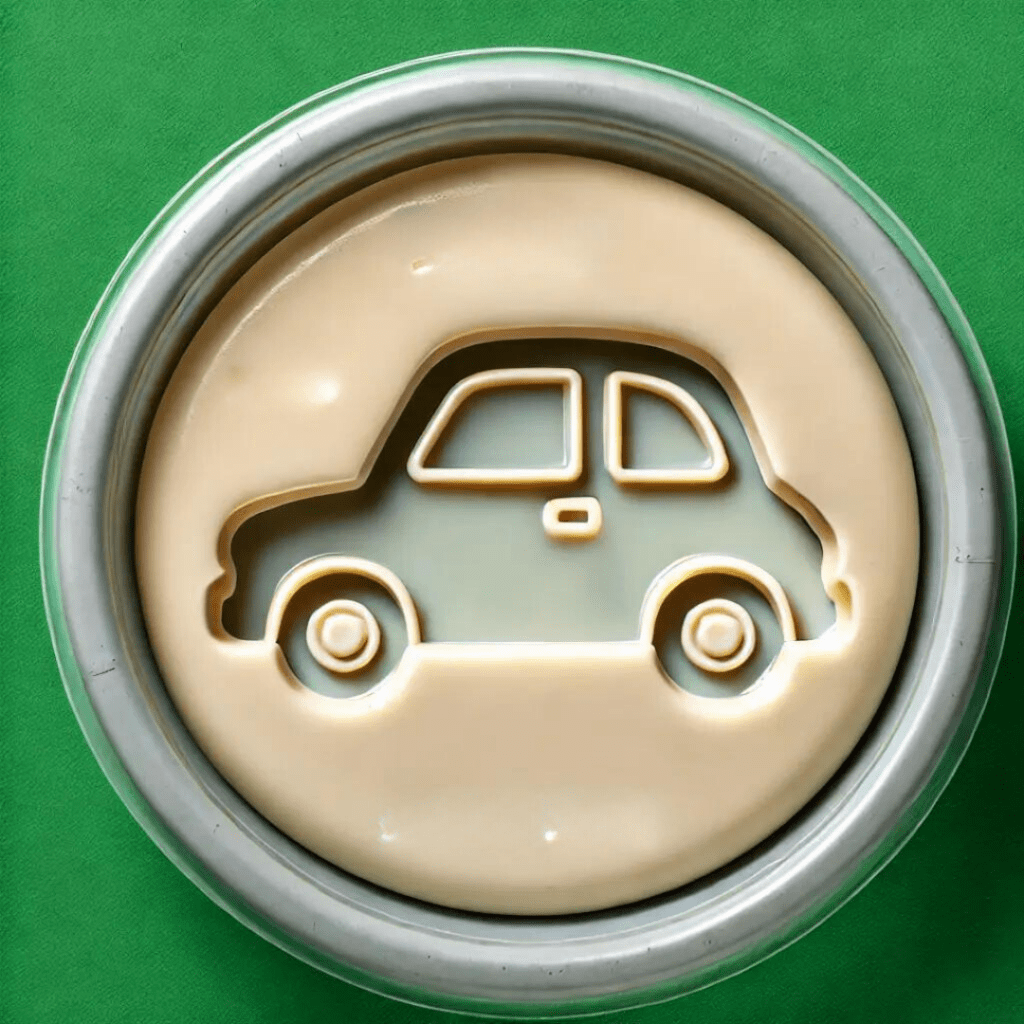
8. Once cured, carefully peel the silicone mold away from the object. If it’s difficult to remove, you can gently cut a slit on the side of the mold to ease it out, but avoid cutting through the mold completely.
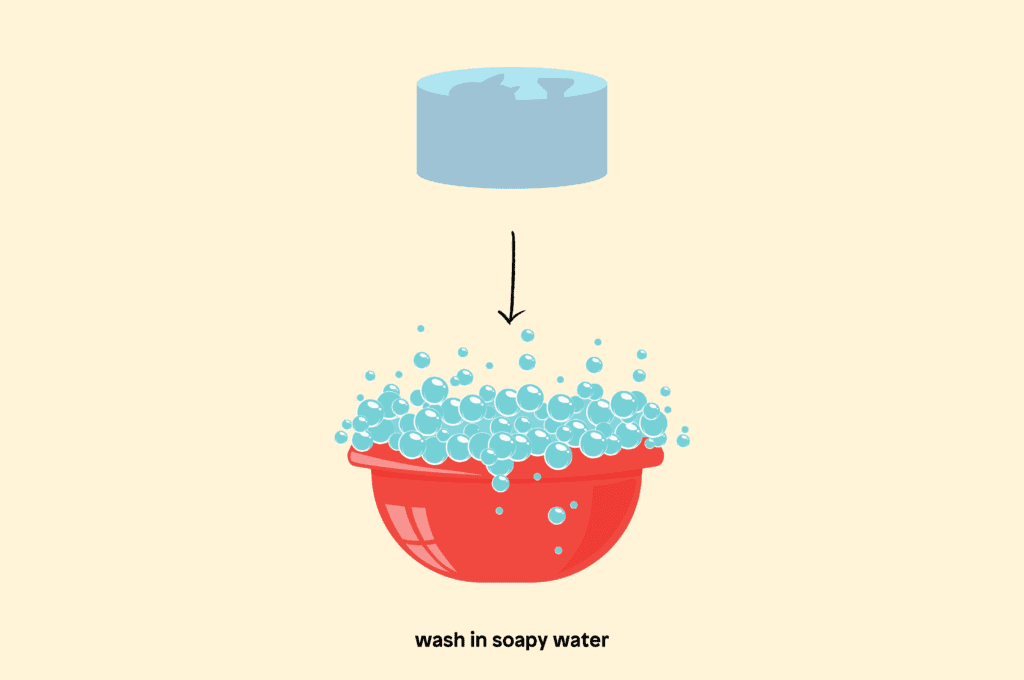
9. Wash the mold with soapy water and let it dry completely before using it for resin casting.
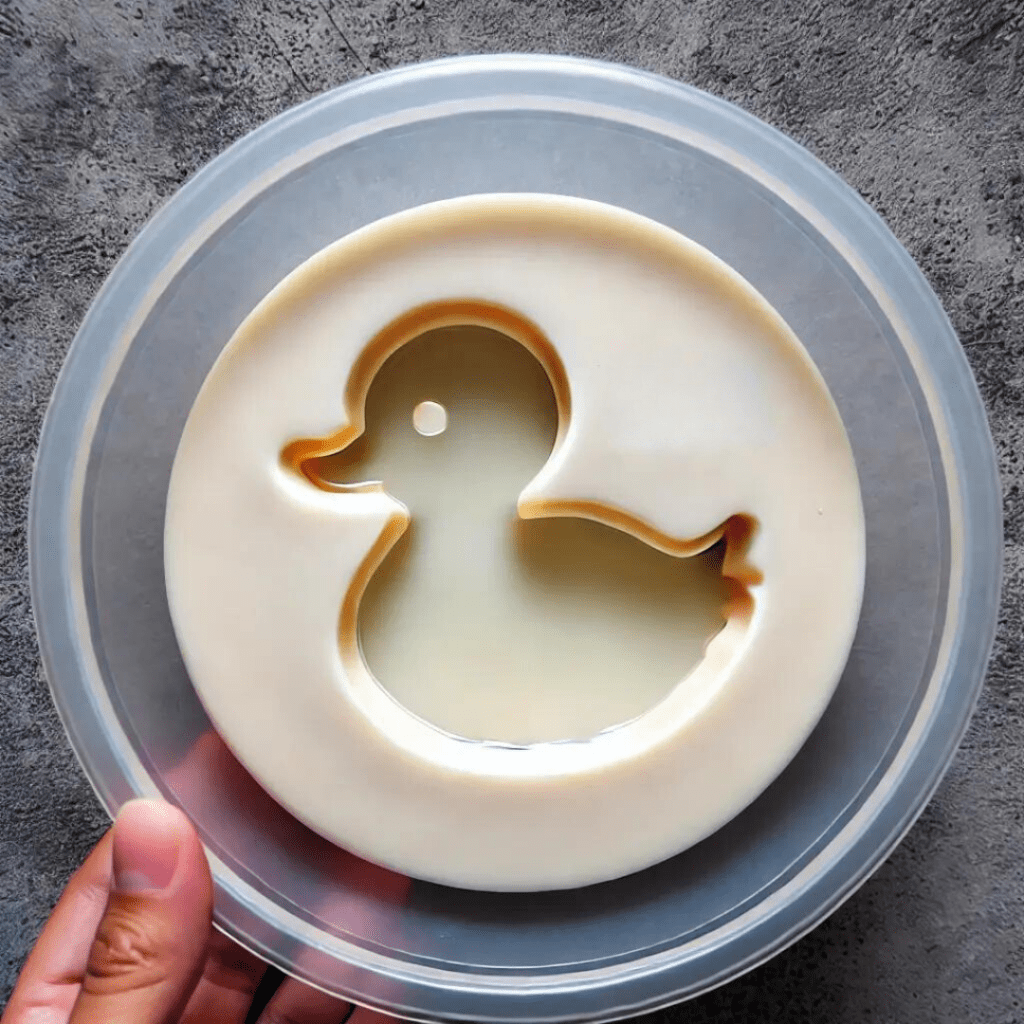
10. Your homemade resin mold is now ready to use! Simply follow the instructions for your resin and pour it into the mold to create your custom pieces.
Additional Tips
- Invest in a high-quality silicone mold-making kit to ensure durability and flexibility. This will help your mold last longer and produce better results.
- Ensure your workspace is clean and free of dust. Any debris can get trapped in the silicone and affect the quality of your mold.
- Besides non-stick cooking spray, consider using a mold release spray specifically designed for silicone molds. This can make the demolding process even easier.
- Follow the silicone kit instructions precisely, measuring the components accurately. Incorrect ratios can affect the curing process and the final mold quality.
- Mix the silicone components thoroughly but gently to avoid introducing bubbles. Ensure the mixture is uniform in color and texture before pouring.
- Pour the silicone slowly and in a thin stream. This helps minimize air bubbles and ensures the silicone fills all the details of the object.
- For professional results, consider using a pressure pot to cure the silicone mold. This can significantly reduce bubbles and produce a smoother, more detailed mold.
Creating resin molds at home is a fun and creative project that allows for endless personalization. Learning how to make resin molds is an exciting journey that enables you to craft custom pieces that match your style and imagination.
But the creativity doesn’t have to stop there. If you enjoyed making resin molds, you might also love exploring other DIY projects. Paper marbling is a fascinating craft that lets you create beautiful, swirling patterns on paper using water and ink.
Another great project is making a memory tree, where you create a tree out of branches and decorate it with small photos, mementos, and notes. Whether you’re making resin molds, trying paper marbling, or crafting a memory tree, these activities provide endless opportunities for creativity and fun.


