Spring is a fantastic season to explore creativity with kids. The weather is warmer, flowers are blooming, and the world feels fresh and new. It’s the perfect time for children to engage in easy spring crafts that reflect the beauty of the season.
Engaging in easy spring crafts is not just fun but also educational. These activities enhance fine motor skills, encourage imaginative play, and offer opportunities for children to learn about colors, shapes, and nature.
With just a few simple materials, kids can create beautiful art pieces that bring the joys of spring into the home. Plus, it’s a great way for families to bond and spend quality time together.
Spring is full of inspiration, from the bright colors of blooming flowers to the busy buzzing of bees and butterflies. The easy spring craft ideas we’ve recommended in this guide allow kids to recreate these delightful scenes and creatures.
Projects like paper plate flowers, pom-pom caterpillars, and handprint tulips are all fun ways for children to celebrate the season. These crafts are simple enough for young kids but can also be adapted for older children who want to add more detail and creativity.
Whether it’s a rainy day or a sunny afternoon, there’s always an opportunity for crafting. Easy spring crafts are a wonderful way to keep kids engaged and entertained indoors or outdoors. They provide a sense of accomplishment and pride when kids see their completed projects.
What You’ll Need
Method
1. Paper Plate Flower Craft
- Paint a paper plate in bright spring colors and let it dry.
- Cut out petal shapes from colored construction paper.
- Glue the petals around the edge of the painted plate.
- Add a circle in the center and decorate with googly eyes and a smile.


2. Springtime Butterfly
- Fold a piece of paper into an accordion style to create wings.
- Tie a pipe cleaner around the middle of the wings and twist to secure.
- Decorate the wings with markers and stickers for a colorful design.
- Attach a clothespin to the center for the butterfly’s body.


3. Handprint Flowers
- Trace your child’s hand on different colored construction paper.
- Cut out the handprints carefully to use as flower petals.
- Glue the handprints onto a green paper stem cutout.
- Add leaves to the stem and decorate as desired.


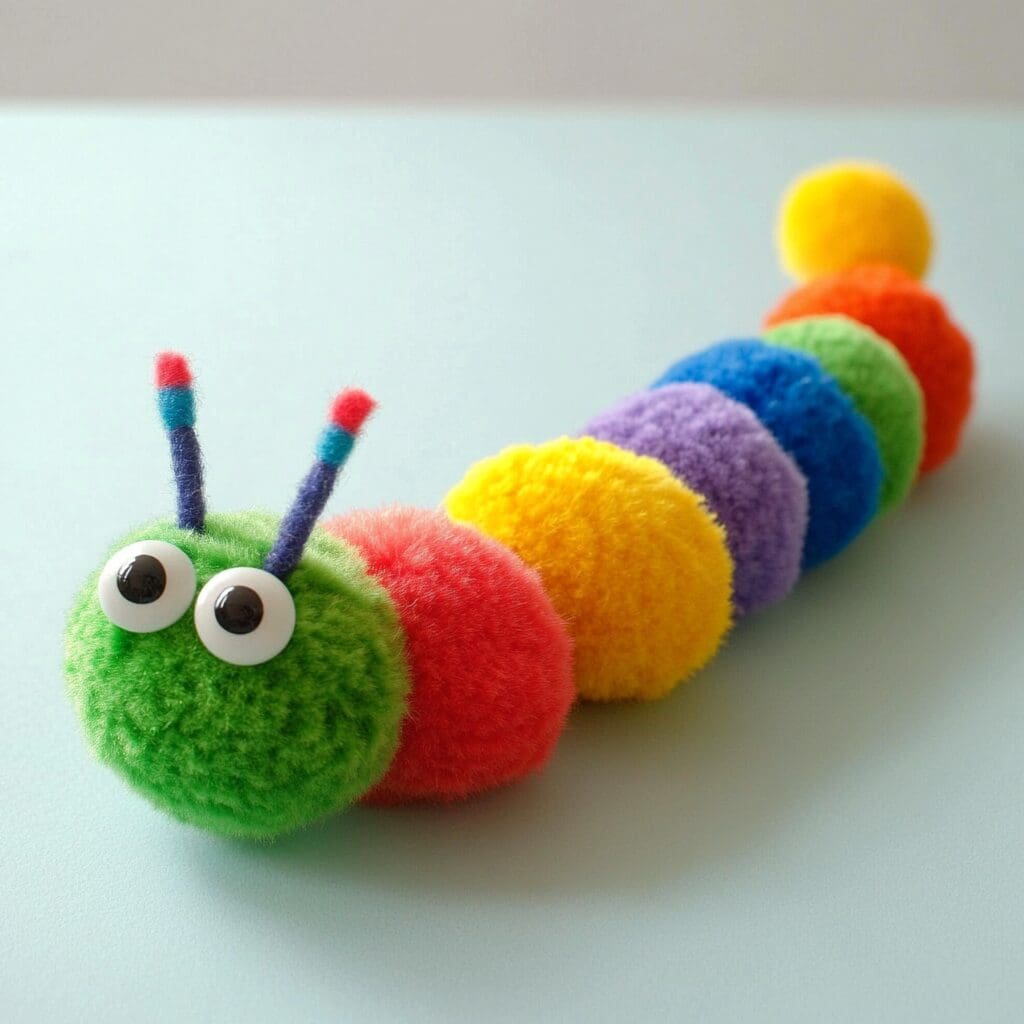
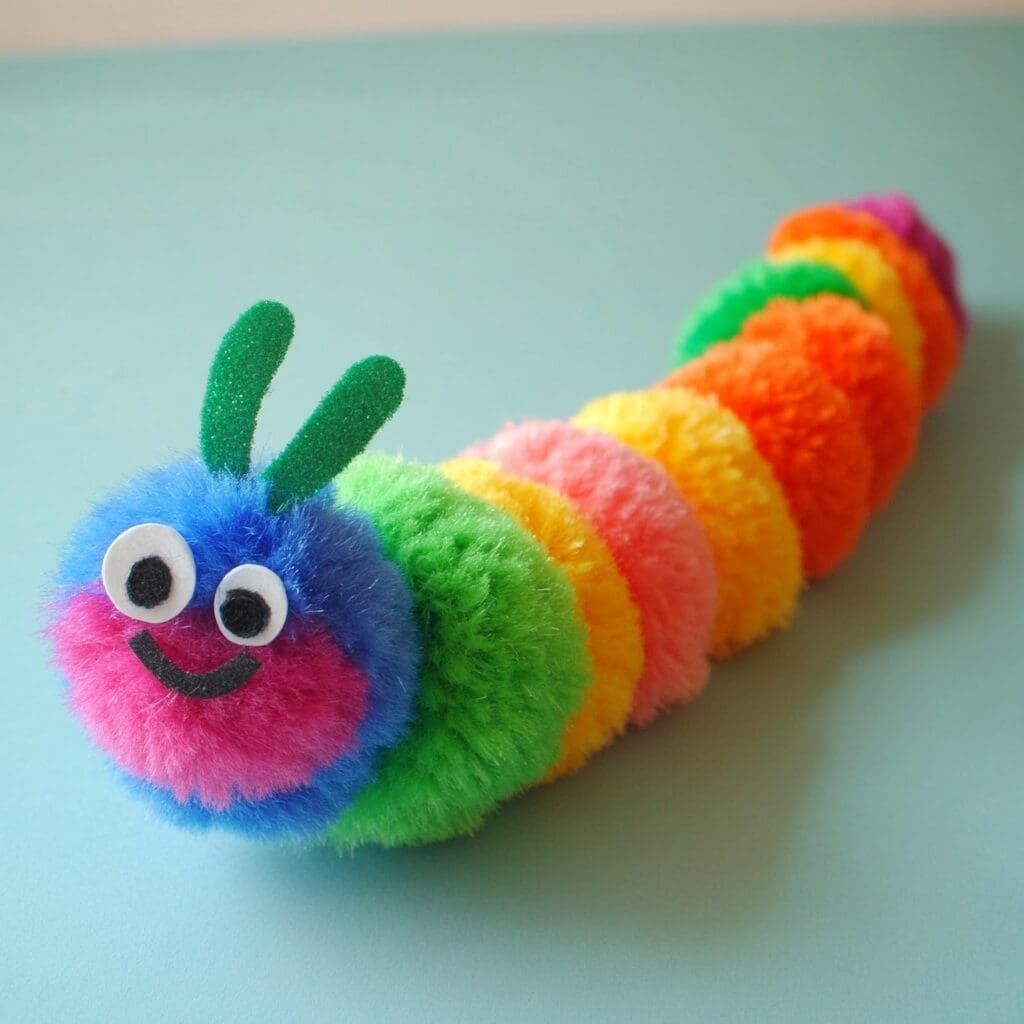
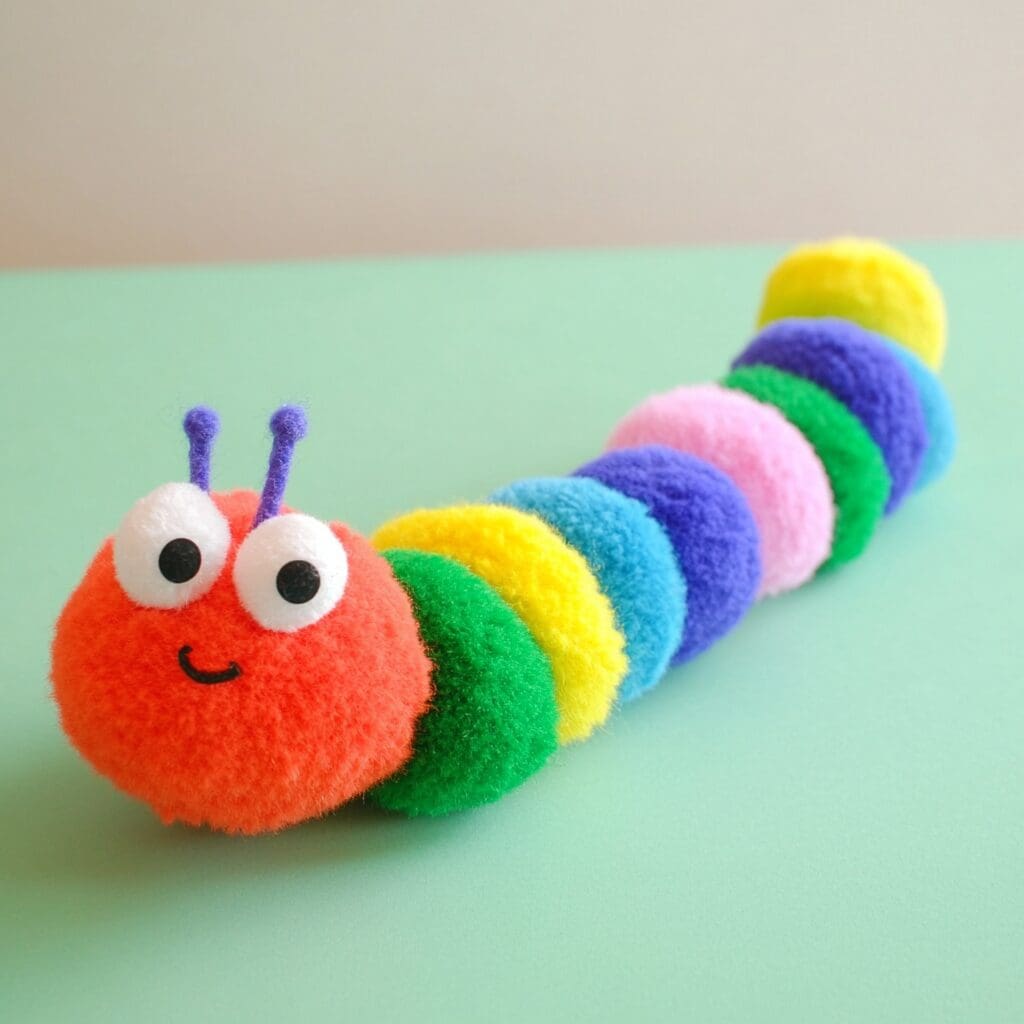
4. Pom-Pom Caterpillars
- Line up small pom-poms on a popsicle stick in a row.
- Glue each pom-pom onto the stick to form the caterpillar’s body.
- Add googly eyes to the first pom-pom to create a face.
- Draw or glue on a small smile to complete the caterpillar.
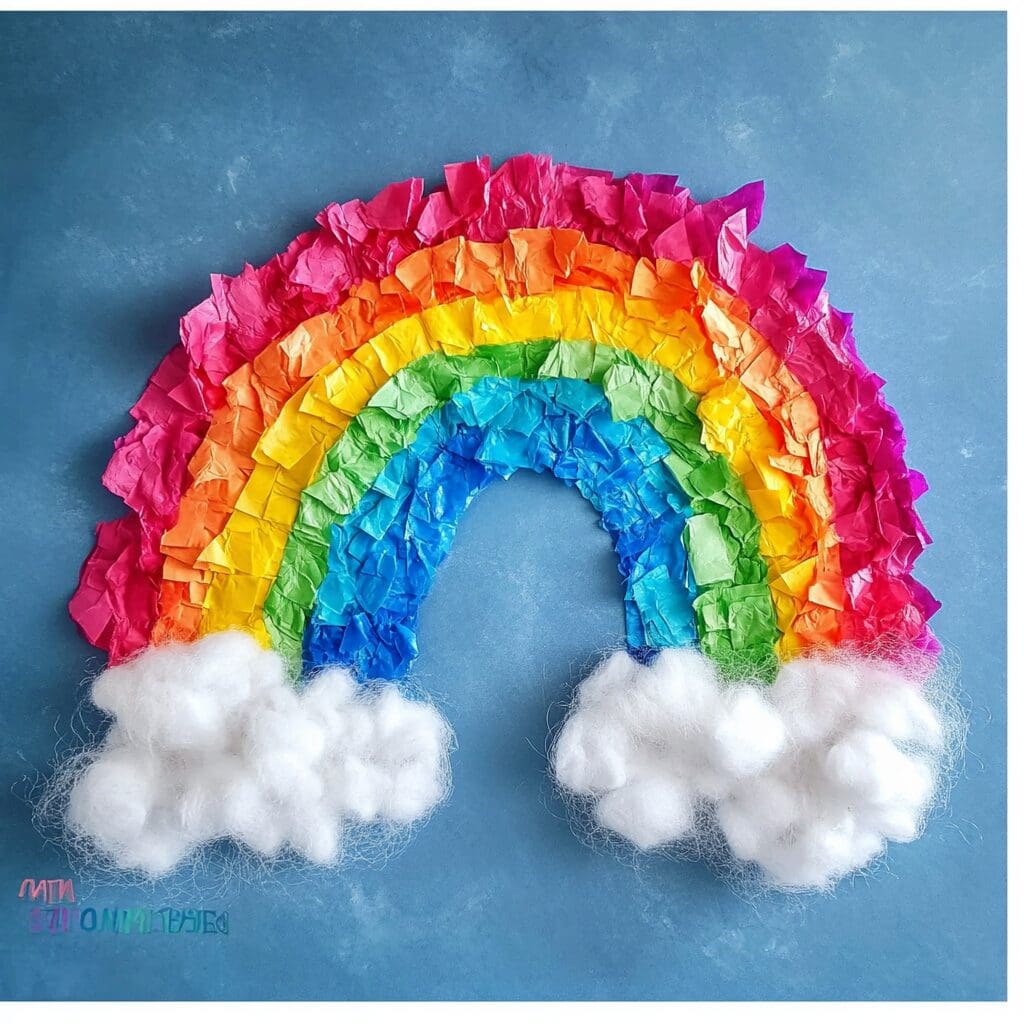
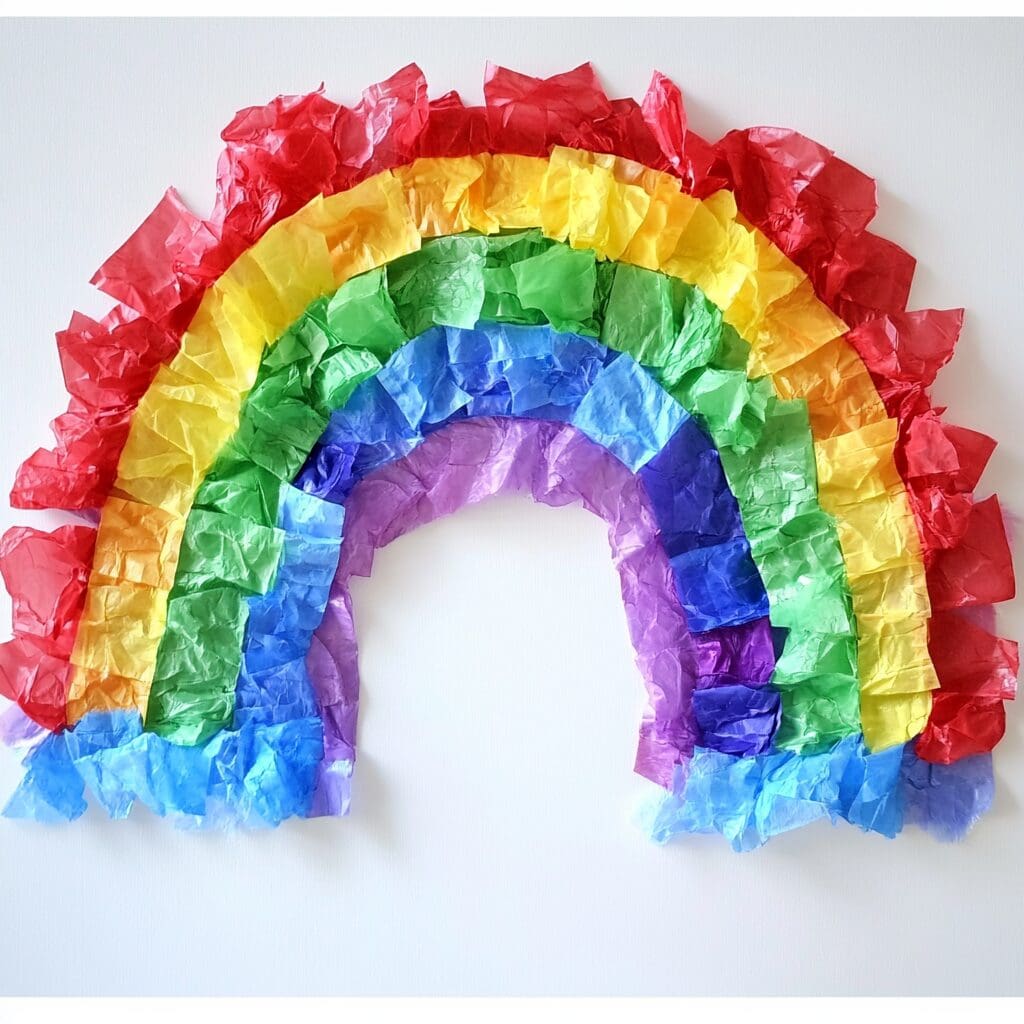
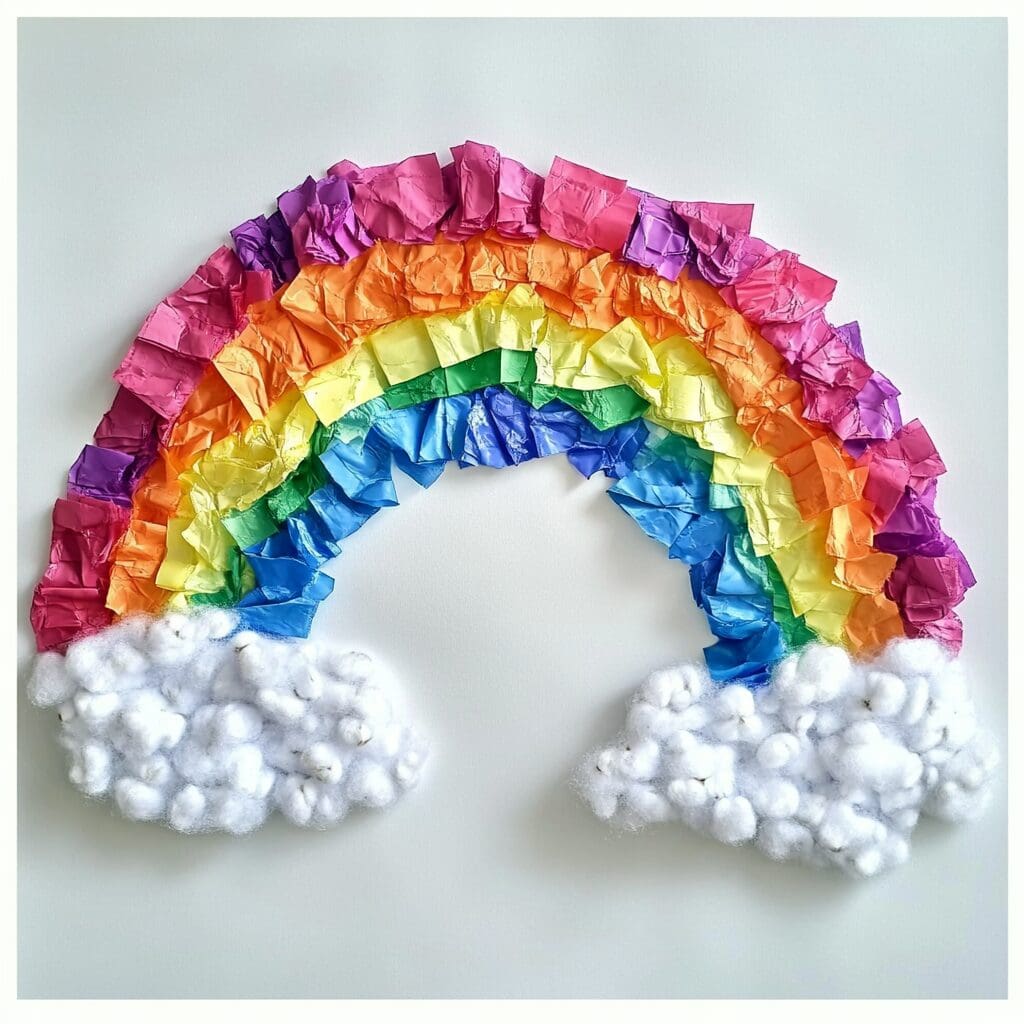
5. Tissue Paper Rainbows
- Cut tissue paper into small squares of various rainbow colors.
- Draw a rainbow outline on a piece of paper.
- Glue the tissue paper squares inside the outline in the correct color order.
- Let the rainbow dry before displaying it.
6. Spring Birds Nest
- Paint a small paper bowl brown to resemble a nest and let it dry.
- Fill the inside of the bowl with shredded paper or straw.
- Make small birds using pom-poms, googly eyes, and feathers.
- Place the birds inside the nest for a cozy spring scene.


7. Flower Crown
- Cut out various flower shapes from colored construction paper.
- Attach the flower cutouts to a long strip of paper.
- Decorate the flowers with markers, glitter, or sequins.
- Wrap the strip around your head and secure it to create a crown.


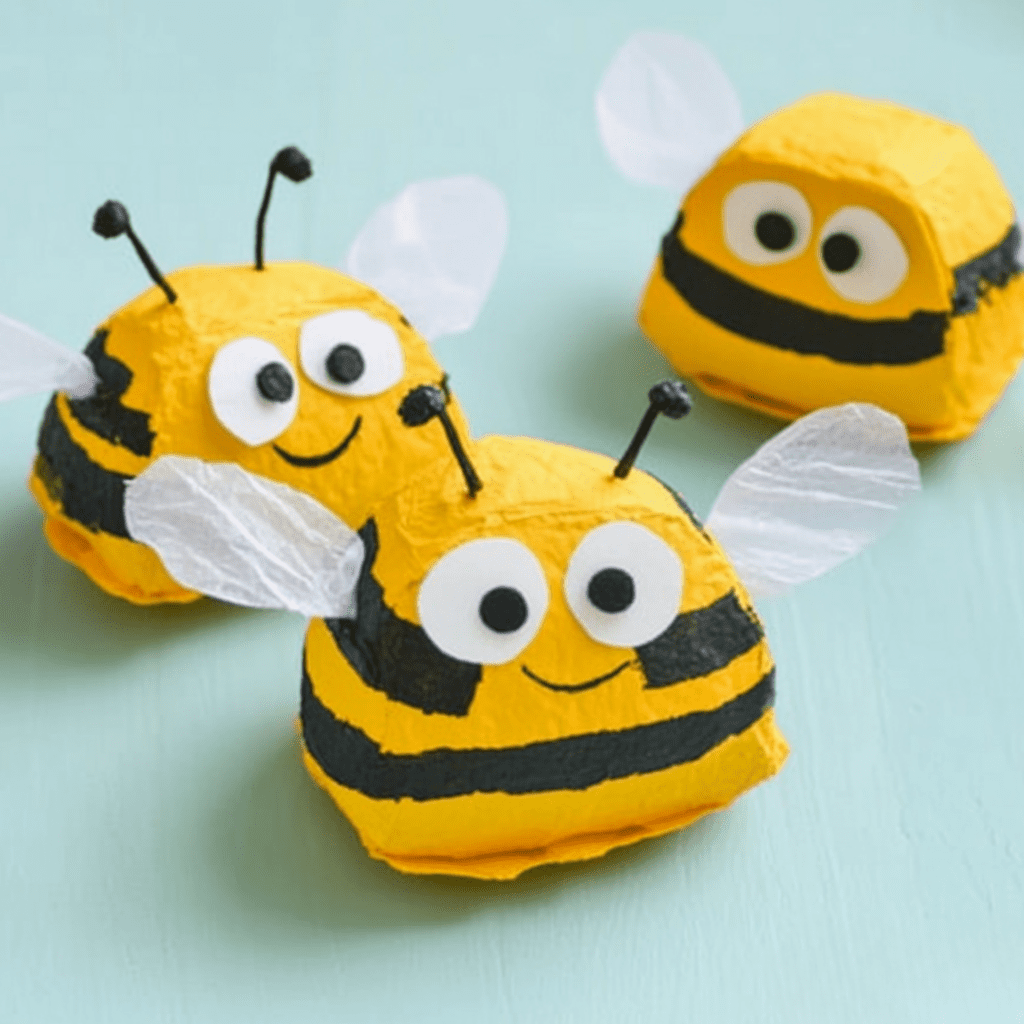
8. Egg Carton Bees
- Cut out individual sections from an egg carton and paint them yellow.
- Draw black stripes on each section to create a bee’s body.
- Glue on googly eyes and add a small smile for a face.
- Attach small tissue paper wings to the sides of each bee.


9. Sunshine Plate
- Paint a paper plate yellow to resemble the sun.
- Cut out triangular rays from yellow construction paper.
- Glue the rays around the edge of the plate.
- Draw a smiling face in the center of the plate to complete the sun.


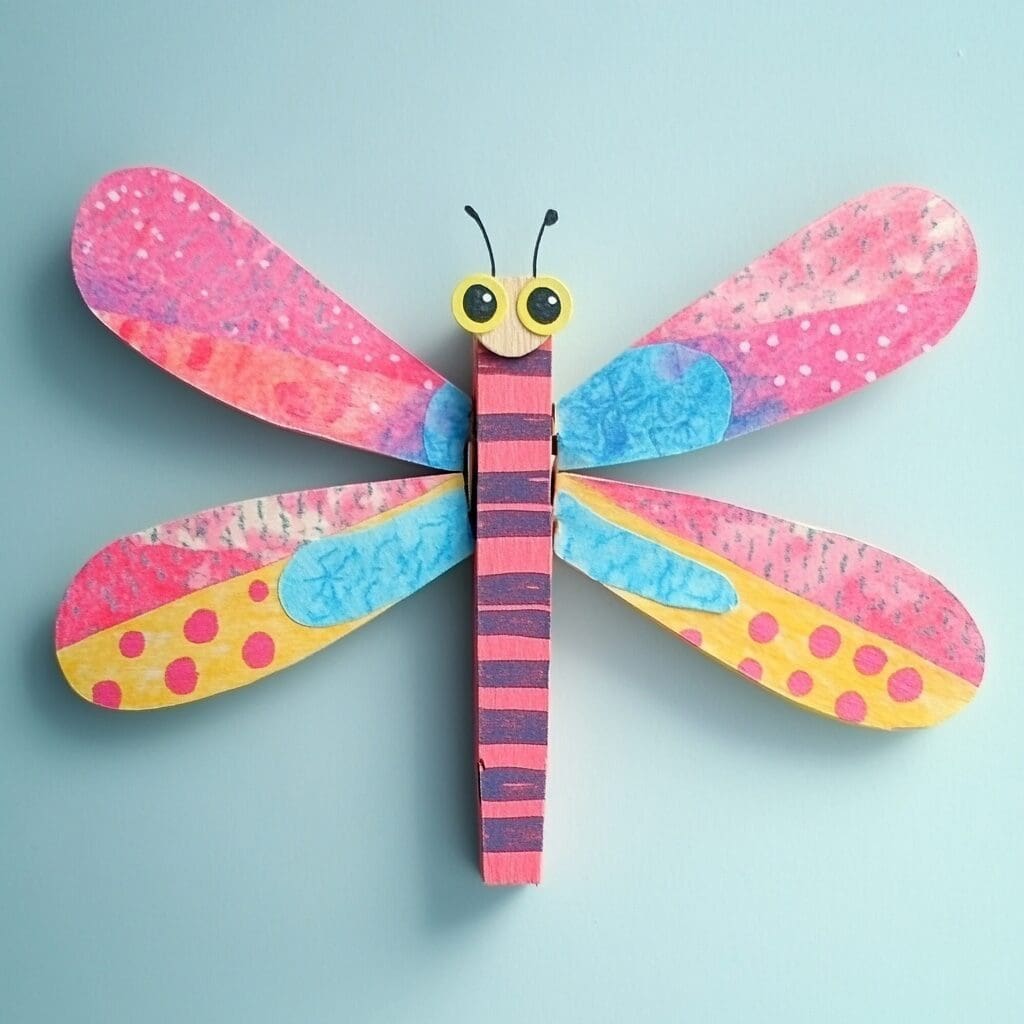
10. Clothespin Dragonflies
- Paint or color the clothespins with bright colors.
- Cut out tissue paper wings and glue them to the top of the clothespins.
- Add googly eyes to the top of each clothespin.
- Use markers to add details like stripes or spots on the wings.


11. Yarn Wrapped Butterflies
- Cut a butterfly shape from a piece of cardboard.
- Wrap colorful yarn around the cardboard to cover the wings and body.
- Attach pipe cleaner antennae at the top of the butterfly’s head.
- Glue on googly eyes for a fun, finished look.


12. Finger Painted Tulips
- Dip fingers in different colored paints.
- Use fingers to create tulip shapes on a piece of paper.
- Paint or draw green stems and leaves for each tulip.
- Allow the painting to dry before displaying.


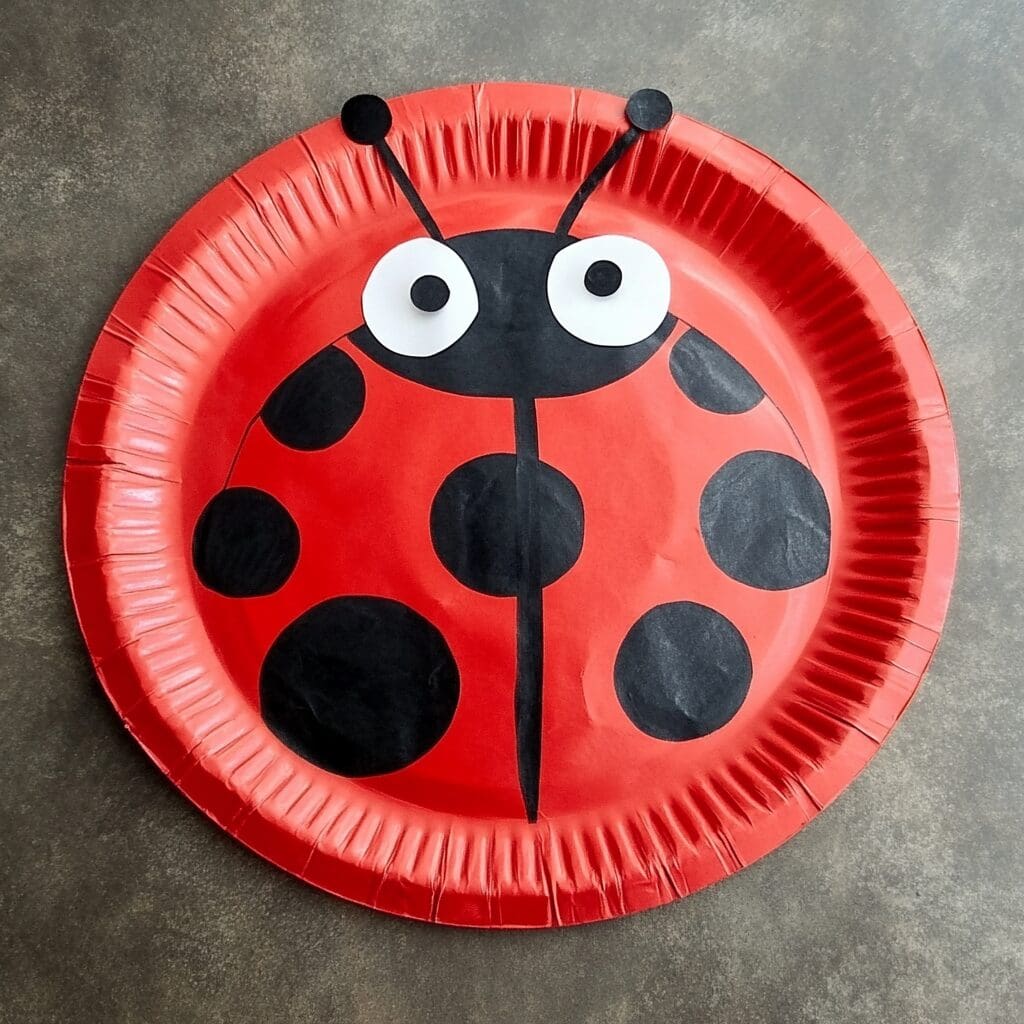
13. Paper Plate Ladybugs
- Paint a paper plate red and allow it to dry completely.
- Cut out small circles from black construction paper for spots.
- Glue the black spots onto the red plate.
- Add googly eyes and pipe cleaner antennae to the top of the plate.


14. Feathered Birds
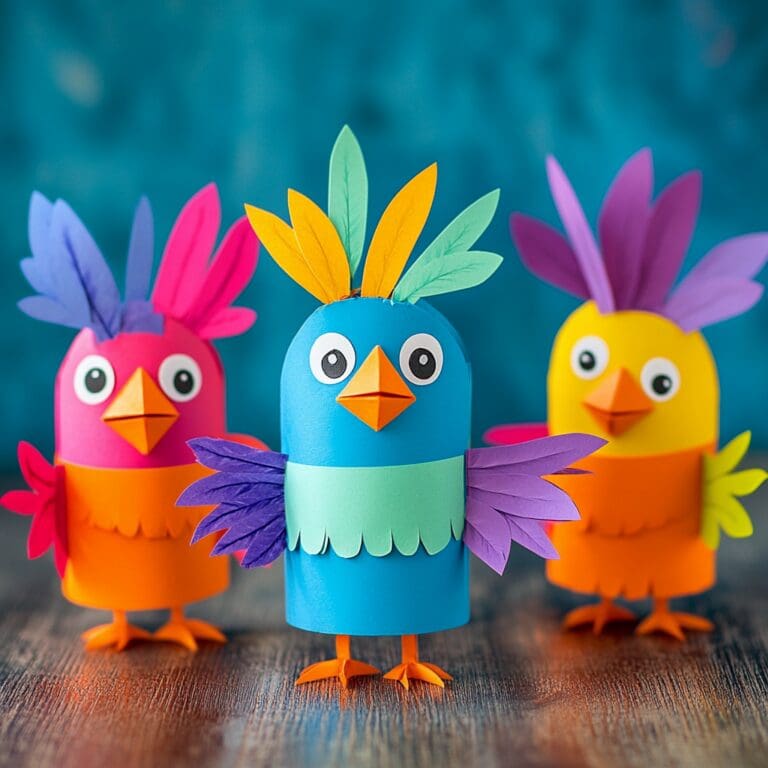
- Cut bird shapes from construction paper.
- Decorate the birds with colorful feathers glued onto the body.
- Attach googly eyes and a small orange paper beak.
- Draw or color in wings and feet to complete the bird.


15. Flower Pot Painting
- Choose a small terracotta pot and paint it with bright acrylic colors.
- Add designs like flowers, dots, or stripes using a brush or paint pen.
- Allow the pot to dry completely.
- Plant a small flower or herb inside the painted pot.


With these 15 easy spring crafts for kids, you and your kids can celebrate the beauty of the season while creating fun and memorable art. Crafting is a wonderful way to welcome spring into your home and engage kids in hands-on activities that spark their creativity.
As the seasons change, consider transitioning from these spring crafts to making autumn decor, or explore our garden coloring pages to keep the crafting fun going all year long. Happy crafting!


![15 easy spring craft ideas for kids 4 Crayola washable finger paints (6ct), toddler paint set, finger paint for kids, preschool supplies for teachers, nontoxic [amazon exclusive]](https://m.media-amazon.com/images/I/81wJg3kH33L.__AC_SX300_SY300_QL70_ML2_.jpg)
![15 easy spring craft ideas for kids 5 Washable liquid school glue [set of 3] size: 1. 25\\\](https://m.media-amazon.com/images/I/81mAc4JWdjL.__AC_SX300_SY300_QL70_ML2_.jpg)


