Creating unique and fun crafts at home can be a delightful way to spend quality time with your family, and one of the most enjoyable projects you can try is a bubble wrap card design. This creative activity sparks imagination and results in a beautifully textured card that is perfect for any occasion. Whether you’re making a birthday card, a thank you note, or just a special message for a loved one, this technique adds a playful twist that’s sure to impress.
The beauty of the bubble wrap card design lies in its simplicity and versatility. With just a few basic materials, you can create a variety of designs that range from simple patterns to more intricate images. The bubble wrap adds a unique texture that makes each card feel personalized and one-of-a-kind. Plus, it’s a fantastic way to get the whole family involved in crafting, as kids will love the tactile experience of working with bubble wrap and seeing their designs come to life.
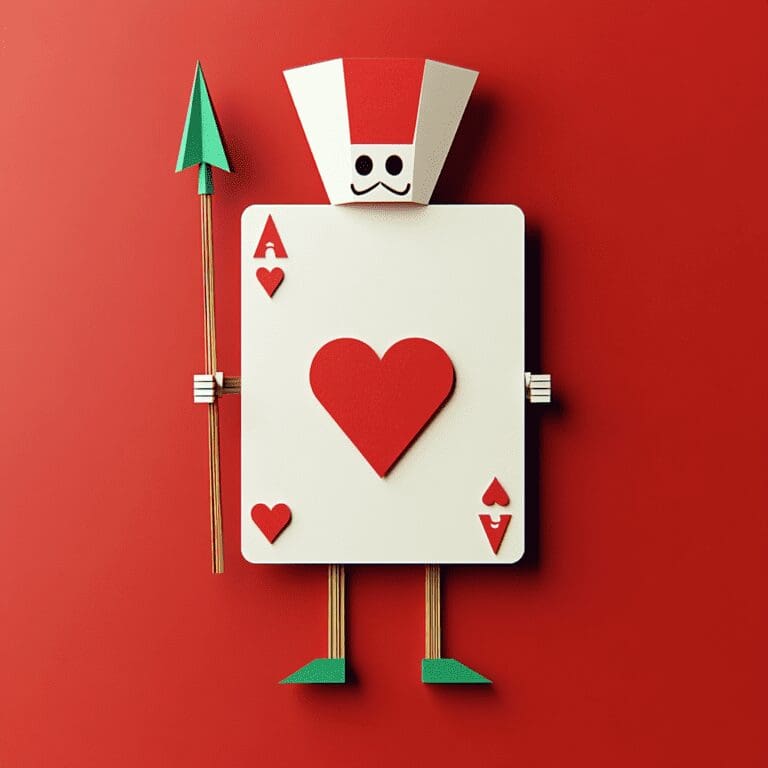
As you try out this project, you can even explore variations like adding in a playing card design element or experimenting with different colors and patterns. The possibilities are endless, and each card you create will be a special keepsake. So gather your supplies and get ready to enjoy some creative family fun with these 6 easy steps to create a stunning bubble wrap card design!
What You’ll Need
Method
1. Take your card and fold it in half as evenly as you can.
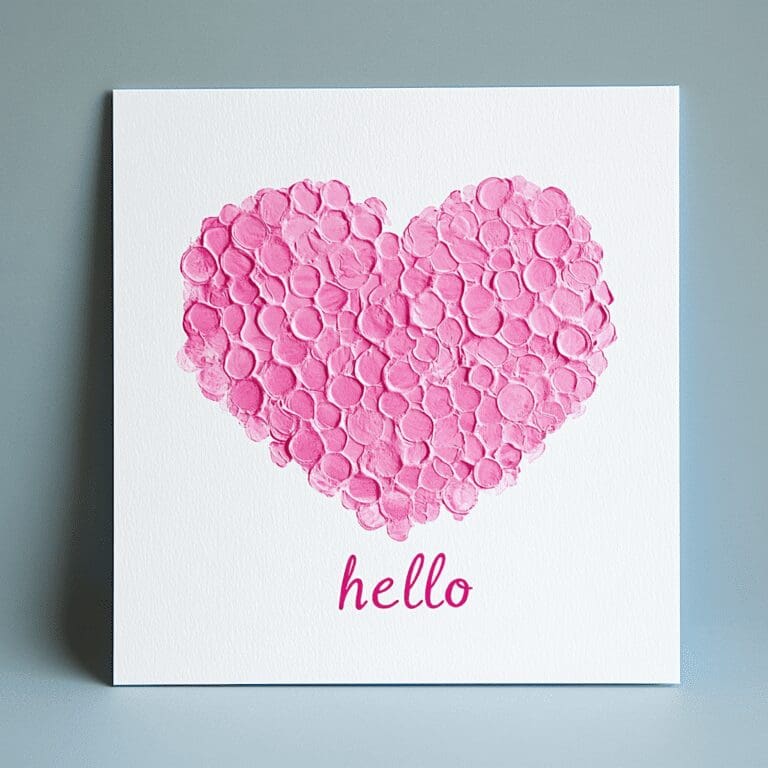
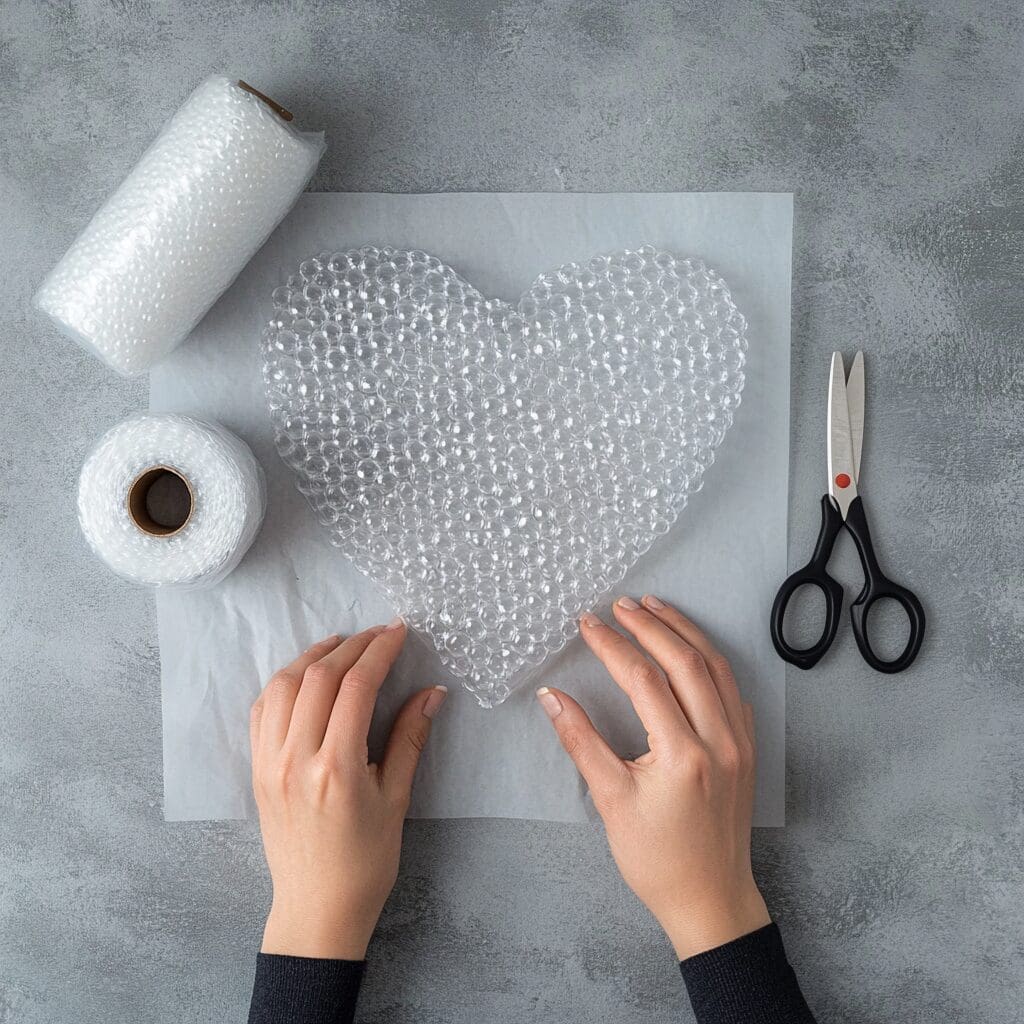
2. Grab your piece of bubble wrap and cut a heart shape out of it, making sure it’s smaller than one-half of your card (if it’s too big, the final print will run over the edges of the card and you won’t be able to tell it’s a heart)
3. Paint all over the bubbly side of the bubble wrap as quickly as you can (you don’t want the paint to dry) and then press it onto the card like you would any other stencil, towards the top of the card.
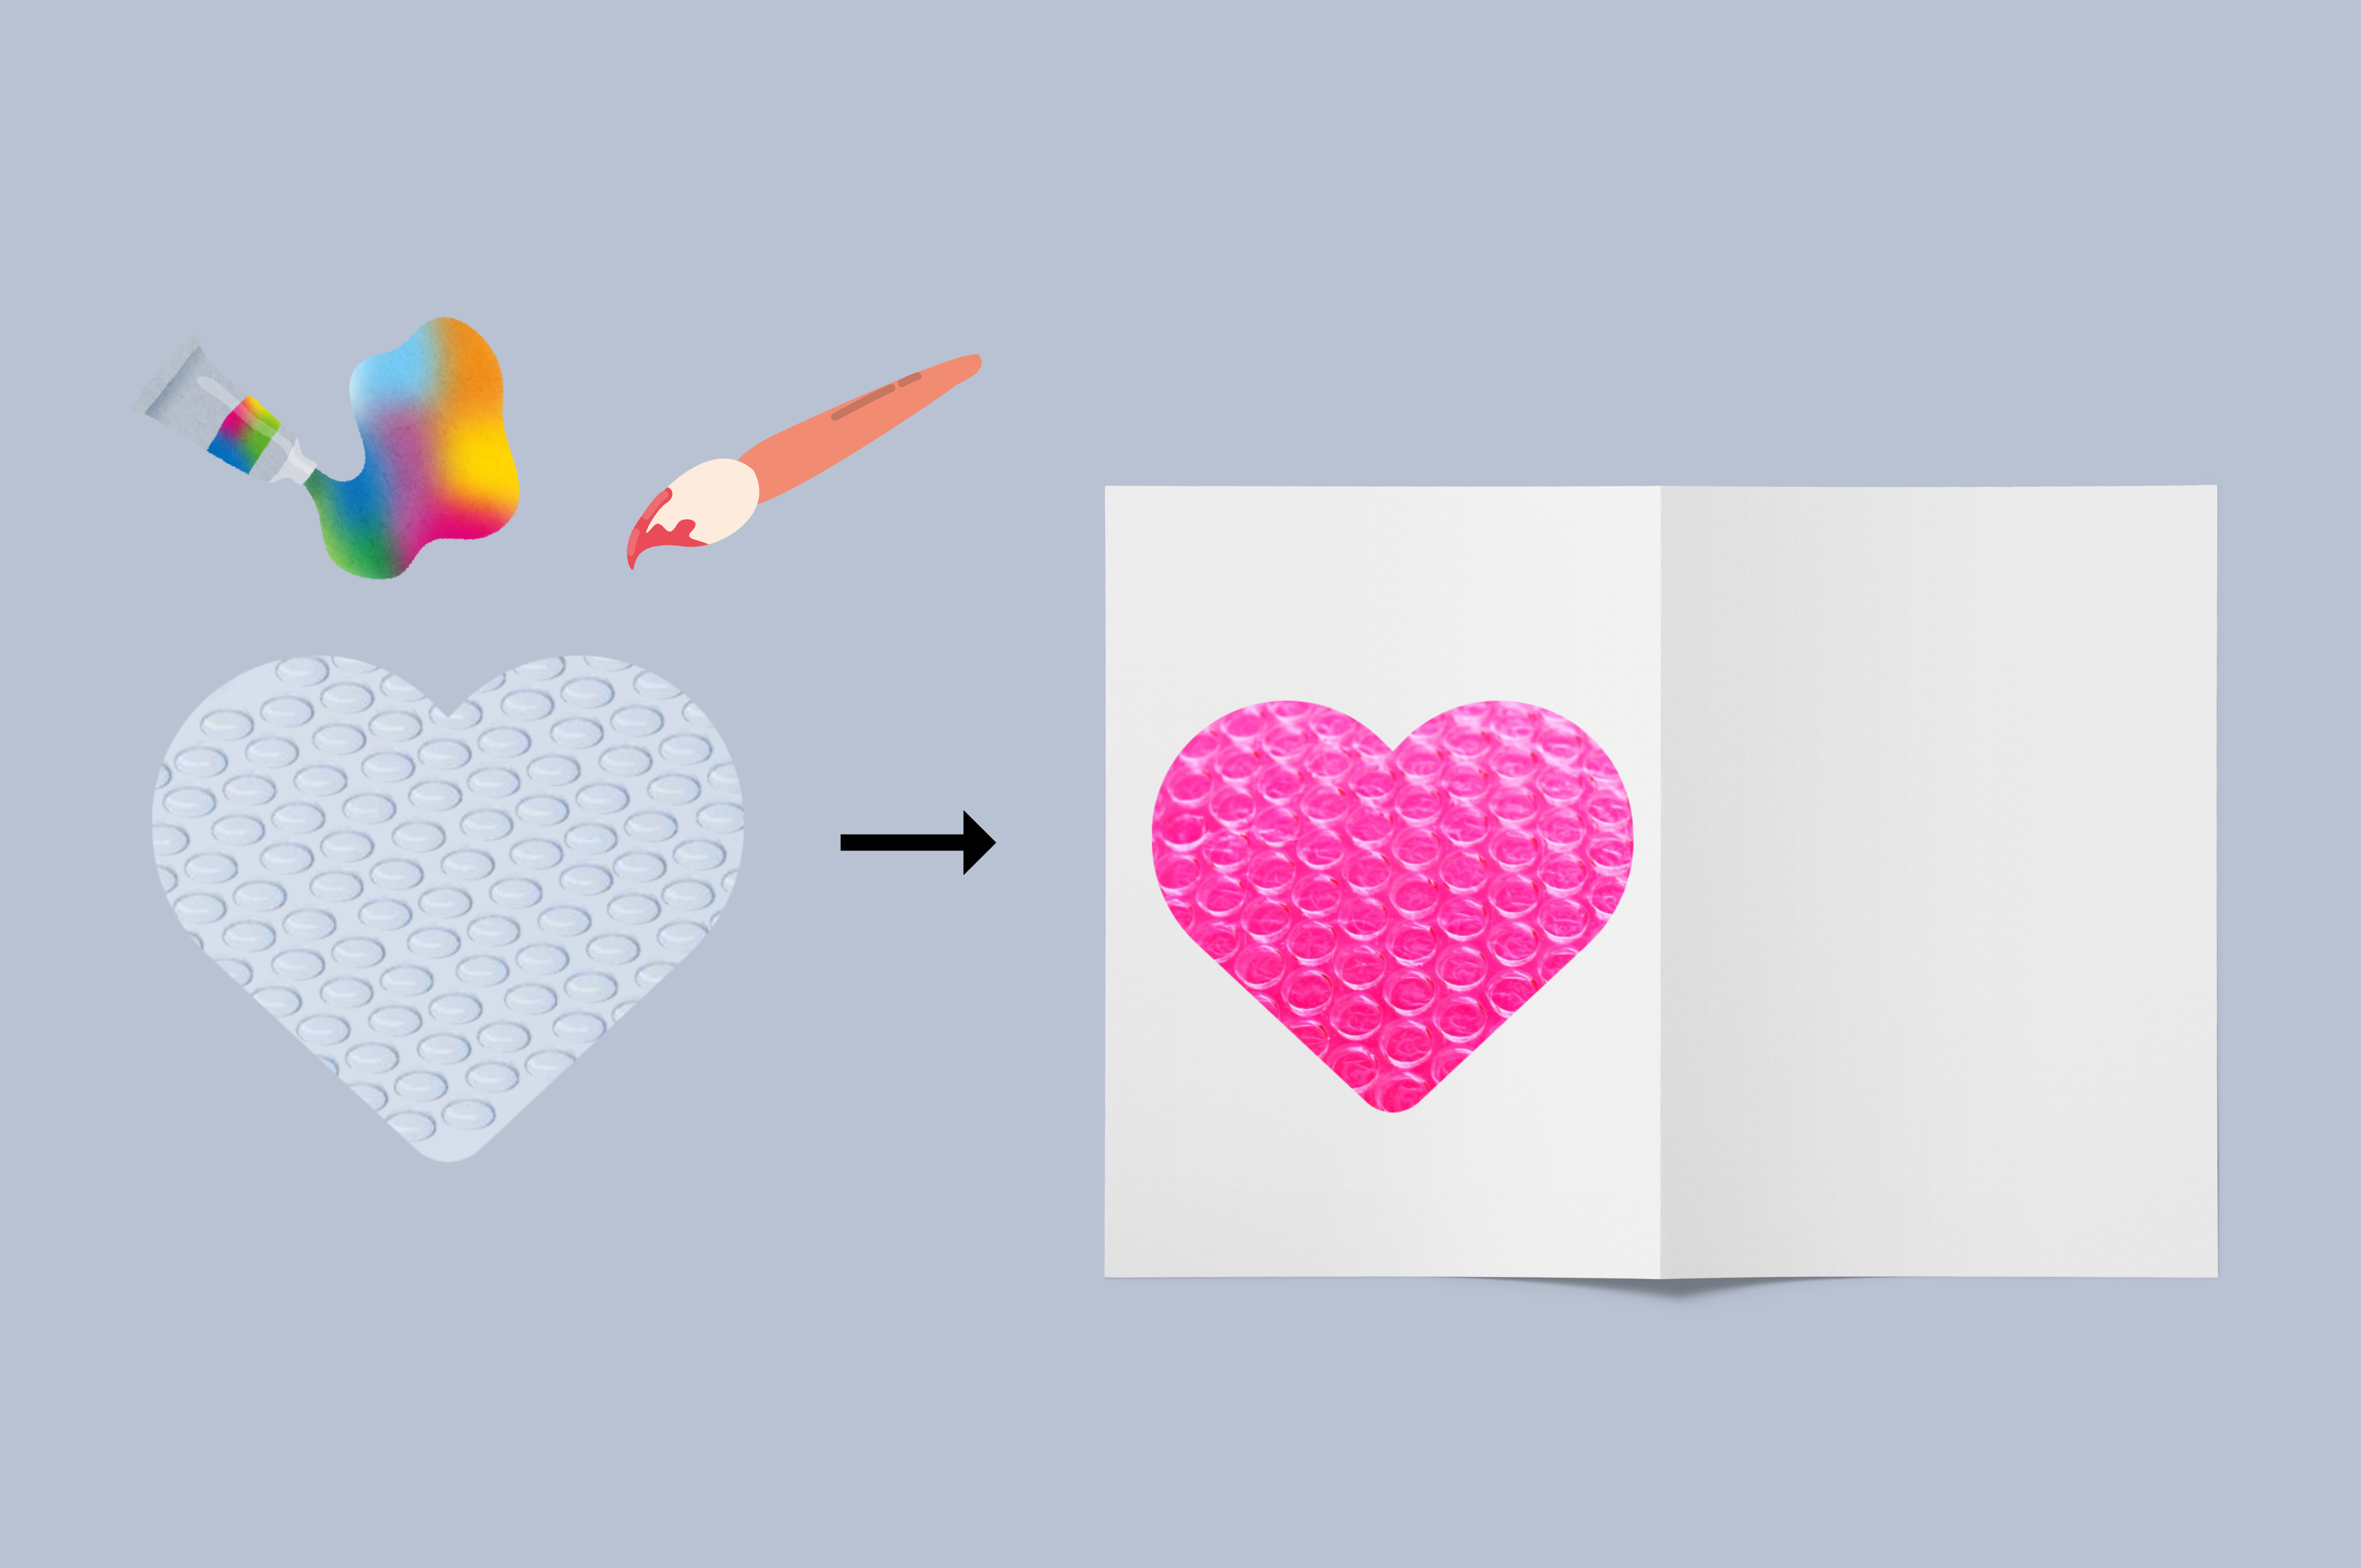
4. Paint a curved line from the point of the heart downwards and make it look like a balloon.
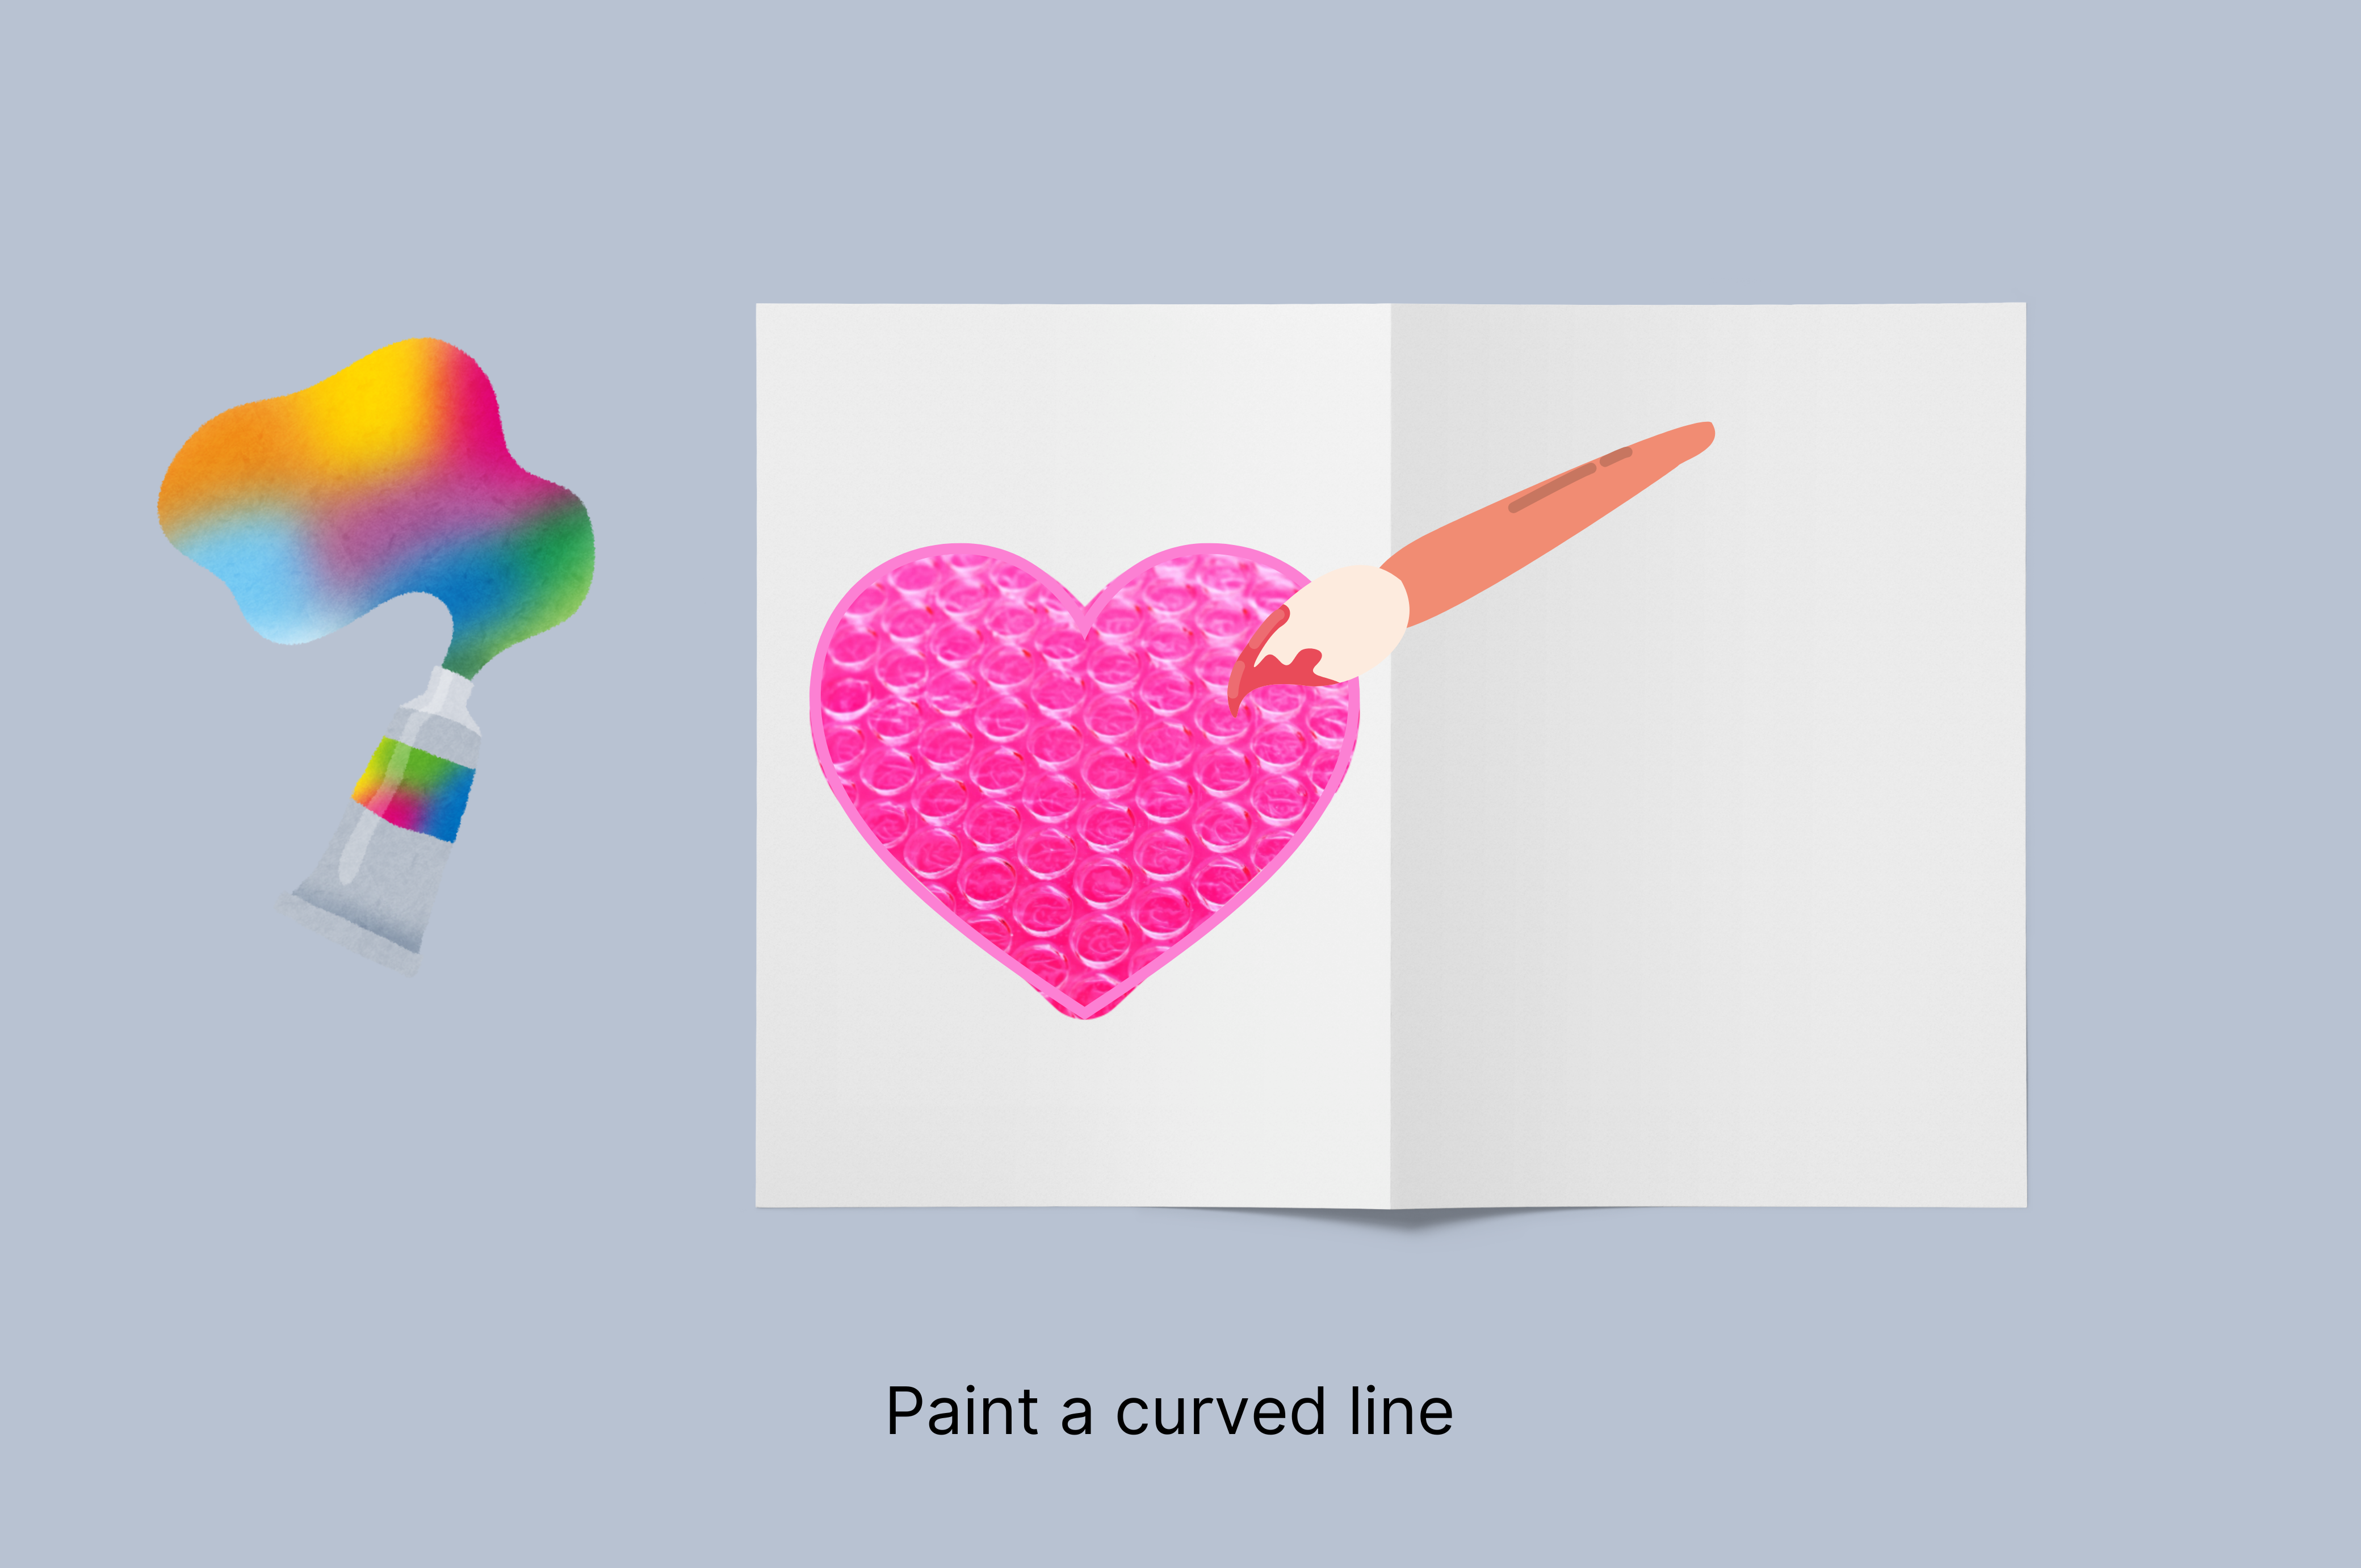
5. Let the paint dry (wait about 10-15 mins).
6. Once it’s dry, you can add any other details you want, like a fun message on the front, or just go straight into writing your message inside the card.
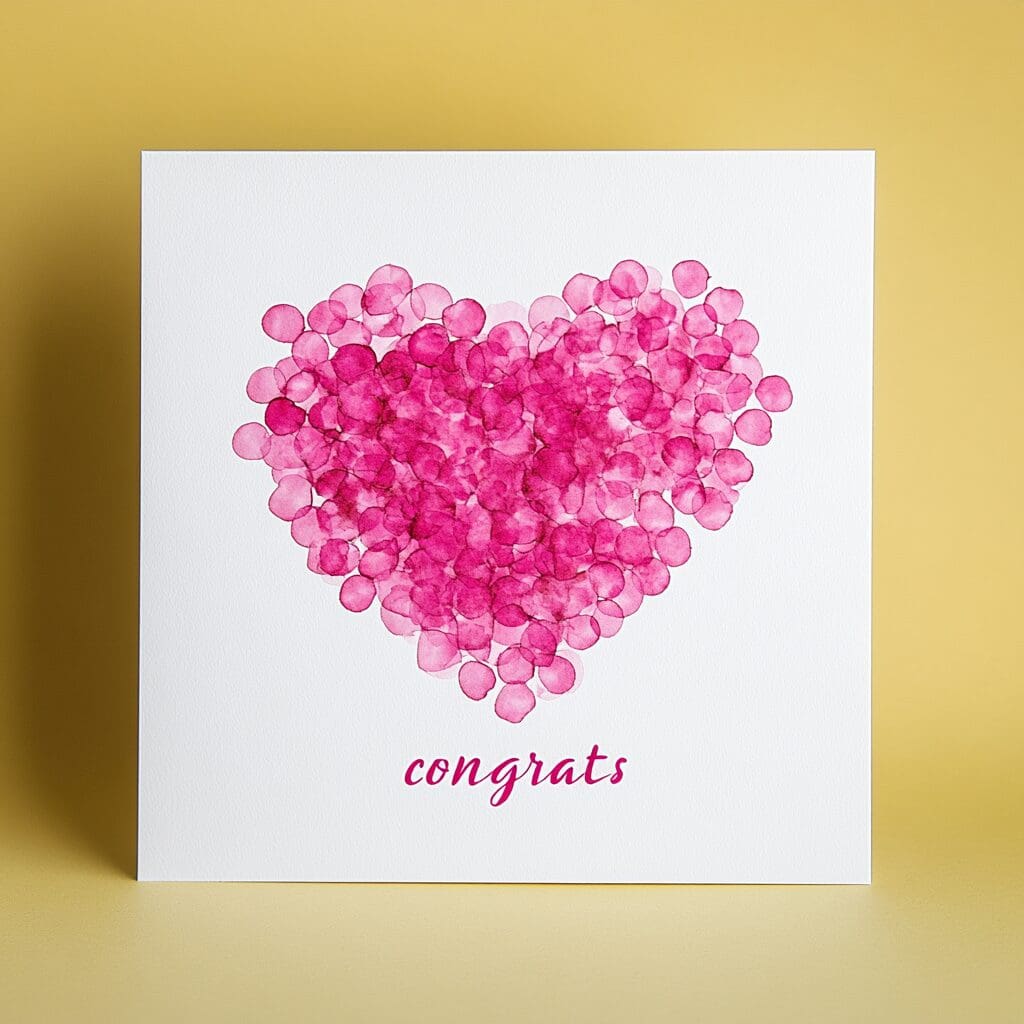
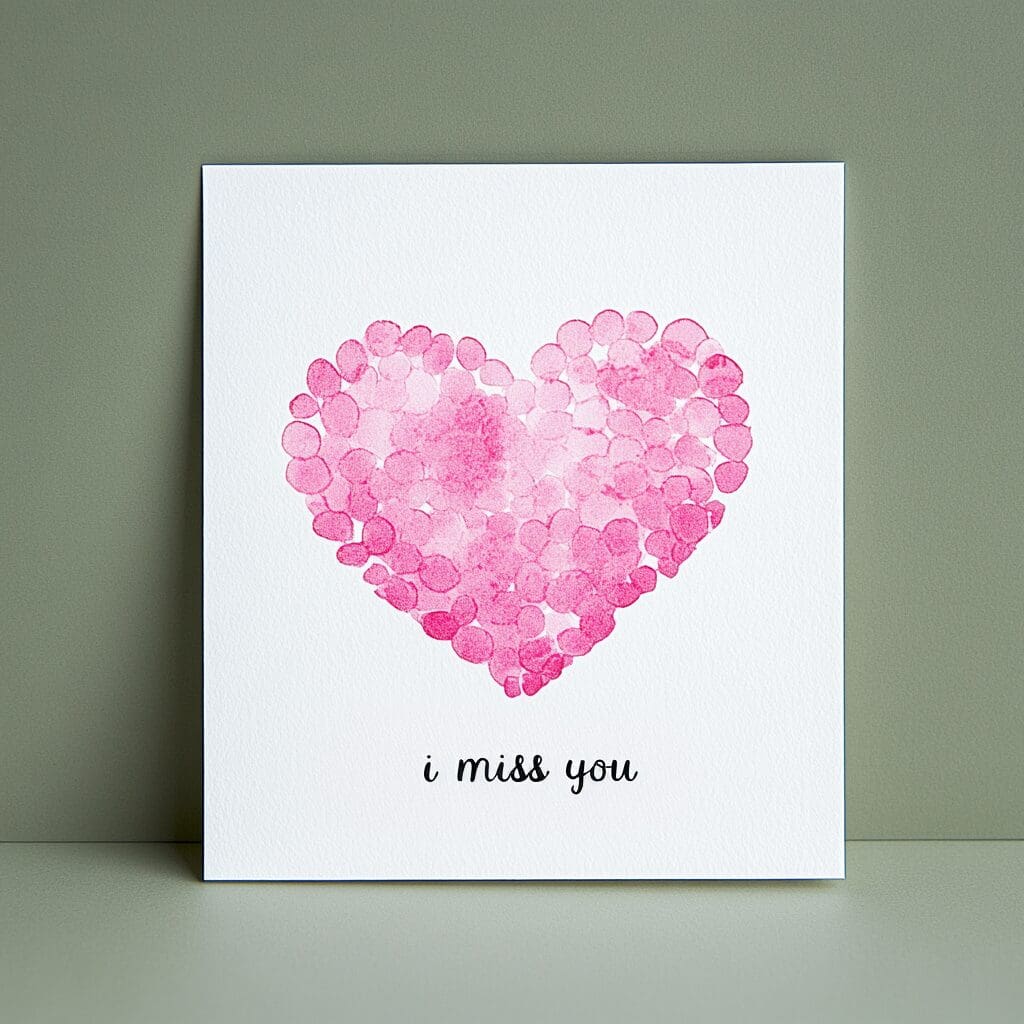
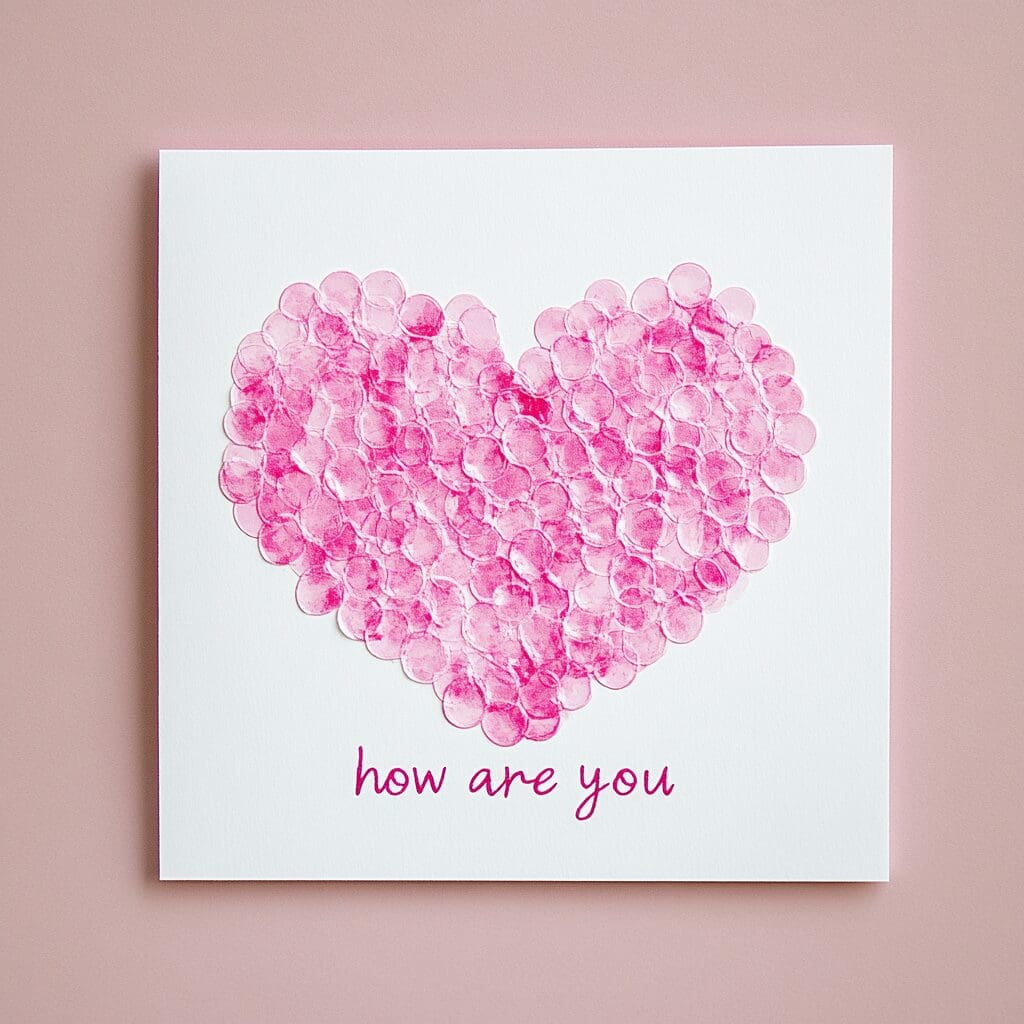
If you enjoyed creating this bubble wrap card, there are plenty more creative crafts to explore! Why not try your hand at making some adorable heart crafts next? These projects are just as fun and versatile, perfect for adding a personal touch to any occasion.
Whether it’s for Valentine’s Day, an anniversary, or just to show someone you care, heart crafts offer endless possibilities for creativity. Explore the world of crafting and see how much joy you can spread with your handmade creations!

