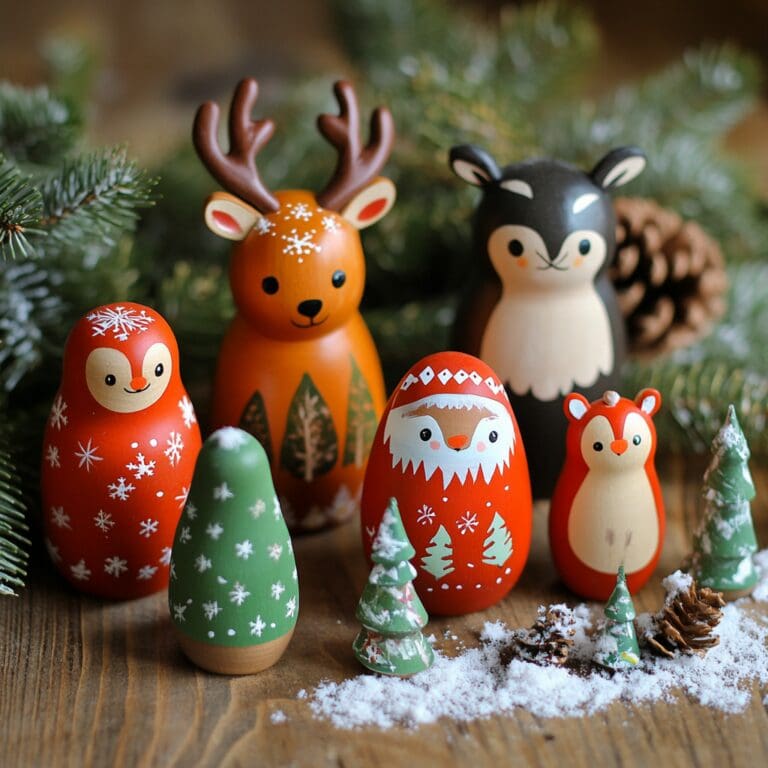
Creating Christmas nesting dolls is a joyful way to celebrate the holiday season. These charming crafts allow kids and adults to express their creativity while making delightful decorations. By personalizing each doll, you can create a unique set that reflects your family’s spirit and style.
The beauty of Christmas nesting dolls lies in their versatility. Whether you want to paint classic Santa figures, festive animals, or whimsical winter scenes, there are countless design possibilities. Each doll can be adorned with colorful patterns and details, making the crafting process as enjoyable as the final product.
Involving children in making Christmas nesting dolls sparks their creativity and encourages family bonding. As you work together, you’ll share stories, laughter, and holiday traditions, all while fostering artistic skills. It’s a wonderful way to create lasting memories during the festive season.
What You’ll Need
Method
1. Classic Santa Claus
- Paint the largest doll as Santa with a red suit and white trim.
- Create a reindeer for the next size down, complete with antlers.
- For the smallest doll, paint a festive gift with a bow.
- Add details with fine-tipped markers for facial features.


2. Winter Wonderland
- Start with a white base for the largest doll to represent snow.
- Use light blue and silver for the next doll to mimic ice.
- Add tiny trees and snowflakes using fine-tipped markers for detail.
- Finish with a layer of clear varnish for a glossy effect.


3. Nutcracker Suite
- Paint the largest doll as the Nutcracker in vibrant colors.
- Use red and green for the next doll to represent the Sugar Plum Fairy.
- Add details like crowns and costumes with fine-tipped markers.
- Decorate the smallest doll as a toy soldier or another character.


4. Festive Penguins
- Paint each doll black with a white belly for a penguin look.
- Add colorful scarves or hats to each penguin.
- Use fine-tipped markers for facial features like eyes and beaks.
- Create a winter background with snowflakes on the largest doll.


5. Holiday Ornaments
- Start with a bright base color for the largest doll.
- Paint festive patterns, like stripes and dots, on each doll.
- Use metallic colors to add a shiny ornament effect.
- Finish with a layer of clear varnish to protect your designs.


6. Christmas Animals
- Choose your favorite holiday animals, like reindeer or owls.
- Paint each doll in the respective animal colors.
- Use fine-tipped markers to add details, such as fur patterns and eyes.
- Create a small scene with snow or trees around the animals.


7. Gingerbread Family
- Paint each doll a warm brown to mimic gingerbread.
- Use colorful markers to add icing designs and decorations.
- Make each family member unique with different facial expressions.
- Add little details like candy canes or gumdrops for extra flair.


8. Angel Nesting Dolls
- Paint the largest doll in soft pastels for an angelic look.
- Add wings and halos to each doll using white paint and gold markers.
- Use fine-tipped markers to add details to their dresses.
- Create a starry background for the largest doll to enhance the theme.


9. Snowman Nesting Dolls
- Paint the largest doll white to represent a snowman.
- Paint a black hat and a carrot nose using orange paint.
- Use fine-tipped markers to create eyes, a smile, and buttons.
- For the smaller dolls, paint them as snowballs or mini snowmen with different accessories.


As you explore the world of Christmas nesting dolls through crafting, you’ll find that these crafts can also inspire other festive activities. Pair your crafting with ideas for Christmas tree coloring pages to enhance the holiday spirit, or explore additional craft ideas for Christmas that celebrate the season’s joy.
FAQs
Source

