Creating crafts can be a delightful way to celebrate special occasions, and Halloween is the perfect time to get a little spooky with your creations. One fun and simple project is making a DIY clay ghost. It’s an easy craft that’s perfect for both kids and adults to enjoy together.
In this guide, you’ll learn how to make a ghost out of clay that will add a touch of whimsy to your Halloween decor. This craft is not only enjoyable but also allows for creativity and personalization, making each ghost unique and special.
Whether you want a cute clay ghost to hang as a decoration or a more spooky version, this DIY clay ghost project has you covered.
The process involves using air-dry clay to form a ghostly shape, painting it white, and adding facial features to bring your ghost to life. It’s a simple yet effective way to get into the Halloween spirit and create something memorable. This clay ghost DIY is sure to be a hit with everyone who sees it.
What You’ll Need
- Small bowl of water
Method
1. Start by kneading the air-dry clay until it becomes soft and pliable. This will make it easier to shape.
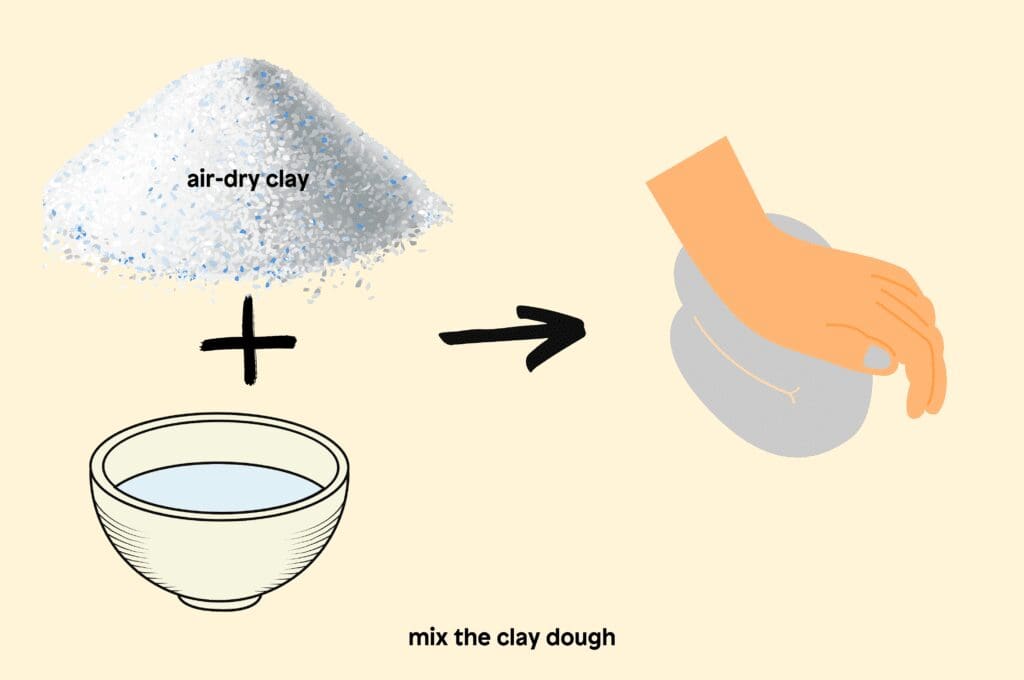
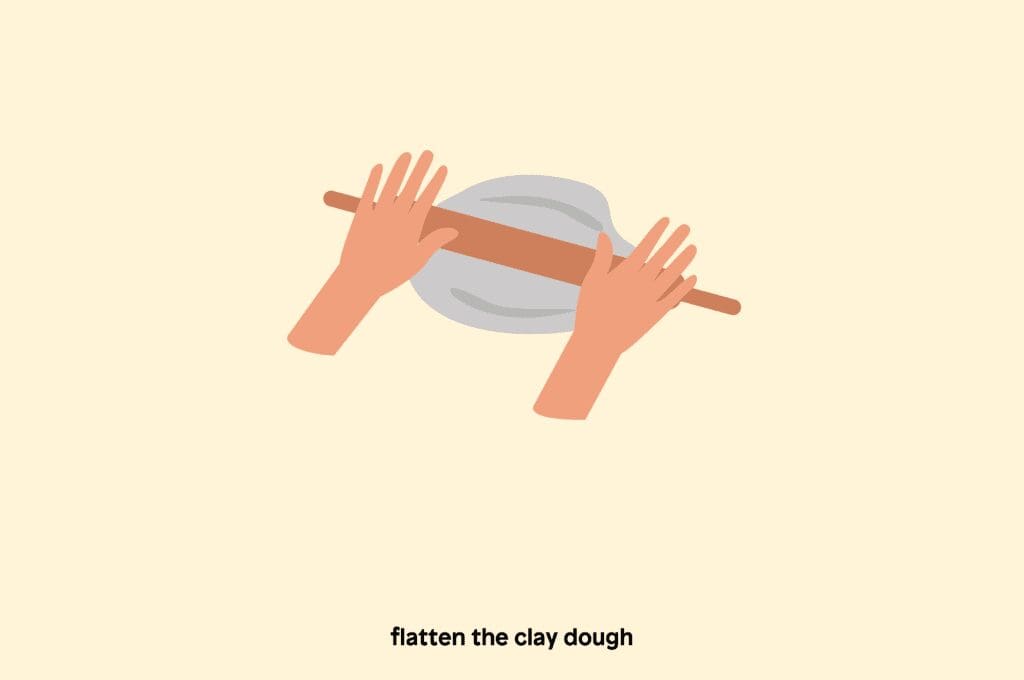
2. Use a rolling pin to flatten the clay to about 1/4 inch (0.6 cm) thickness. This will ensure your ghost is sturdy yet lightweight.
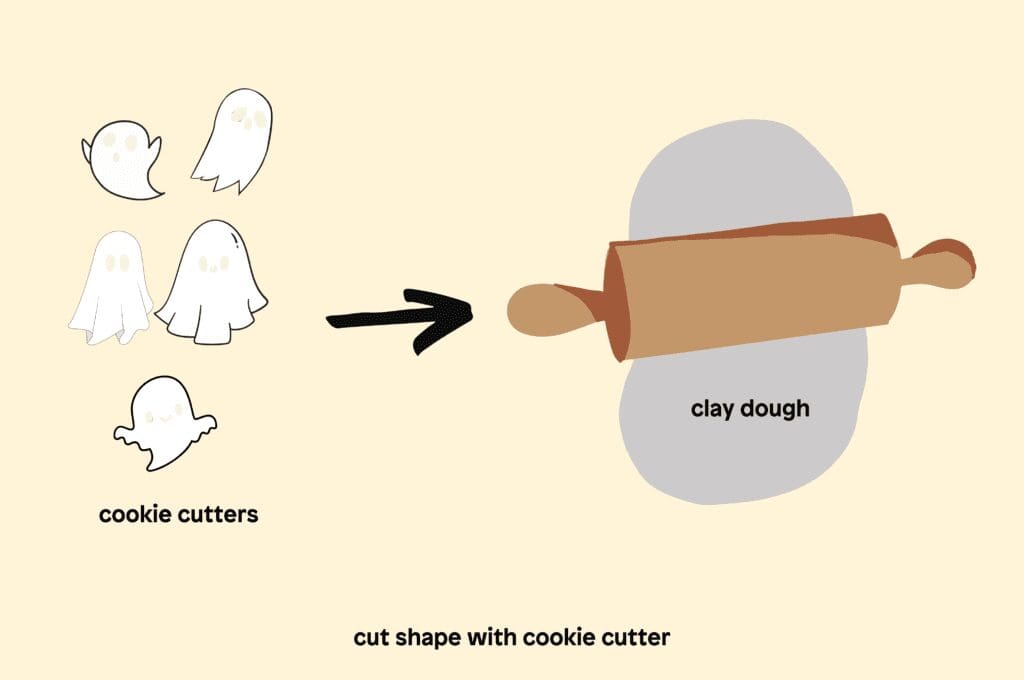
3. Use a ghost-shaped cookie cutter to cut out the shape from the clay. If you don’t have a cutter, you can draw a ghost shape on the clay and cut it out with a knife.
4. With your fingers or a tool, gently press the edges of the clay to create a wavy, ghostly effect. This gives your ghost a more ethereal appearance.
5. If you want to hang your ghost as a decoration, use a small piece of wire or a loop of string. Press it into the top of the ghost shape and smooth the clay around it.
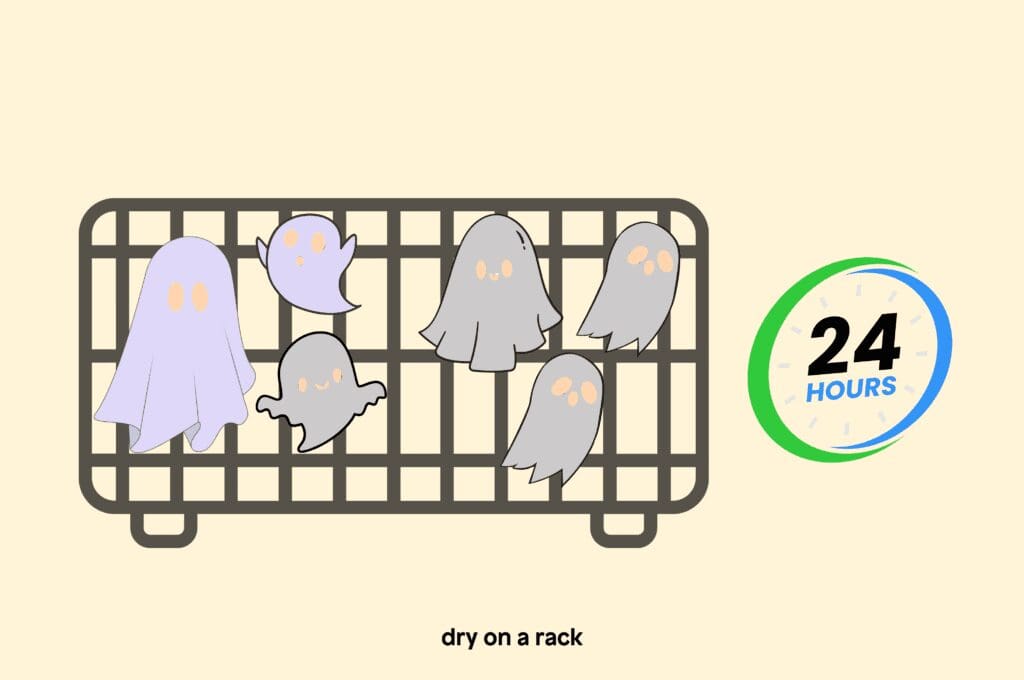
6. Place your ghost on a drying rack or a plate and let it dry according to the instructions on the clay package. This usually takes 24 hours.
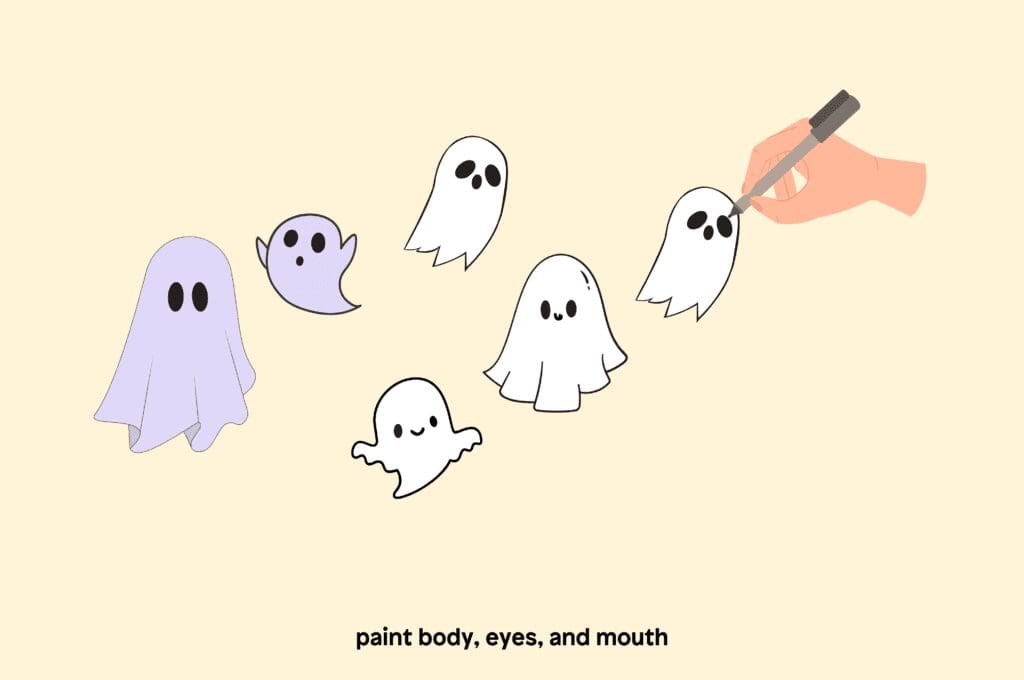
7. Once the clay is completely dry, use a paintbrush to cover the ghost with white paint. Allow it to dry before moving on to the next step.
8. Use a black marker to draw two eyes and a mouth on your ghost. You can also use small googly eyes for a fun touch.
9. If you want your ghost to have a bit of extra shine, you can brush a little glitter onto the wet paint or use glitter glue.
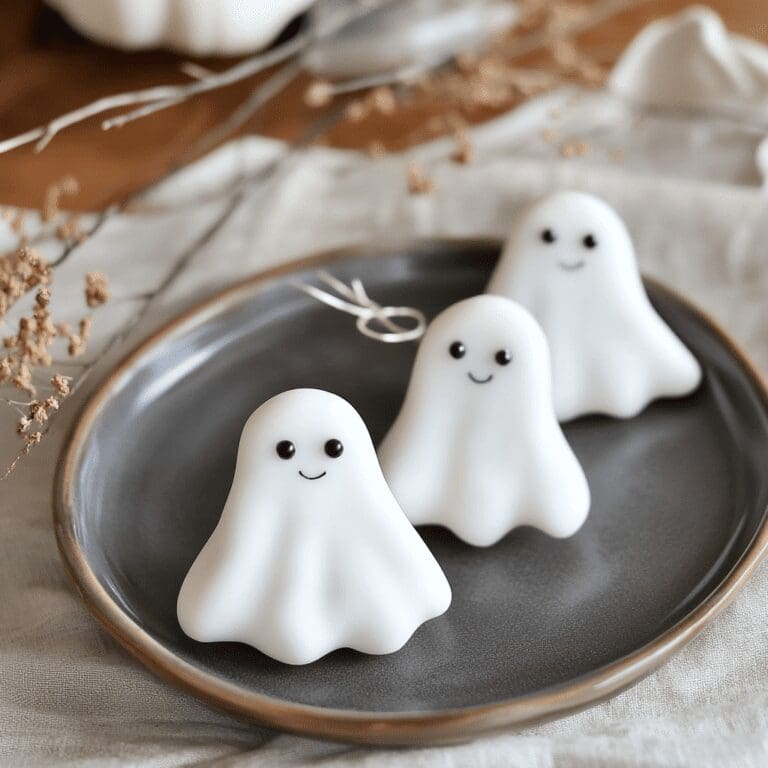
10. Your clay ghost is now ready to be displayed! Hang it on a string, place it on a shelf, or use it as part of a Halloween centerpiece.


Once you’ve completed your charming clay ghost, why not continue the Halloween fun? Explore how to paint a Halloween skeleton face or check out some animal Halloween coloring pages for more spooky crafting ideas. These activities will add even more festive cheer to your Halloween celebrations.
FAQs
Source
https://study.com/blog/6-fun-interesting-halloween-facts-to-share-with-your-kids.html

![Create a clay ghost: fun and spooky halloween craft for kids 3 Crayola air dry clay (5lbs), natural white modeling clay for kids, sculpting material, bulk craft supplies for school classrooms [amazon exclusive]](https://m.media-amazon.com/images/I/61orX92CK8L.__AC_SX300_SY300_QL70_ML2_.jpg)


![Create a clay ghost: fun and spooky halloween craft for kids 7 Crayola washable finger paints (6ct), toddler paint set, finger paint for kids, preschool supplies for teachers, nontoxic [amazon exclusive]](https://m.media-amazon.com/images/I/81wJg3kH33L.__AC_SX300_SY300_QL70_ML2_.jpg)


