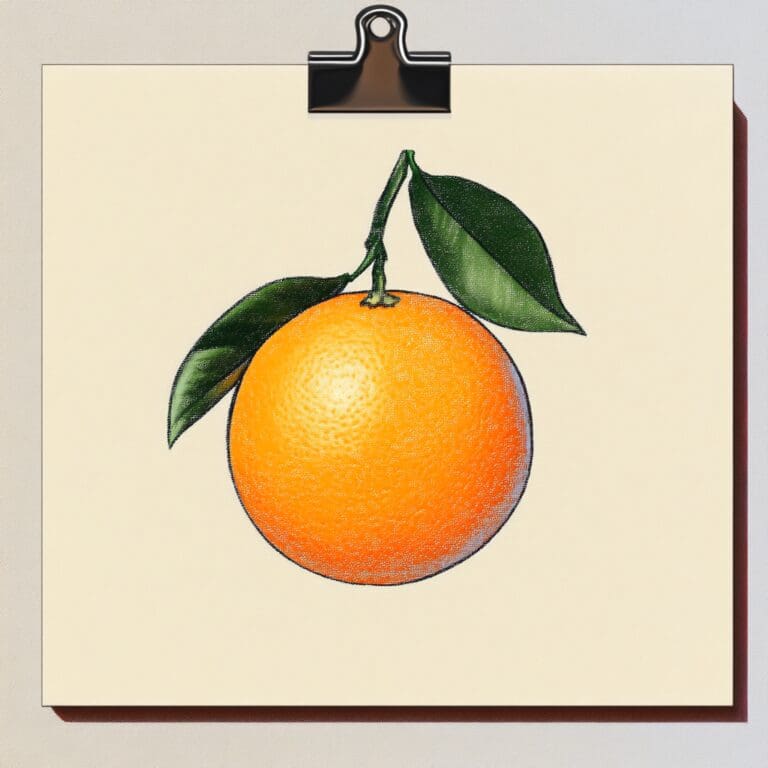
Learning how to draw orange fruits step by step is a fun and simple project that lets you play with shapes, colors, and textures. Oranges are bright, cheerful, and easy to draw, making them a perfect choice for young artists or anyone new to drawing.
This guide shows you how to draw orange slices, a 3D orange, and details like the stem and leaves that make your drawing look lifelike.
By following the steps in this guide, you’ll be able to draw a complete fruit with a vibrant orange color, a natural-looking navel, and detailed leaves.
Not only will you learn the basics of how to draw a 3D orange, but you’ll also pick up tips for shading and adding depth to your art. With just a few materials, you can transform a simple circle into a realistic orange that’s full of color and character.
Once you’ve finished drawing, feel free to experiment with other types of fruits or make a whole bowl of fruit art. You can also try drawing an orange as part of a larger scene, like a fruit basket, or work on how to draw other fruits to build a fun fruit drawing collection.
What You’ll Need
- Paper
- Pencil
- Eraser
- Orange-colored pencil or crayon
- Green pencil or crayon (for leaves)
- Black fine-tip marker (optional, for outline)
Method
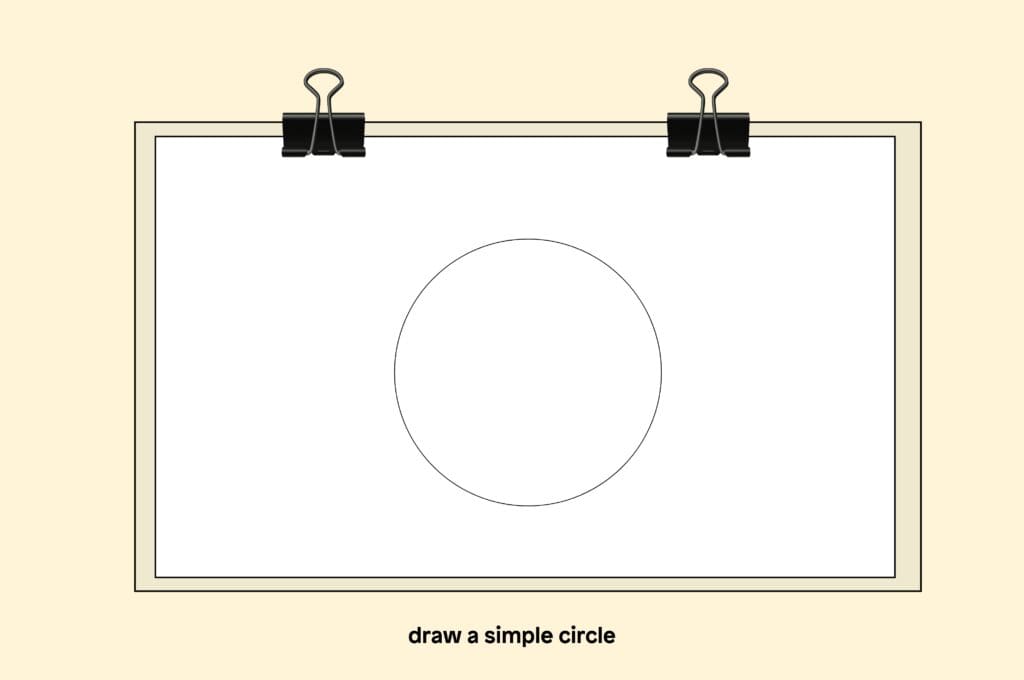
1. Begin by drawing a simple circle in the middle of your paper. This will be the main shape for your orange.
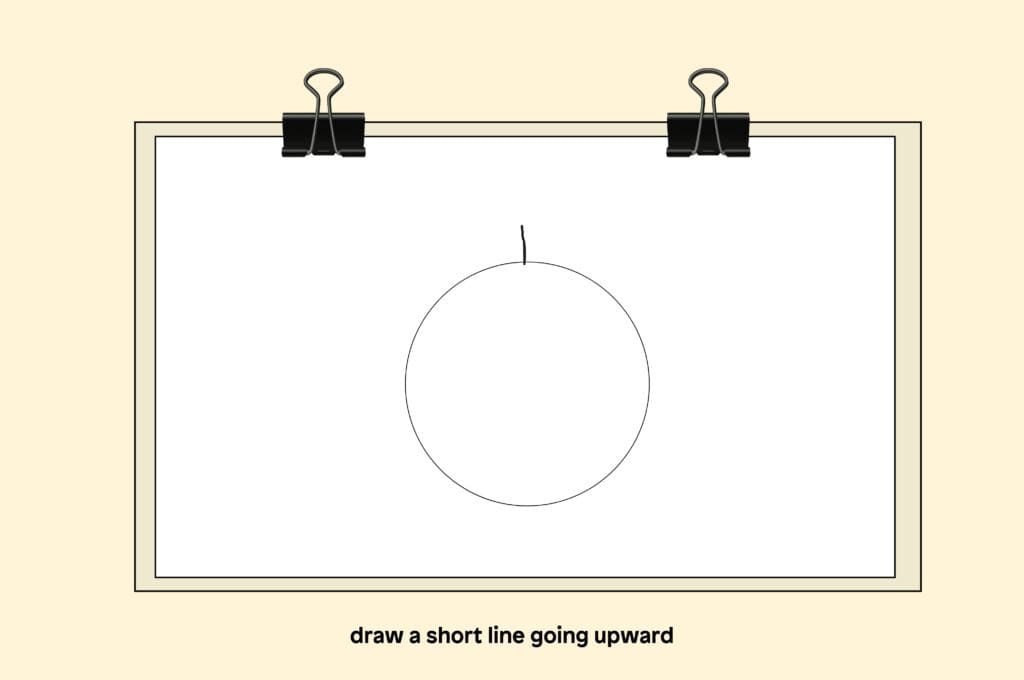
2. At the top of your circle, draw a short line going upward. This will be the base for your orange’s stem.
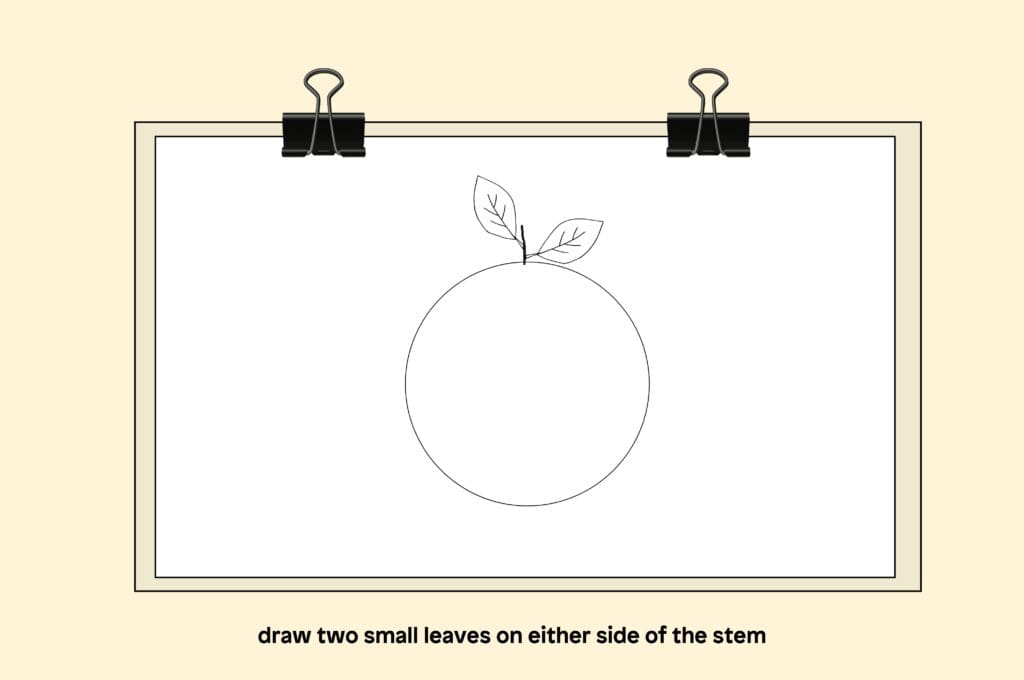
3. Draw two small leaf shapes on either side of the stem. Make them look like pointed ovals that extend slightly away from the stem.
4. To create the orange’s slightly bumpy skin texture, lightly add a few curved lines along the edge of the circle.
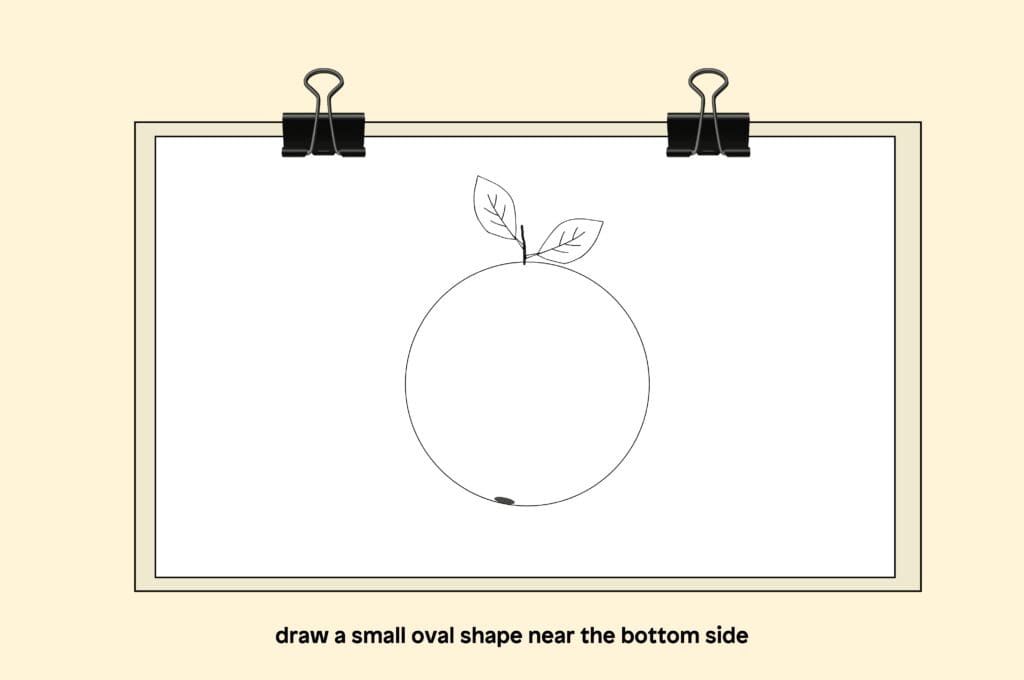
5. Draw a small oval shape near the bottom side of the orange to represent the navel, a common feature in many oranges.
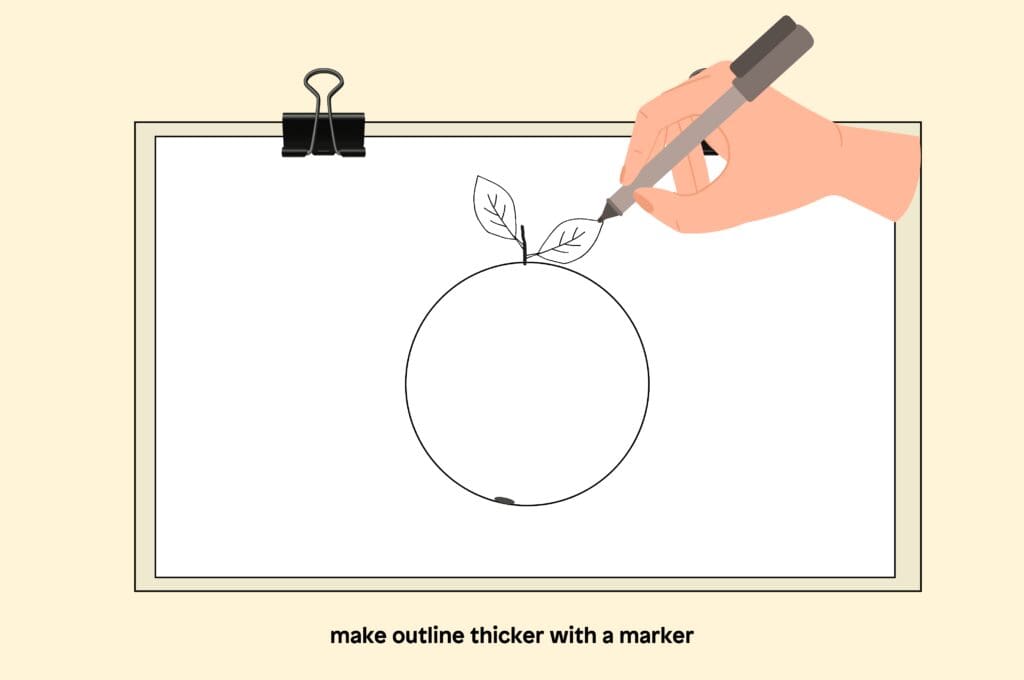
6. Use a black fine-tip marker to outline your orange, stem, and leaves if you’d like a bolder look. This makes your drawing stand out more.
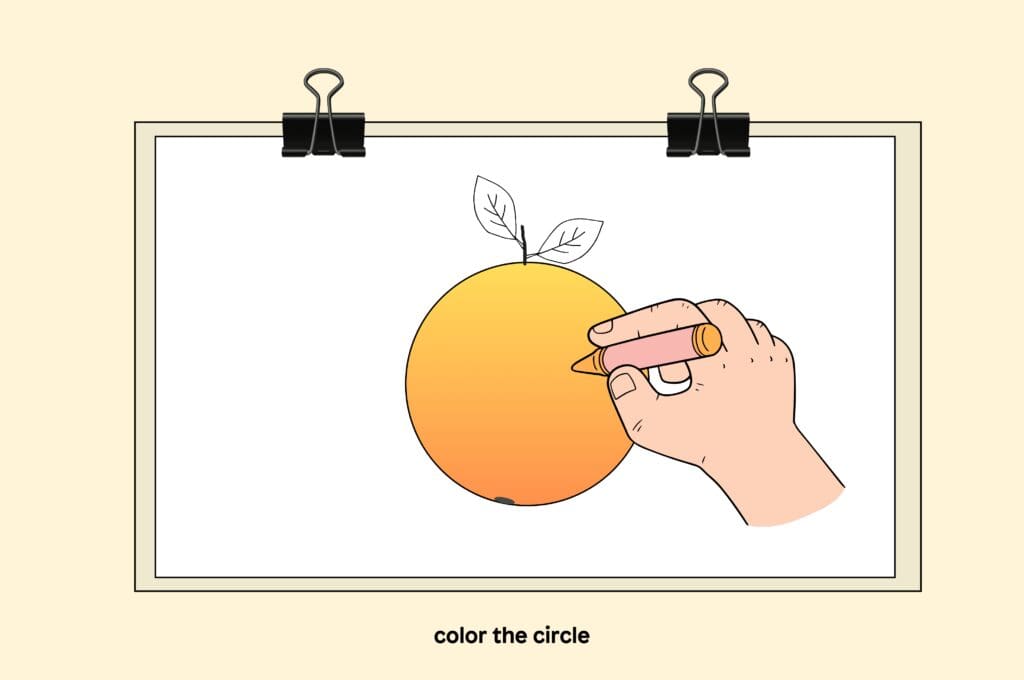
7. Take your orange-colored pencil or crayon and fill in the circle, pressing lightly in some areas to create shading. Leave small white areas for highlights.
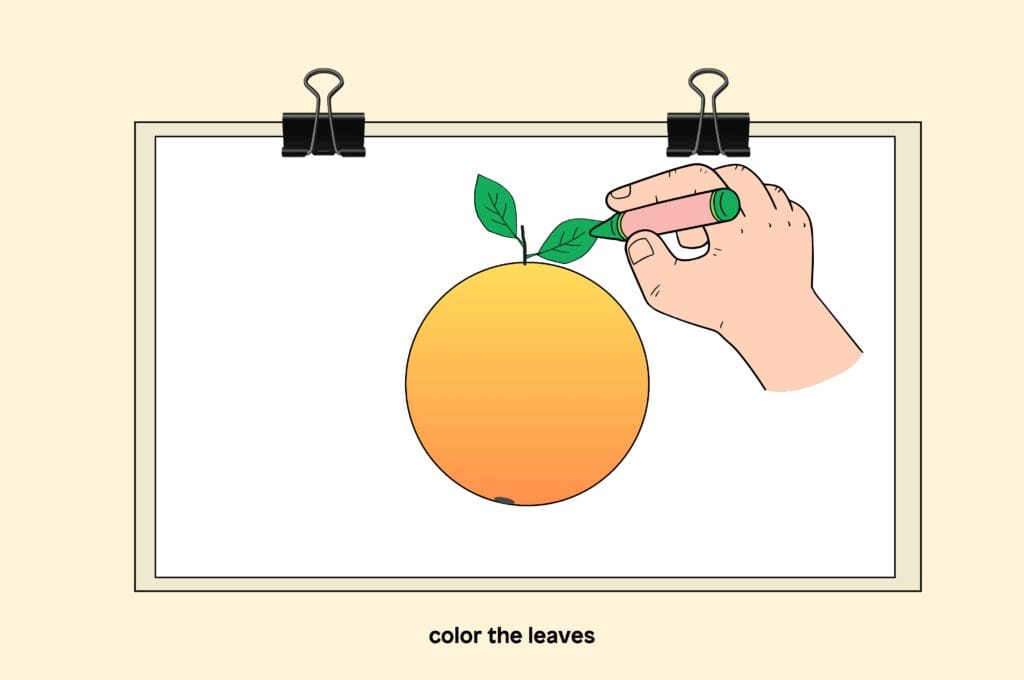
8. Color the leaves using a green pencil or crayon, and add shading by pressing harder on one side of each leaf.
9. Add finishing details to your orange, such as tiny dots on the skin to mimic the orange’s natural texture, and lightly shade around the navel to add depth.
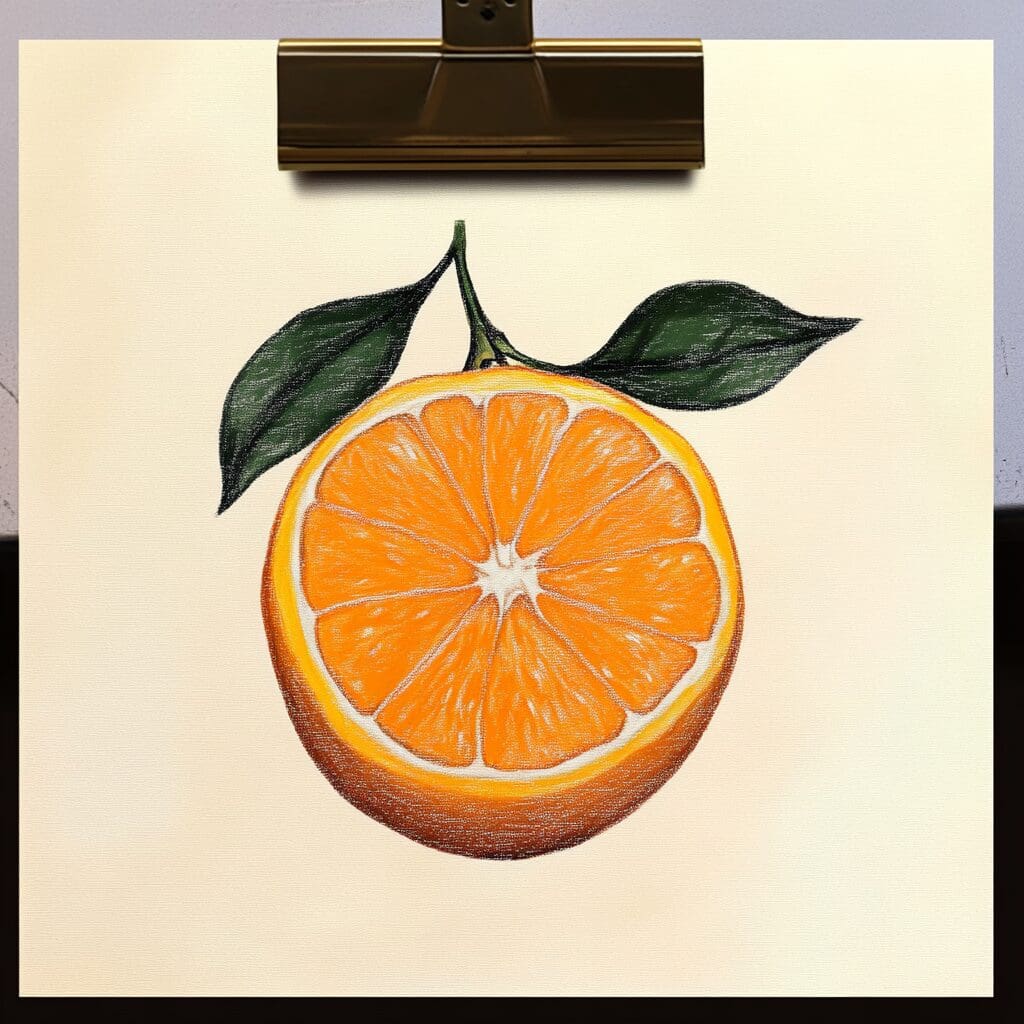

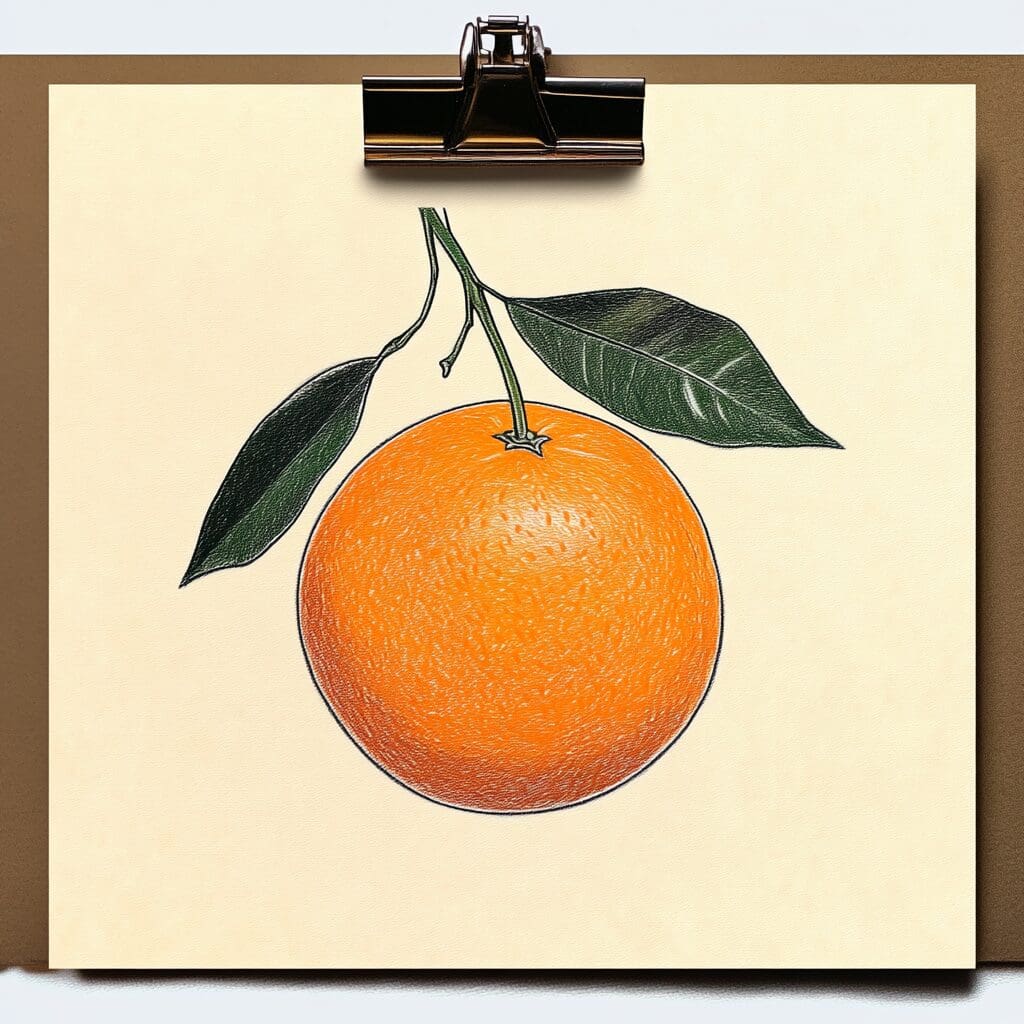
Congratulations! You’ve now learned how to draw an orange step by step with realistic details. If you enjoyed drawing this fruit, consider trying out other art techniques, such as painting with acrylics, to bring more color and dimension to your artwork.
Or if you want more fruit-inspired creativity, you can explore fruit coloring pages for a relaxing, ready-to-color experience. Drawing fruit is a fantastic way to practice art skills, so keep going and try drawing other fruits to create a whole art collection!

