Creating a piñata is a fantastic way to add a personal touch to any celebration, be it a birthday party, holiday gathering, or any special occasion. If you’ve been wondering how to make a piñata, we’ve got a super easy guide for you to follow.
This fun and creative activity allows you to customize the design, colors, and even the contents of the piñata to perfectly match the theme of your event.
With a few simple materials and some imagination, you can learn how to make a piñata that will be the highlight of your party! Engaging in this crafts activity enhances creativity and problem-solving skills as you design and assemble the piñata. It’s also a wonderful way to spend quality time with family and friends.
Additionally, knowing how to make a piñata at home allows you to control the materials used, ensuring that it is both safe and eco-friendly. This hands-on project can also be a fun educational experience for kids, teaching them about shapes, colors, and the importance of recycling materials.
The collaborative effort makes the piñata even more special when it’s time to break it open. Plus, the anticipation of revealing the surprises inside adds an extra layer of excitement to your celebration.
So, get set to enjoy the process and watch as your handmade piñata becomes a cherished memory for everyone involved. You could even take it up a notch and learn how to make a spider piñata or a dragon piñata for creative varieties.
What You’ll Need
- Newspaper
- Flour
- Water
- Candy or small toys for filling
Method
1. Start by blowing up the balloon to the desired size. This will be the base of your piñata.

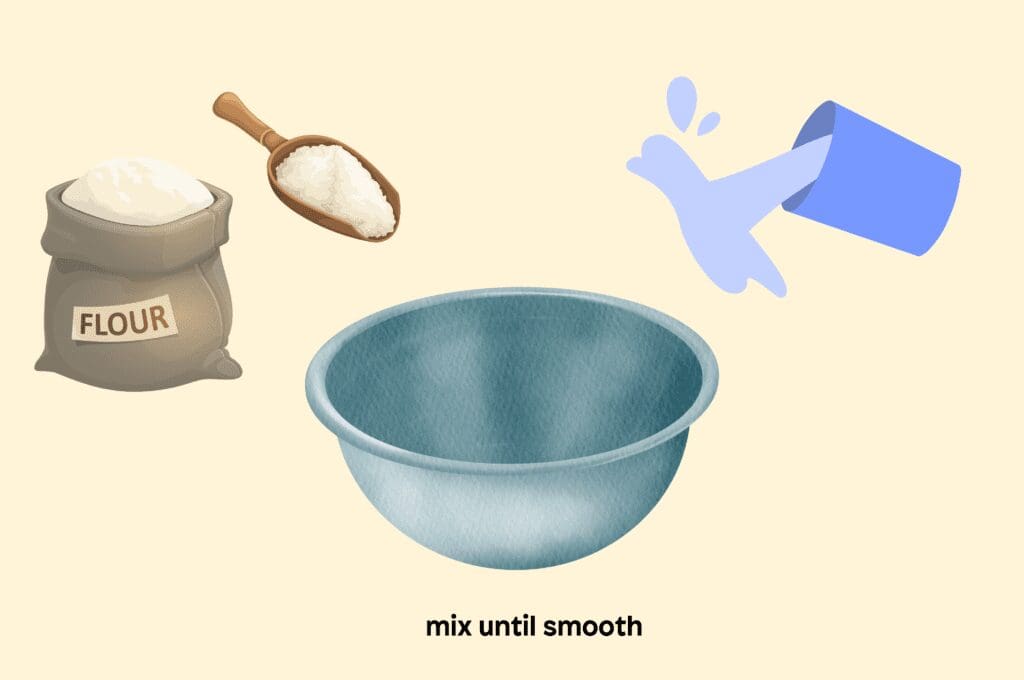
2. To make the Paper Mâché paste, mix 1 cup of flour with 1 cup of water until smooth. This will be your adhesive.
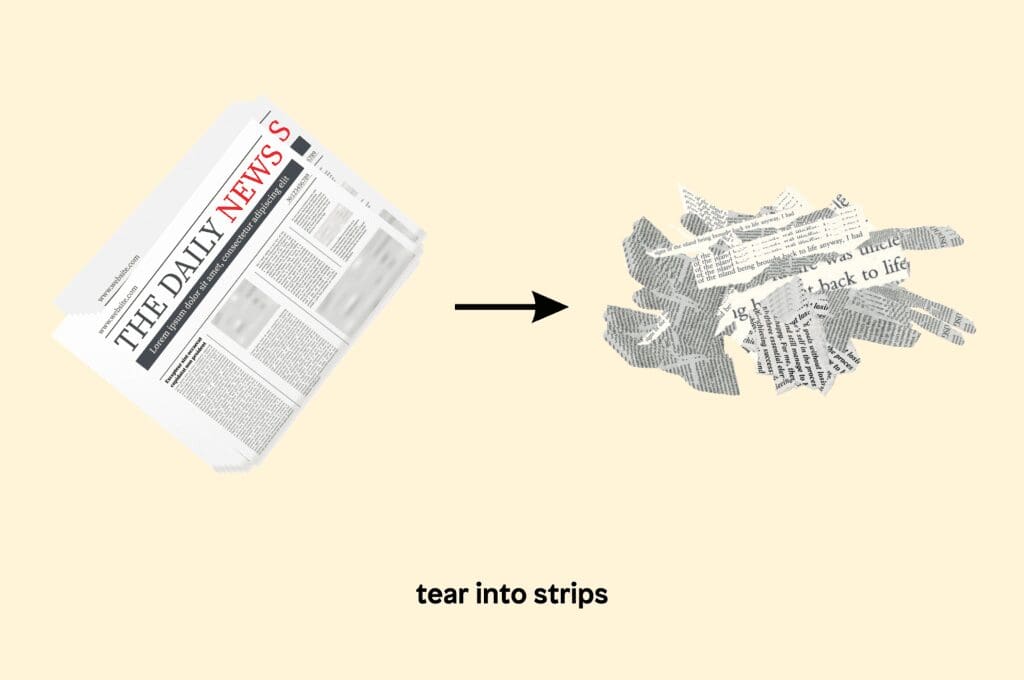
3. Next, tear the newspaper into strips about 1 inch wide and 6 inches long.
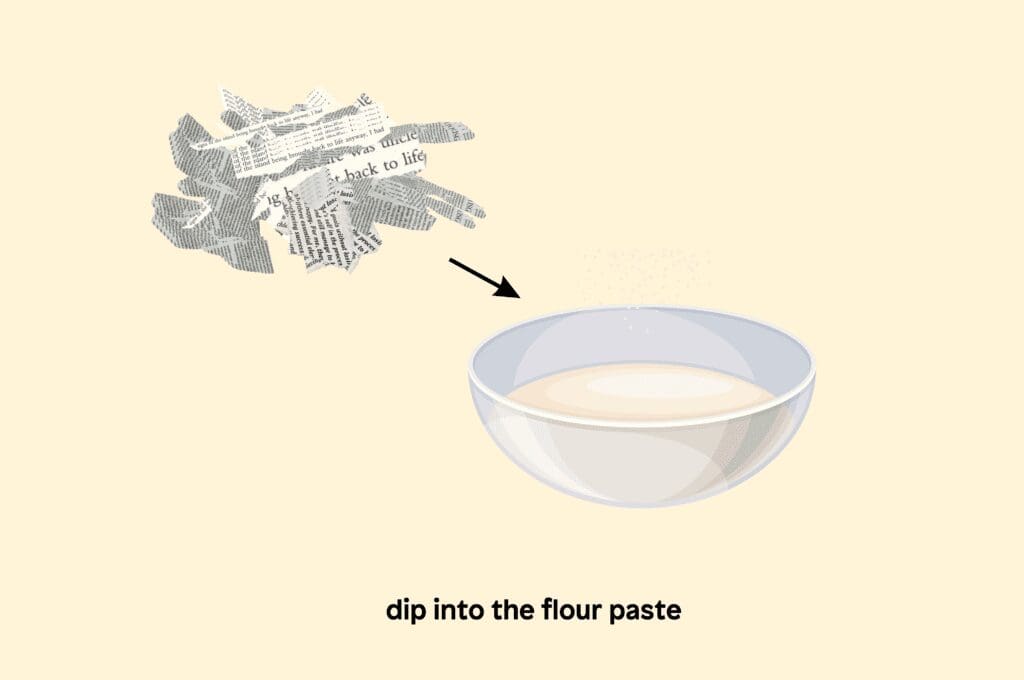
4. Dip each strip of newspaper into the flour paste, wiping off any excess paste with your fingers.
5. Layer the newspaper strips over the balloon, covering it completely. Leave a small hole at the top for filling later.
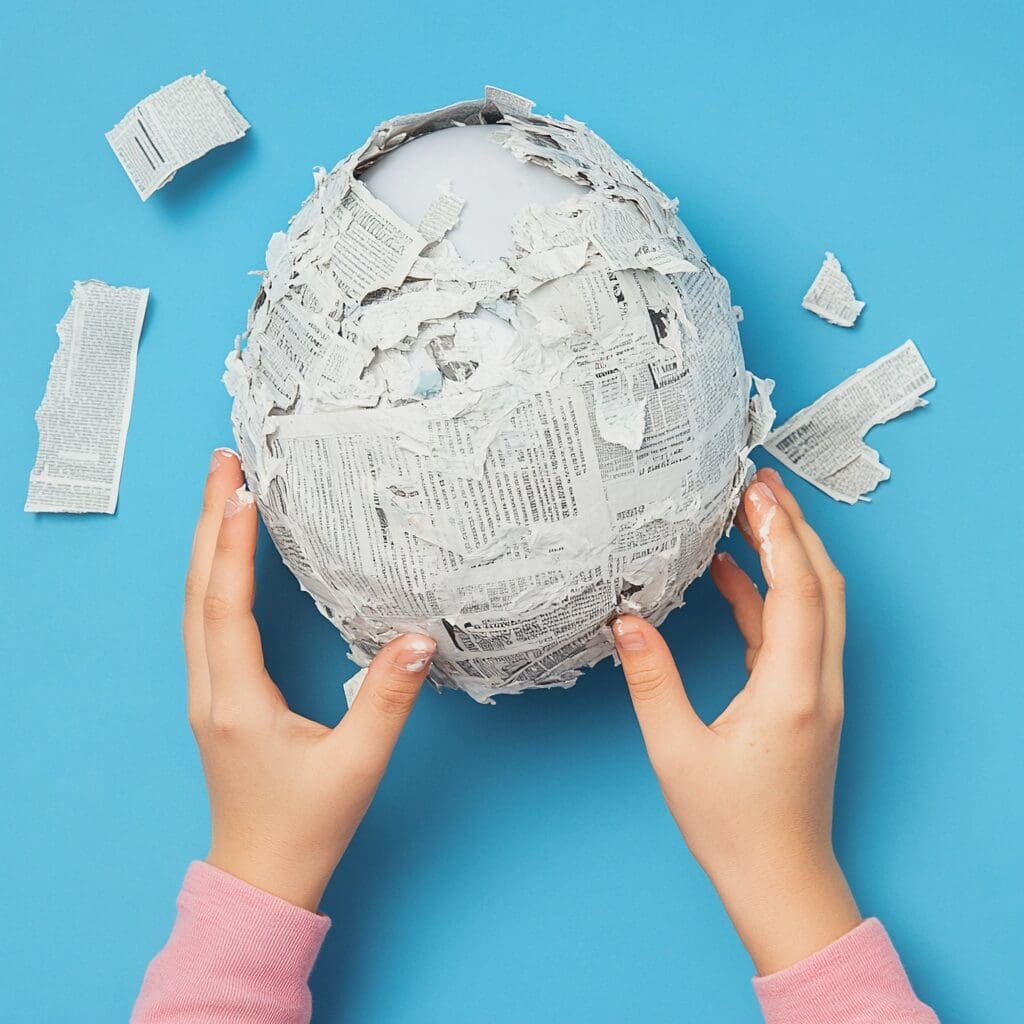
6. Allow the first layer to dry completely, this might take as long as overnight.
7. Repeat the layering process with additional newspaper strips. Three layers are usually strong enough.
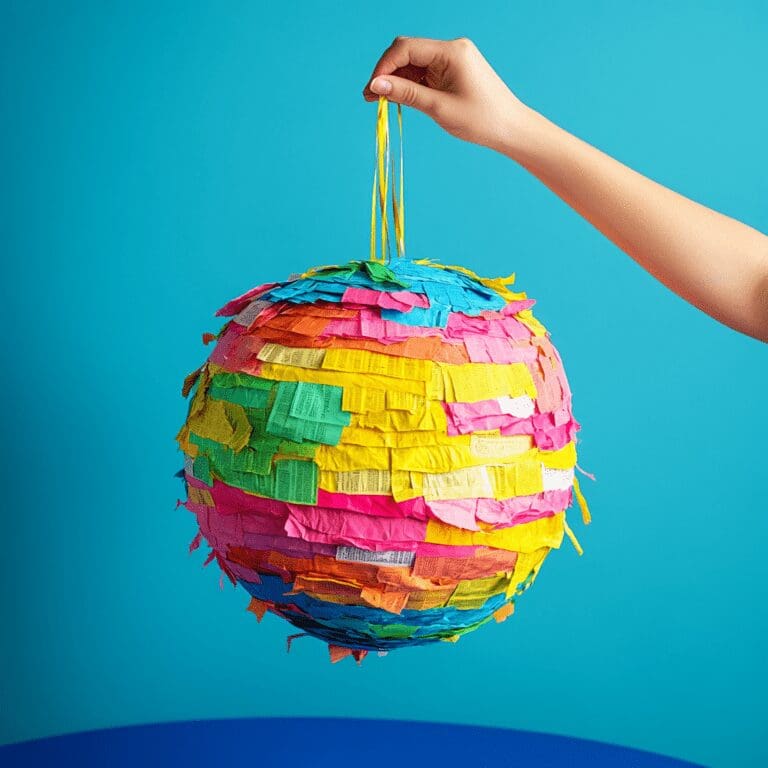
8. Once the piñata is dry, you can paint it or cover it with colorful tissue paper. Use glue to attach tissue paper or crepe paper in any design you like.
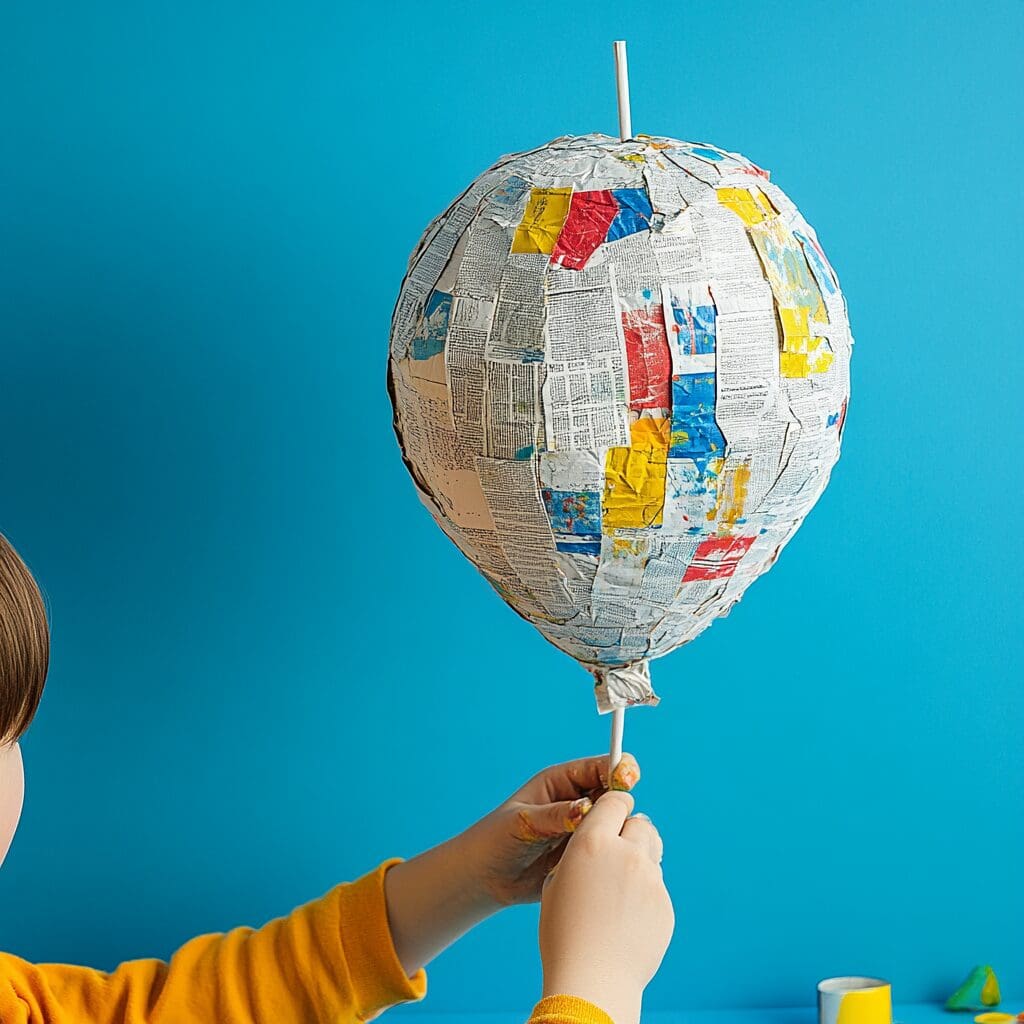
9. Once decorated, gently pop the balloon and remove it. Fill the piñata with candy or small toys through the hole left at the top.
10. Cover the hole with more strips of paper mâché or tissue paper.
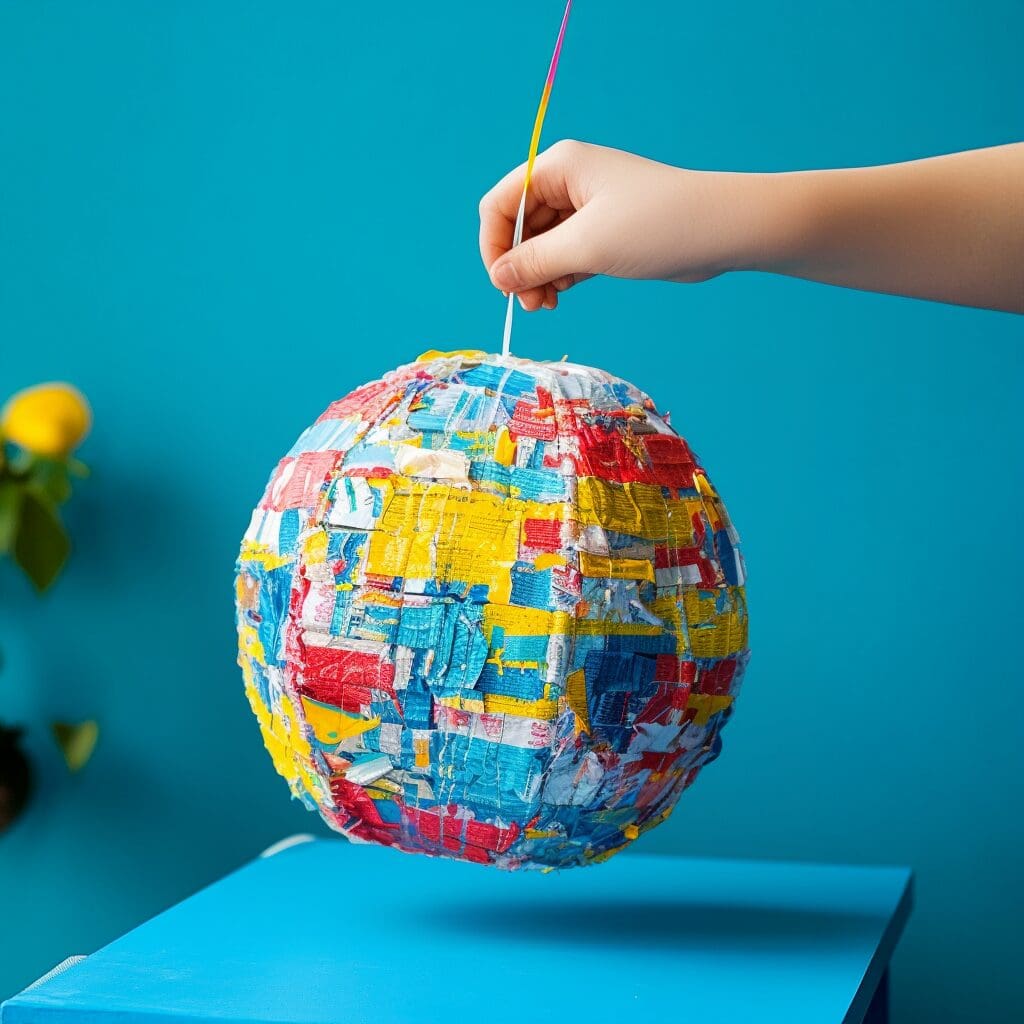
11. Make two small holes near the top opening and thread a piece of string through them. This will allow you to hang the piñata.
Tips:
- For a smoother finish, use a final layer of white paper before painting.
- You can shape the piñata into different forms by adding cardboard details before applying paper mâché.
- Ensure the paste is not too thick or too runny for easier application.
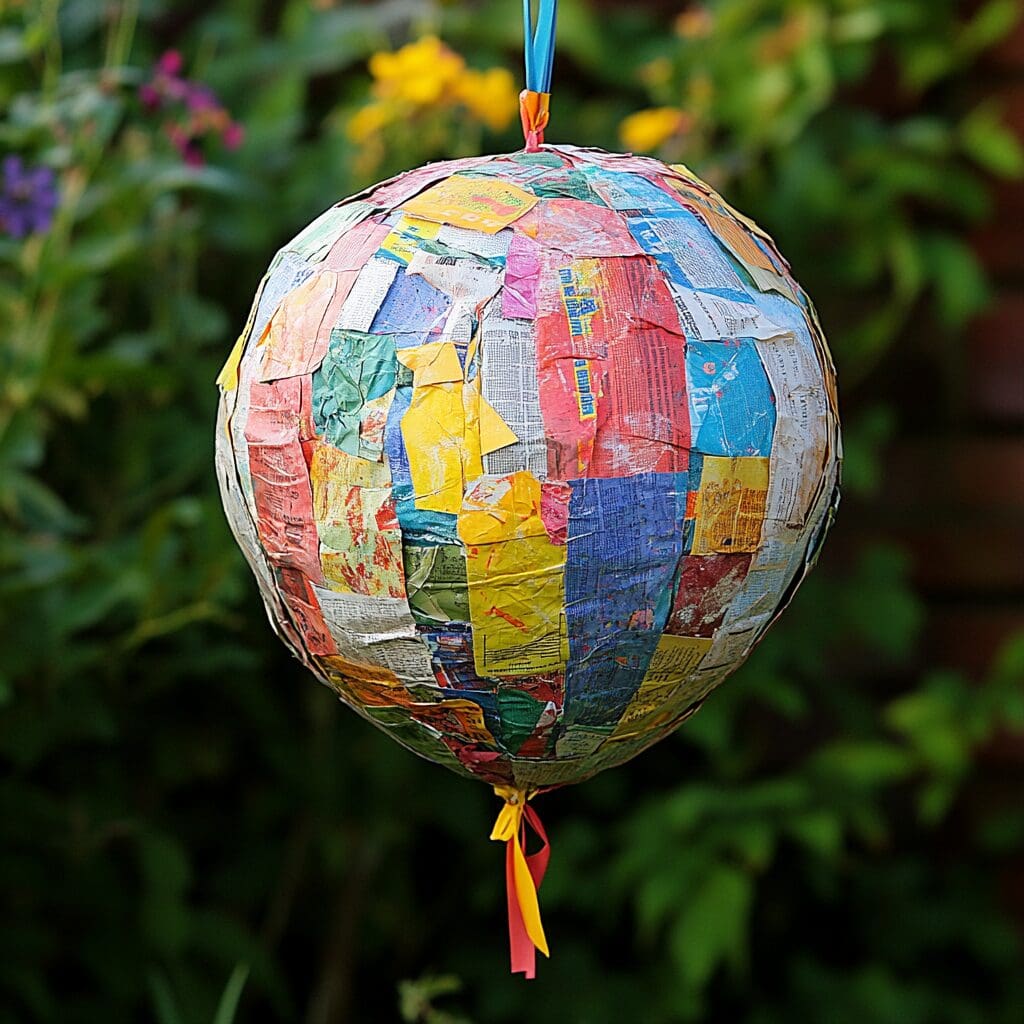
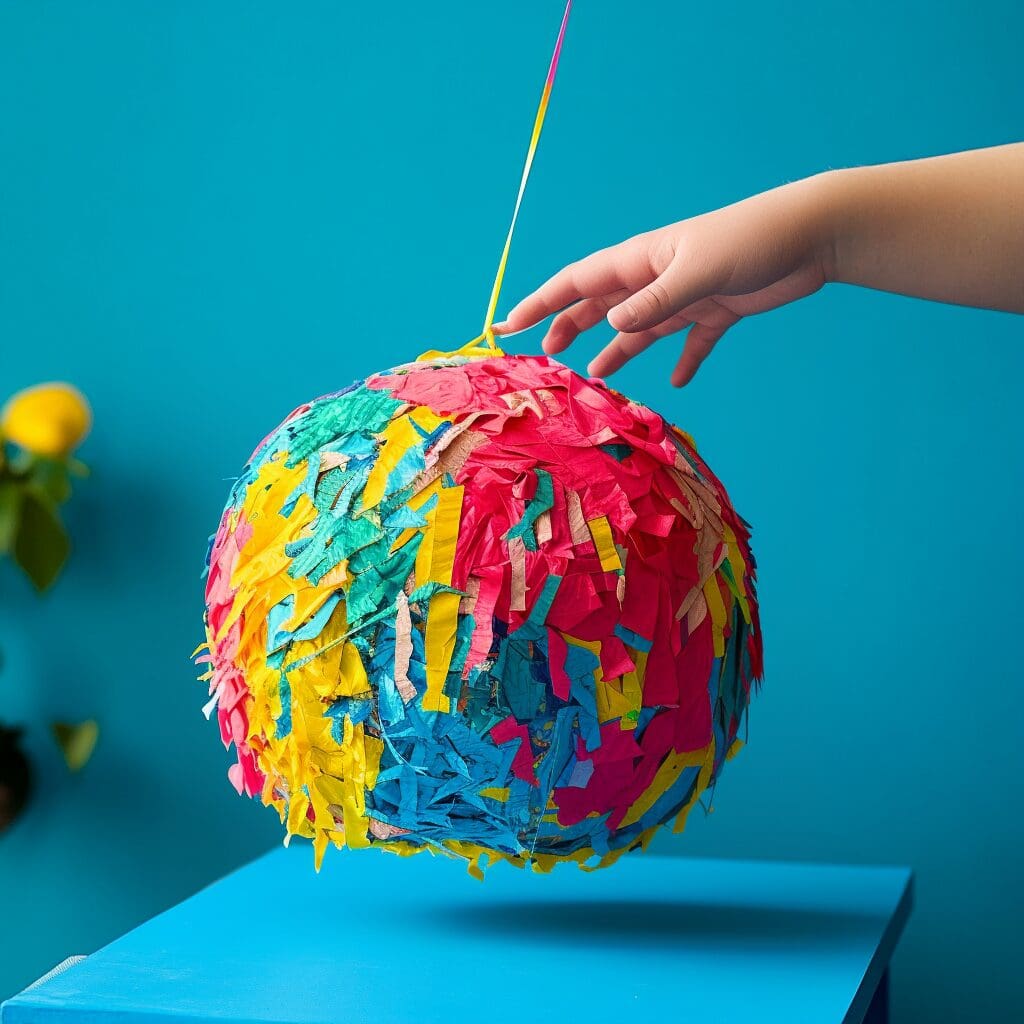
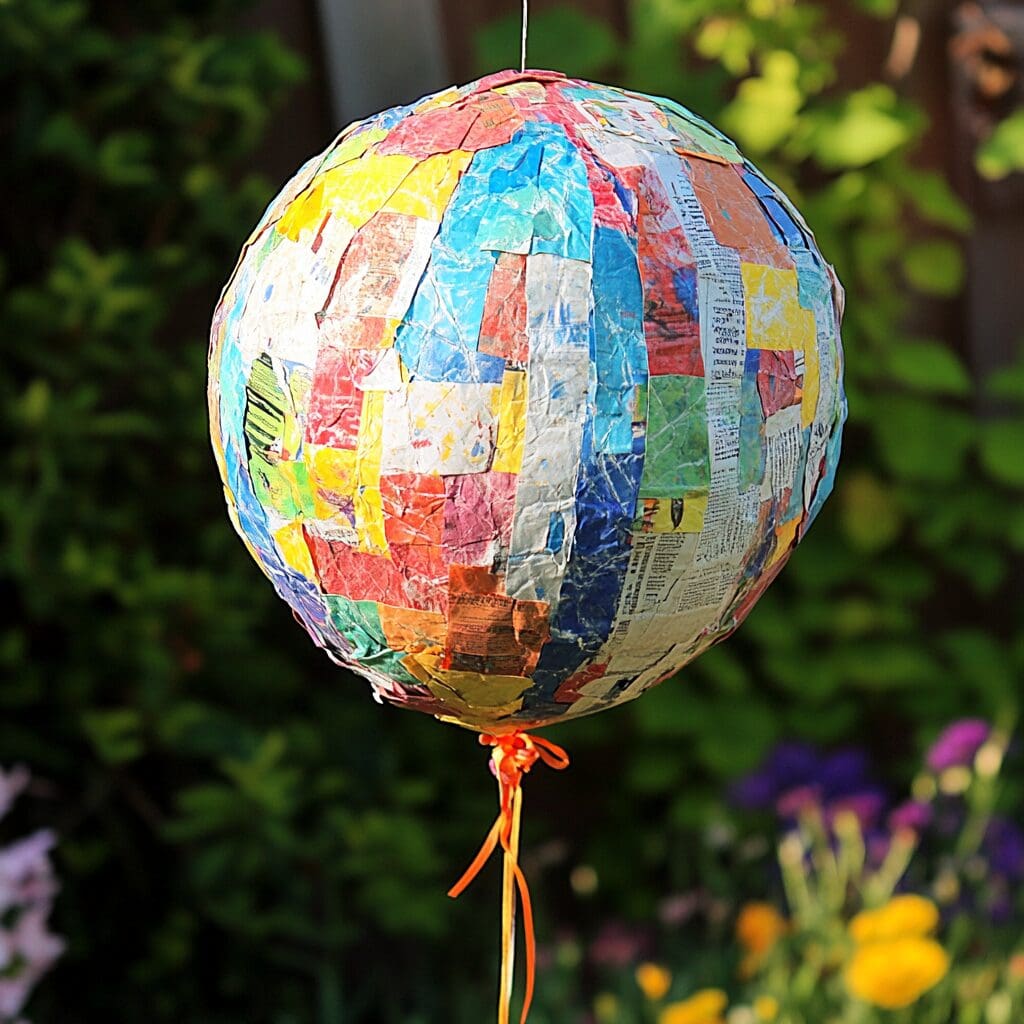
That was pretty easy, right? Learning how to make a piñata is not just a fun activity but also a rewarding experience that adds a fun and creative touch to your celebrations.
By following the above simple steps, you can craft a unique and exciting piñata that will be the highlight of your party. Making a piñata allows you to express your creativity and brings a sense of accomplishment once you see the final product.
If you enjoyed learning how to make a piñata, why not explore other creative projects? Check out our rock painting arts for inspiration on turning ordinary stones into beautiful works of art.
You can also try out our tree crafts, which are perfect for adding a touch of nature to your decor. These crafts provide more opportunities for fun and creativity and also help you develop new skills and create lasting memories with your loved ones. Happy crafting!

