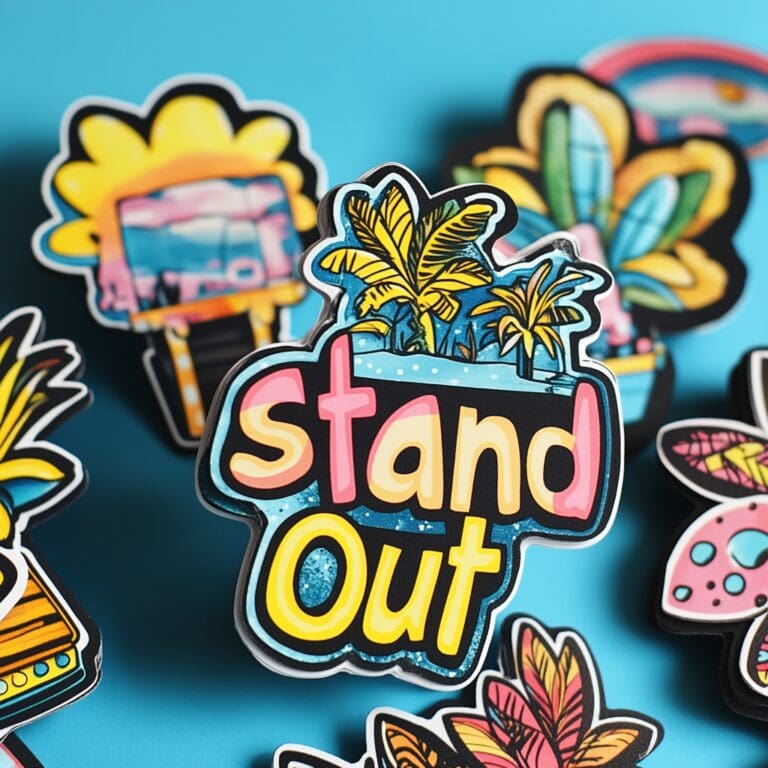
Creating stickers at home can be a fun and rewarding activity, and with the help of a Cricut machine, the process becomes even easier. If you’ve been wondering how to make stickers with Cricut, you’re in the right place!
This guide shows simple steps to turn your designs into professional-looking stickers. Whether you want to create custom designs for notebooks, water bottles, or even gifts, learning how to make stickers with Cricut opens up endless creative possibilities.
The beauty of making stickers with a Cricut machine is that you don’t need an expert to get professional results. You can create anything from simple shapes to complex patterns, and the Cricut will do the cutting for you.
With just a few materials and some creativity, you’ll be ready to print, cut, and peel your stickers. If you’ve ever wondered how to make stickers with Cricut, now is the time to give it a try!
Stickers are great for decorating school supplies, personalizing gifts, or adding flair to your home office. Plus, when you learn how to make stickers with Cricut, you can design them in any size, shape, or style. It’s perfect for kids and adults who love hands-on projects.
For anyone looking to explore the world of Cricut crafts, learning how to make stickers with Cricut is an excellent place to start. Not only is it beginner-friendly, but it also teaches you how to use some of Cricut’s essential features. This will help you with future Cricut projects like creating personalized gifts or home décor items.
What You’ll Need
- Cricut machine
- Cricut Design Space software
- Sticker paper
- Cricut cutting mat
- Printer
- Cricut fine-point blade
- Clear vinyl laminate (optional for extra durability)
Method
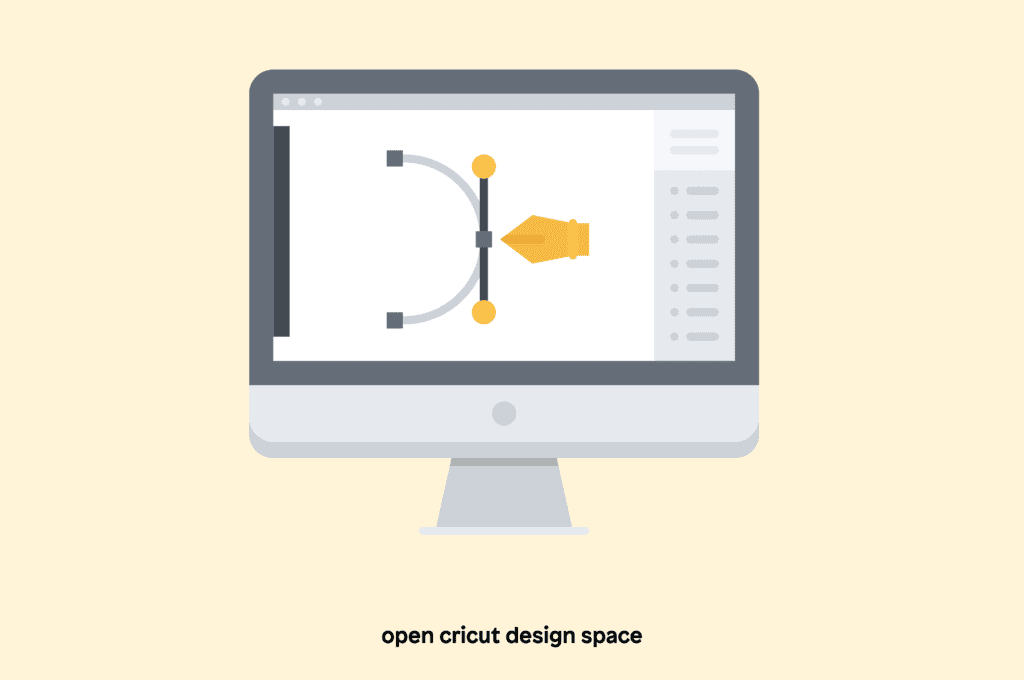
1. Open Cricut Design Space on your computer or tablet. You can either upload your designs or use Cricut’s pre-made images. If you’re making custom designs, make sure to adjust the size to fit your sticker paper.
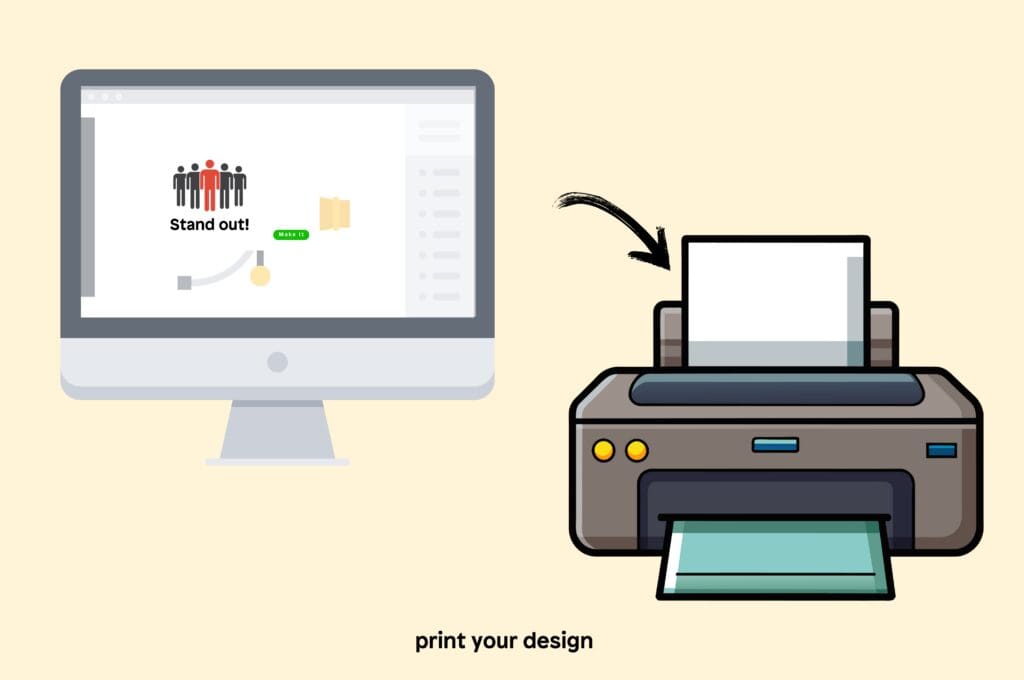
2. Once your design is ready, click “Make It” and select the “Print Then Cut” option. Print your design on the sticker paper using your printer. Make sure the paper is loaded correctly so the design prints on the correct side.
3. Place the printed sticker paper onto the Cricut cutting mat. Load it into your Cricut machine by clicking the load button. Select the correct cutting settings for your sticker paper in Cricut Design Space.
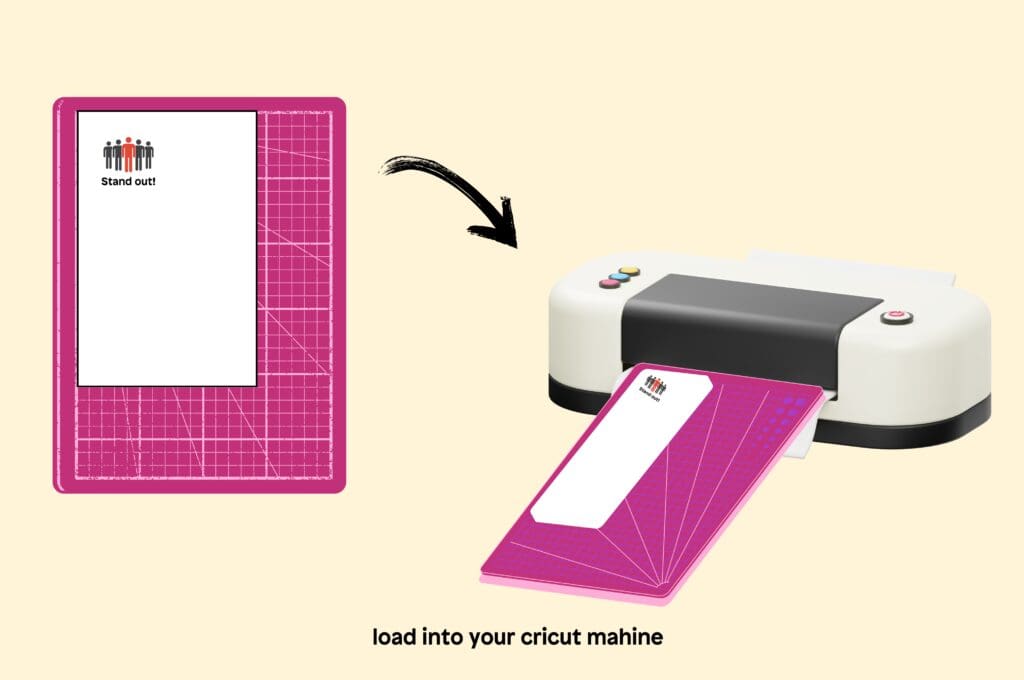
4. Press the “Start” button on your Cricut machine. The machine will scan your printed sheet and cut around the sticker designs. Once the cutting is complete, unload the mat.
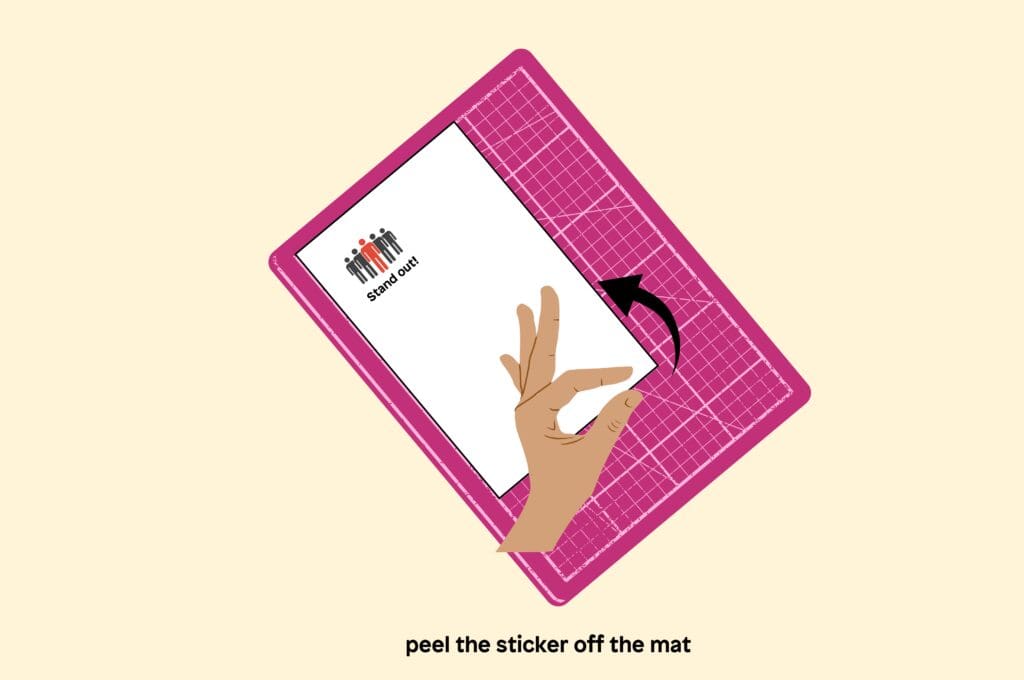
5. Carefully peel the stickers off the cutting mat. You can now use them as they are or, if you want extra durability, cover them with clear vinyl laminate before cutting.
6. If you’d like your stickers to be waterproof or extra durable, apply a layer of clear vinyl laminate before cutting. This will protect the design and make them last longer.


Now that you know how to make stickers with a Cricut machine, you have the tools to create endless custom stickers for any occasion! Cricut’s versatility makes it a fantastic tool for all types of creative projects.
After mastering stickers, why not try making Cricut Valentine cards for someone special or even explore the world of cartoon coloring pages for another fun DIY activity? With Cricut, your creativity is limitless!
FAQs
Source
https://cricut.com/blog/6-things-to-know-about-cricut-materials

