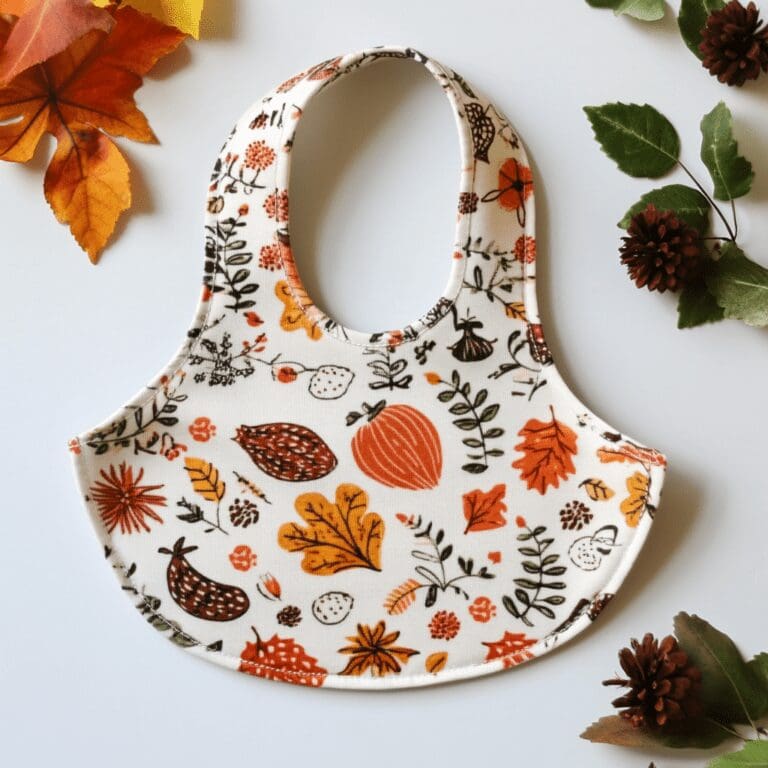
Thanksgiving is a special time of year, and what better way to commemorate your little one’s first holiday feast than by crafting a unique and personalized bib? A ‘My First Thanksgiving Bib’ is a perfect keepsake, capturing the joy of this memorable milestone. Whether it’s for fun family photos or simply to add a festive touch, creating a custom bib is a fun and creative way to mark the occasion.
In this blog, we’ll guide you through five fun and easy craft ideas to design your very own first Thanksgiving bib. Whether you prefer painting, stitching, or adding embellishments, these craft ideas are simple enough for anyone to try and are perfect for creating a one-of-a-kind bib that will be treasured for years to come.
So gather your materials, and explore our guide on crafting a ‘My First Thanksgiving Bib’ that will make your little one stand out this Thanksgiving!
What You’ll Need
Method
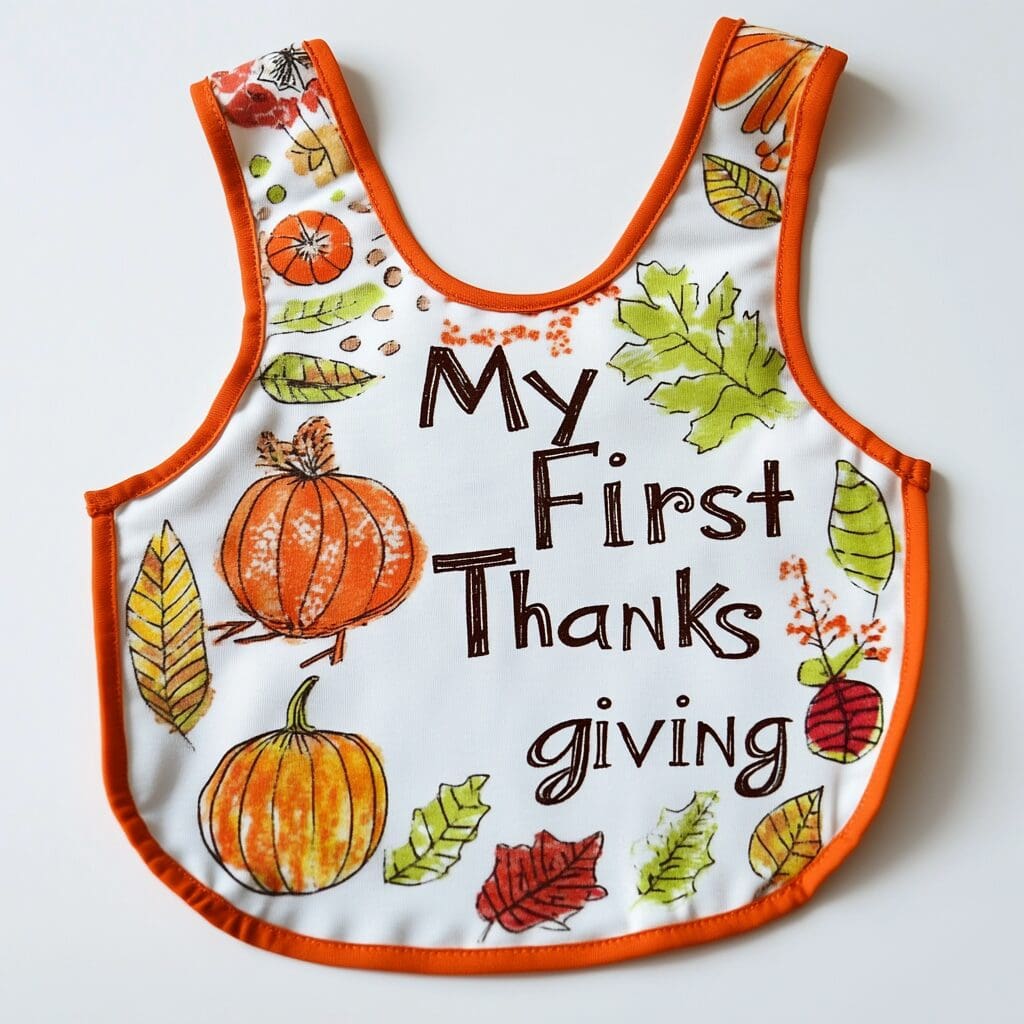
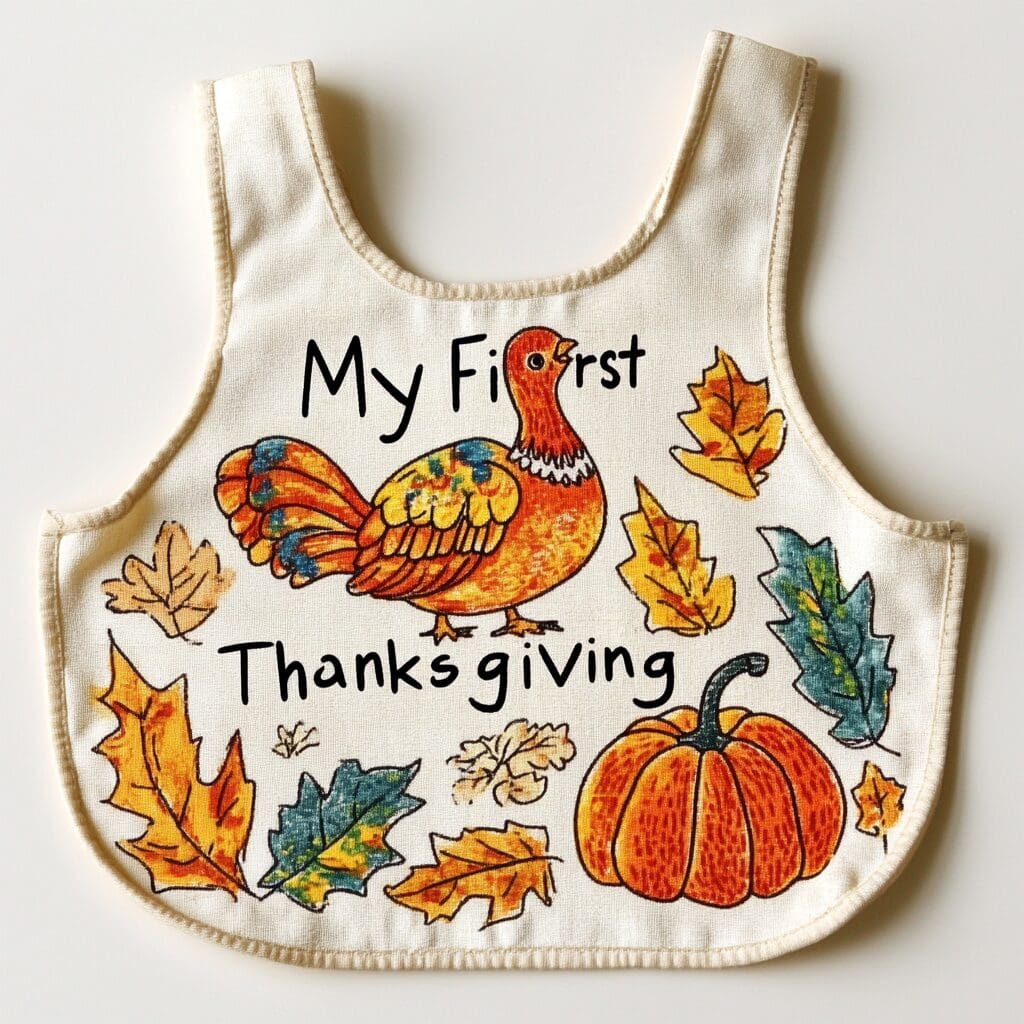
1. Fabric Paint Bib
- Use stencils of turkeys, pumpkins, or fall leaves, and place them on the bib.
- Paint over the stencils using fabric paint in fall colors. You can add extra details like handprints or footprints if desired.
- Let the paint dry completely, then write “My First Thanksgiving” using fabric markers or iron-on letters.
2. Felt Applique Bib
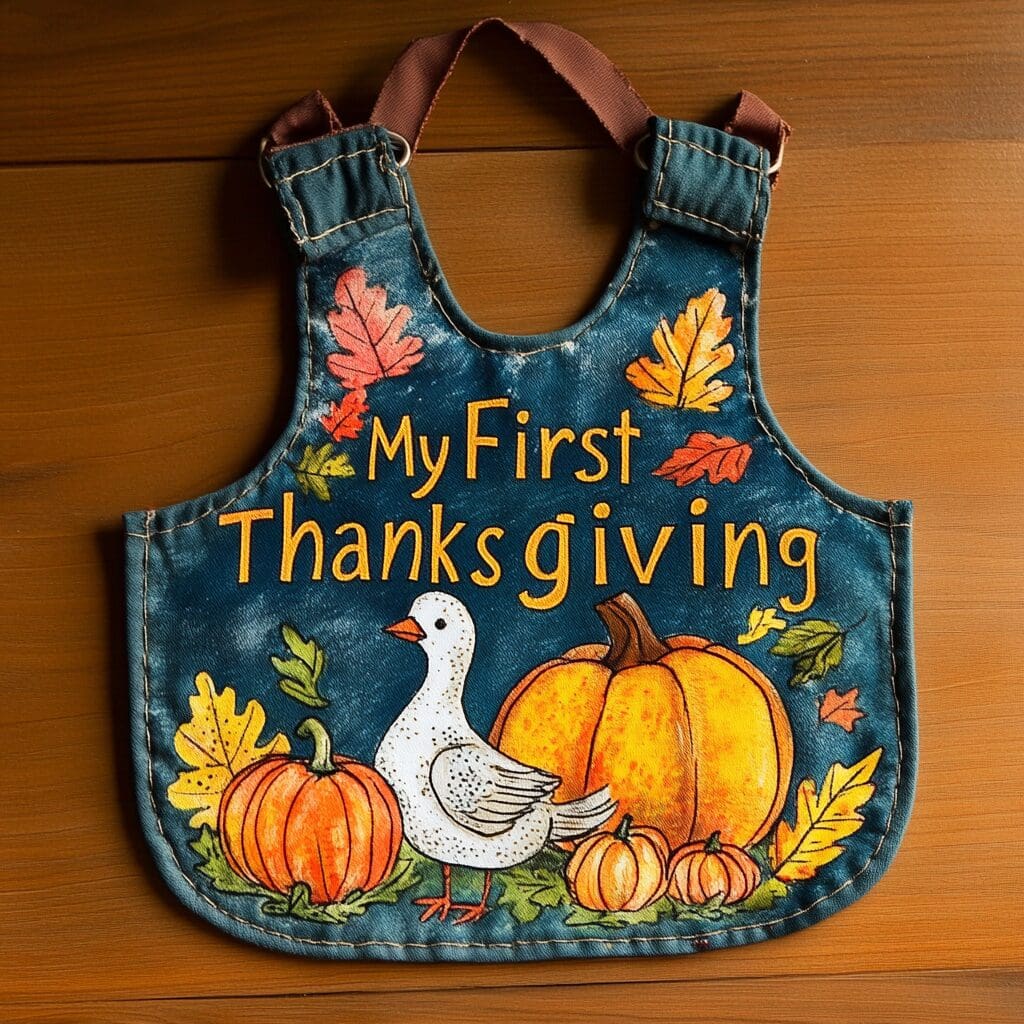
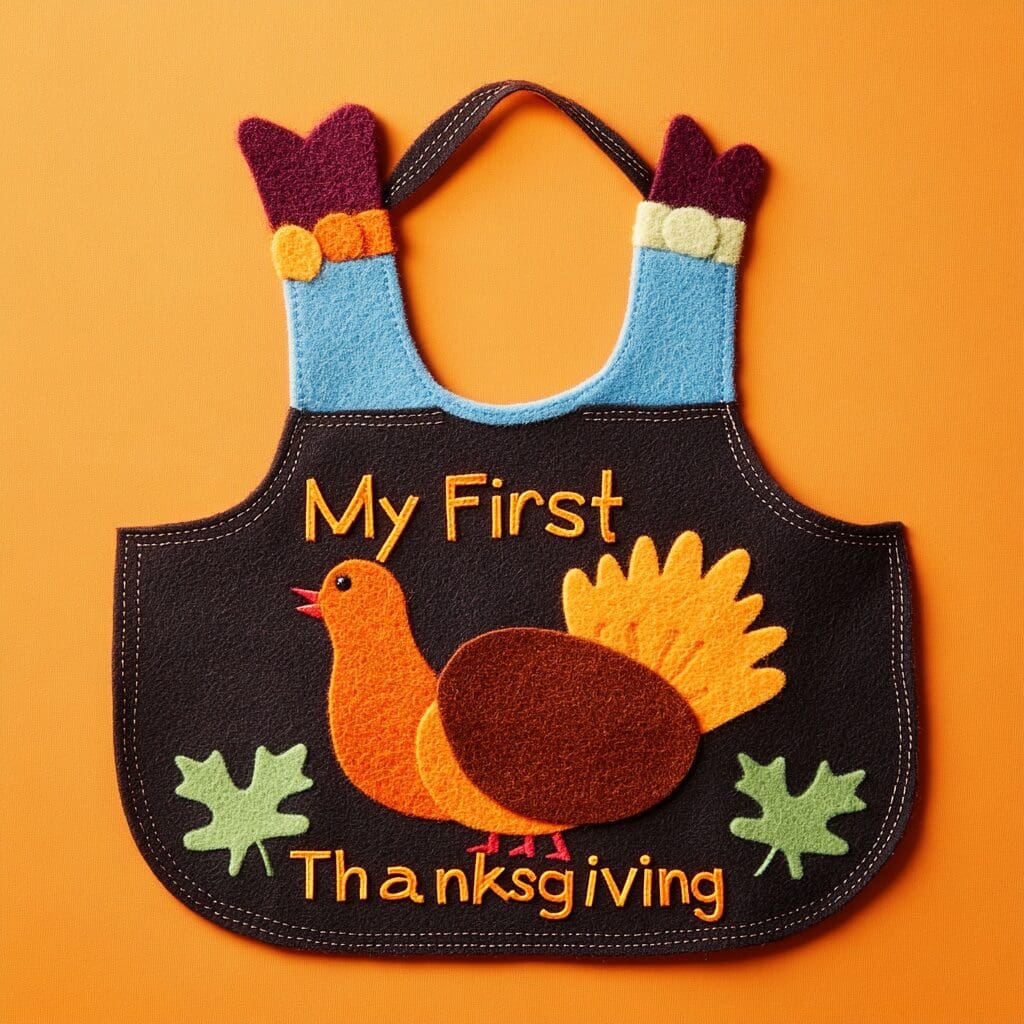
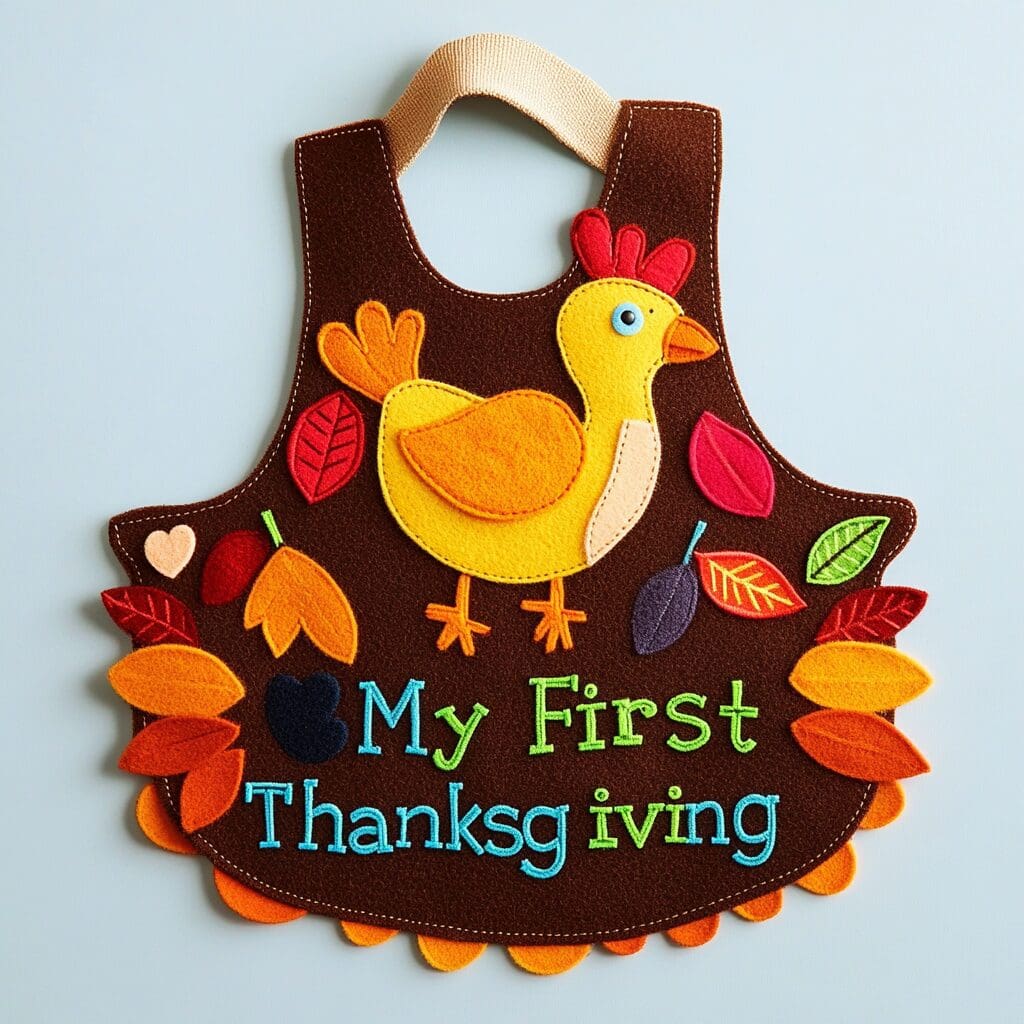
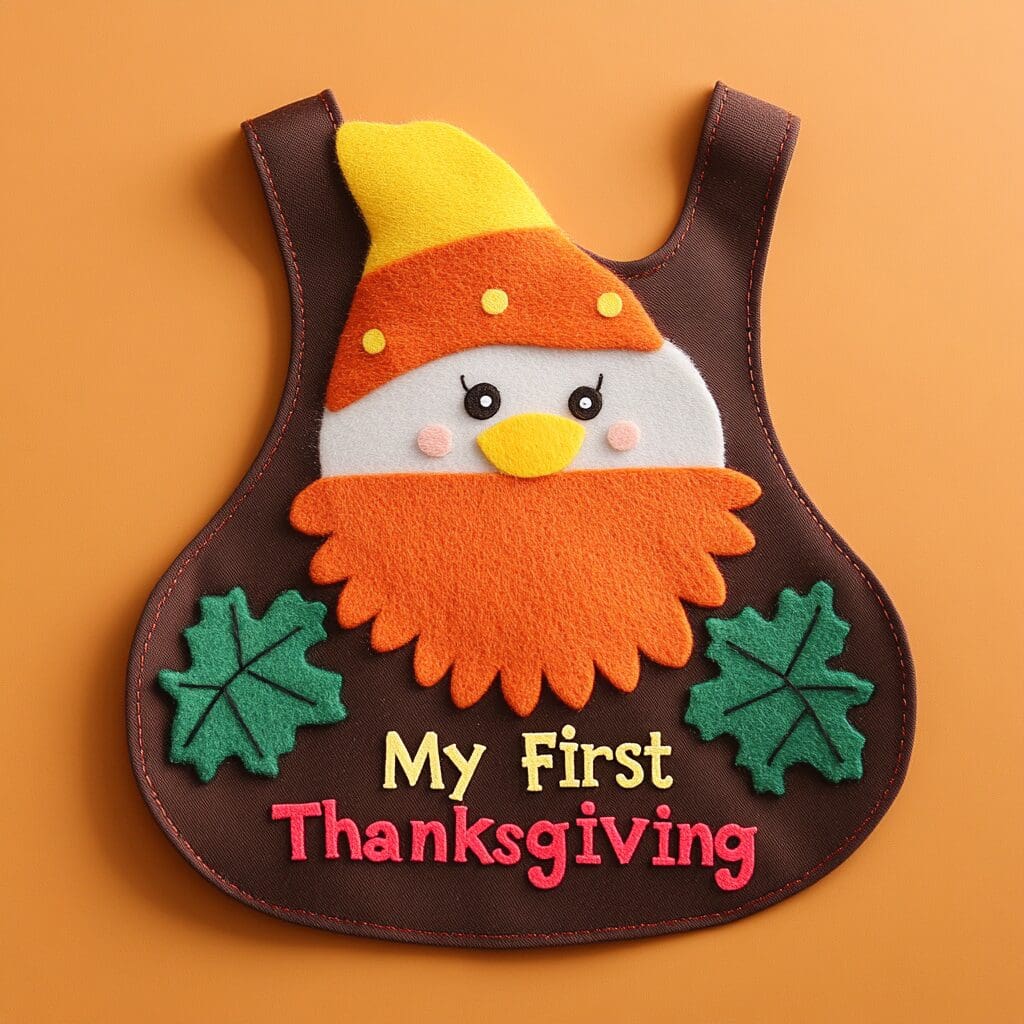
- Cut out shapes like a turkey, leaves, or a pilgrim hat from felt using scissors.
- Attach the felt shapes to the bib using fabric glue, pressing firmly.
- Once dry, add “My First Thanksgiving” with fabric markers or paint around the felt designs.
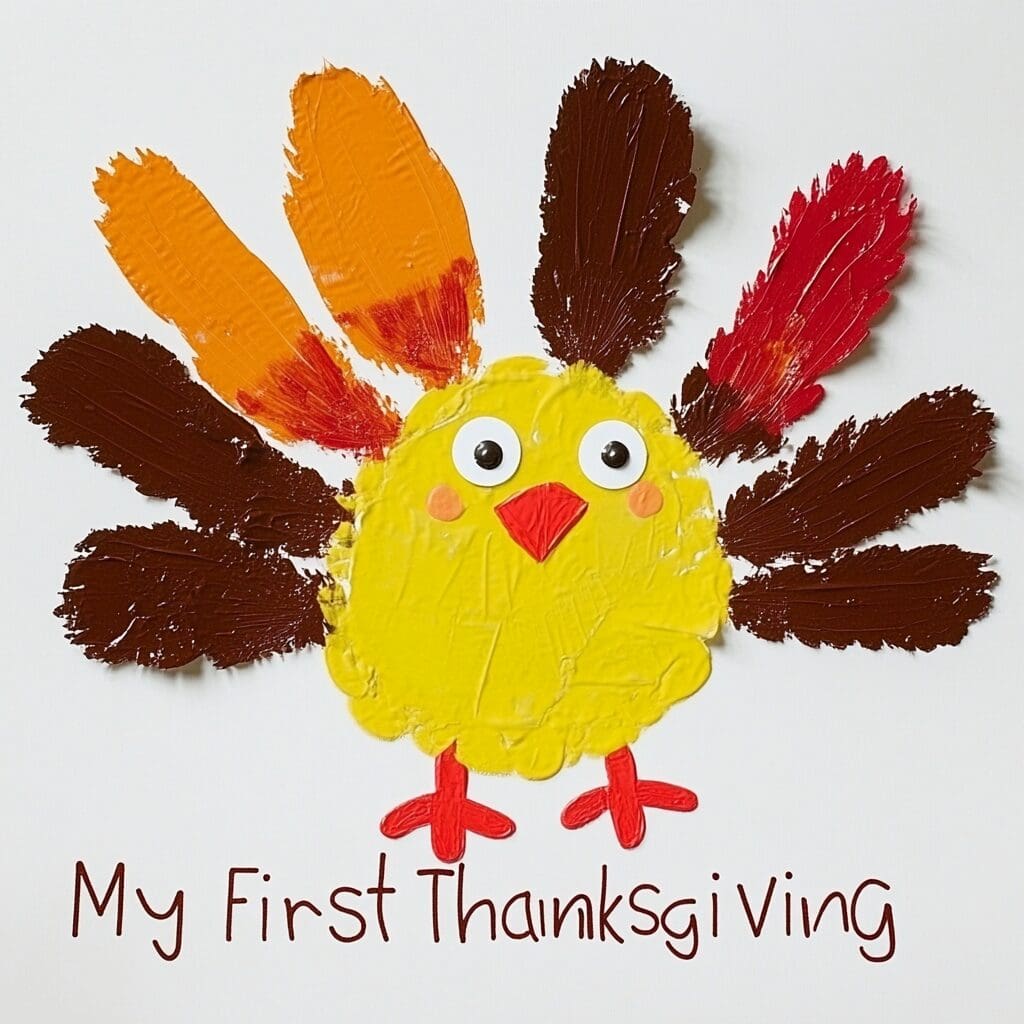
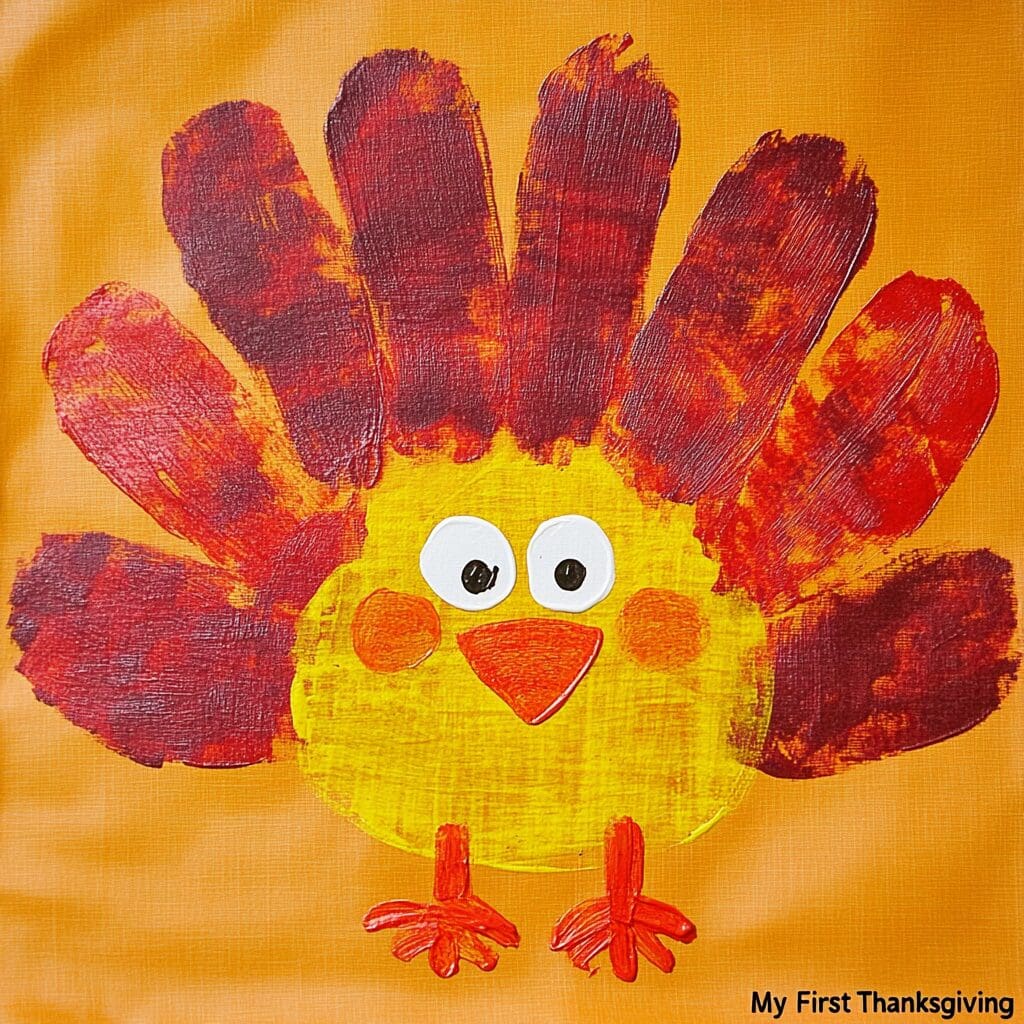
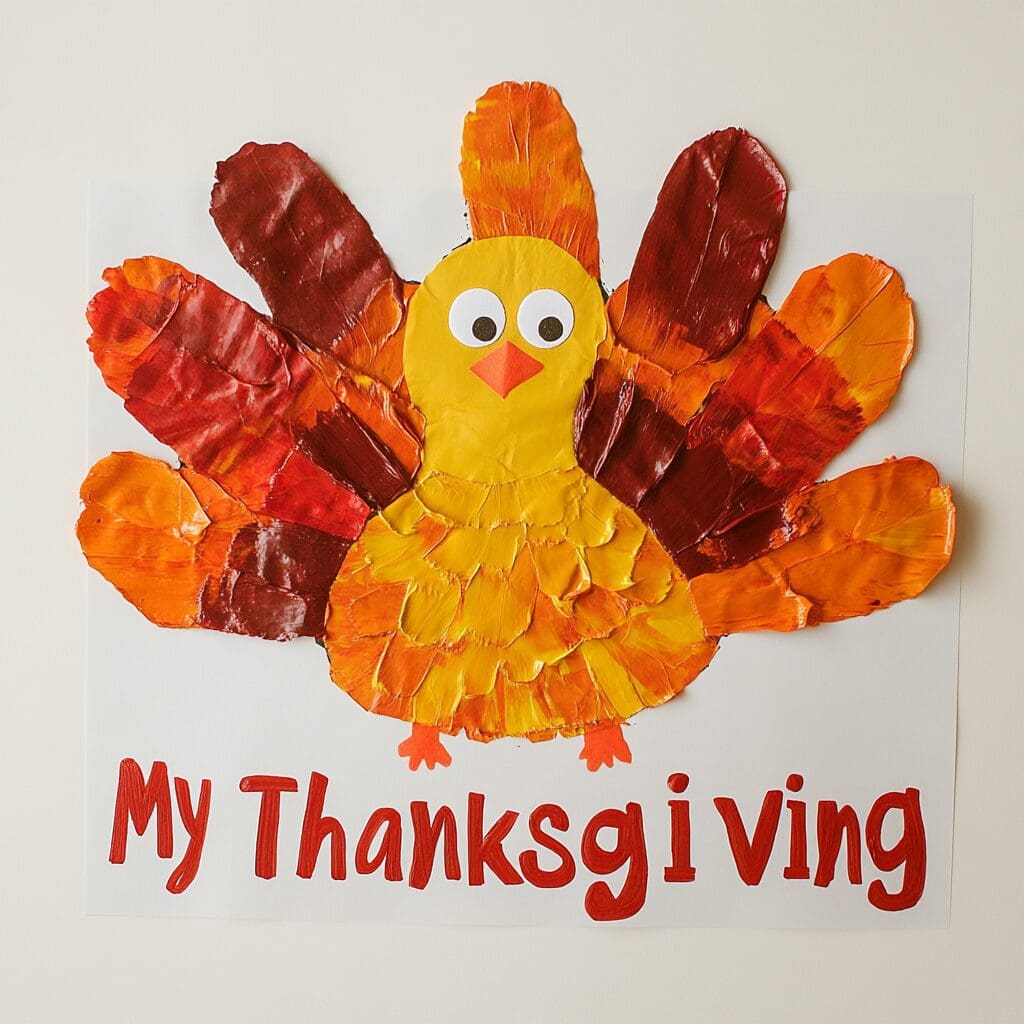
3. Handprint Turkey Bib
- Paint your child’s hand with brown fabric paint and press it onto the bib to create the turkey’s body.
- Use fabric paint to add details like feathers, eyes, and a beak to the handprint, turning it into a turkey.
- Write “My First Thanksgiving” under the turkey using fabric markers or iron-on letters.
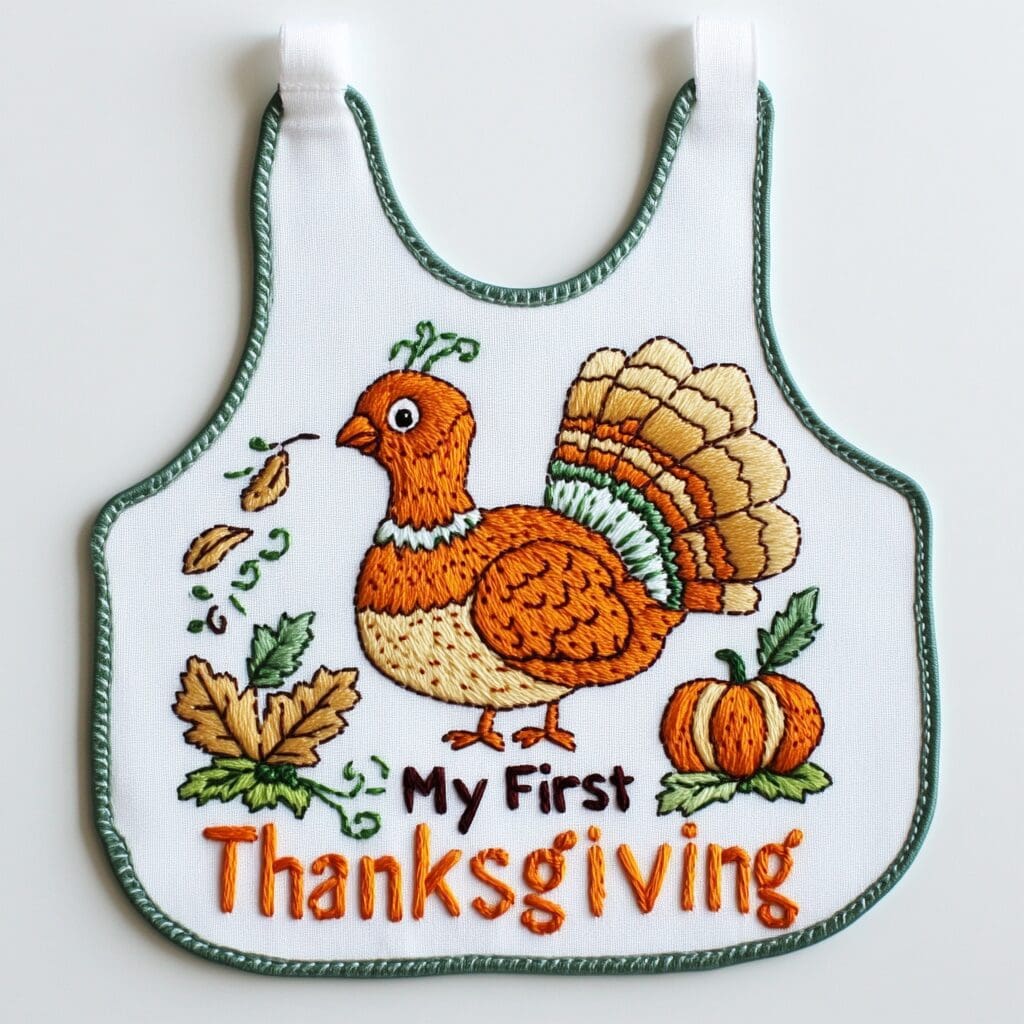
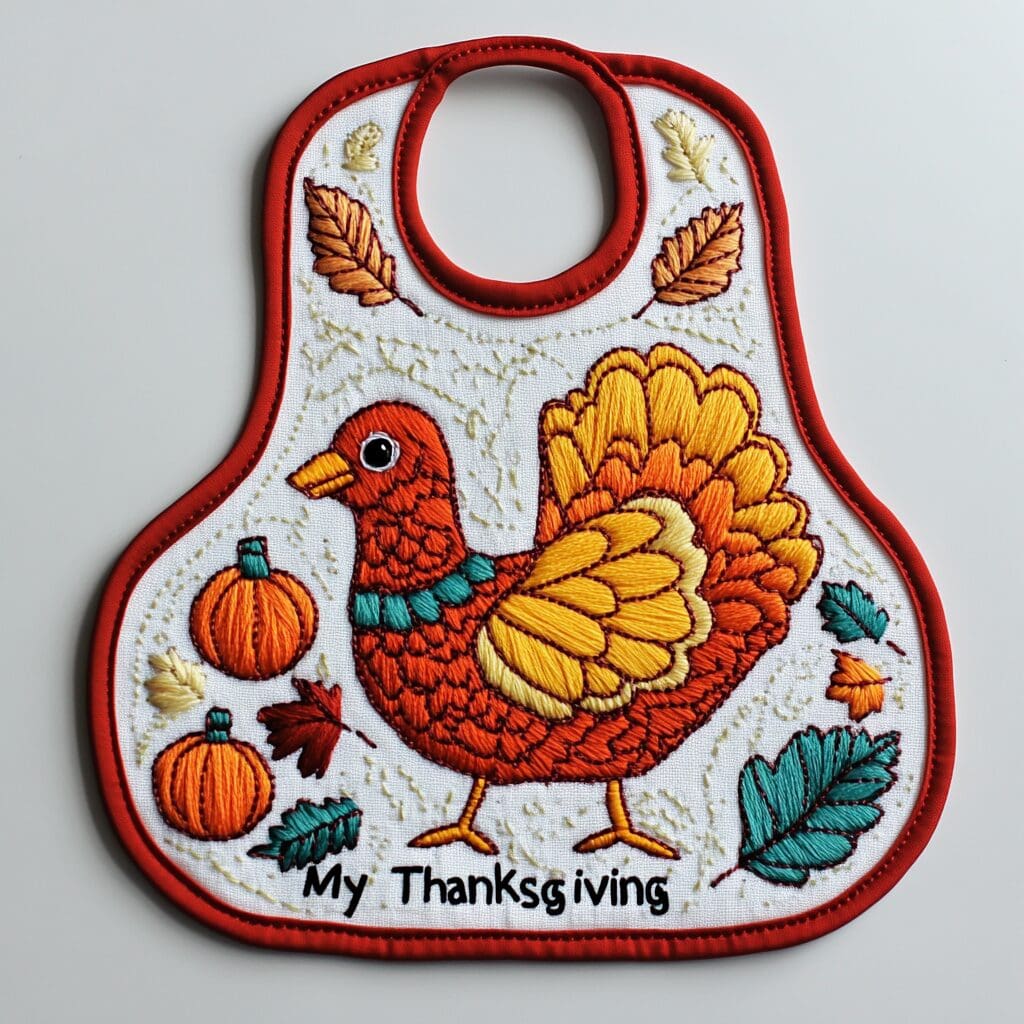
4. Embroidered Bib
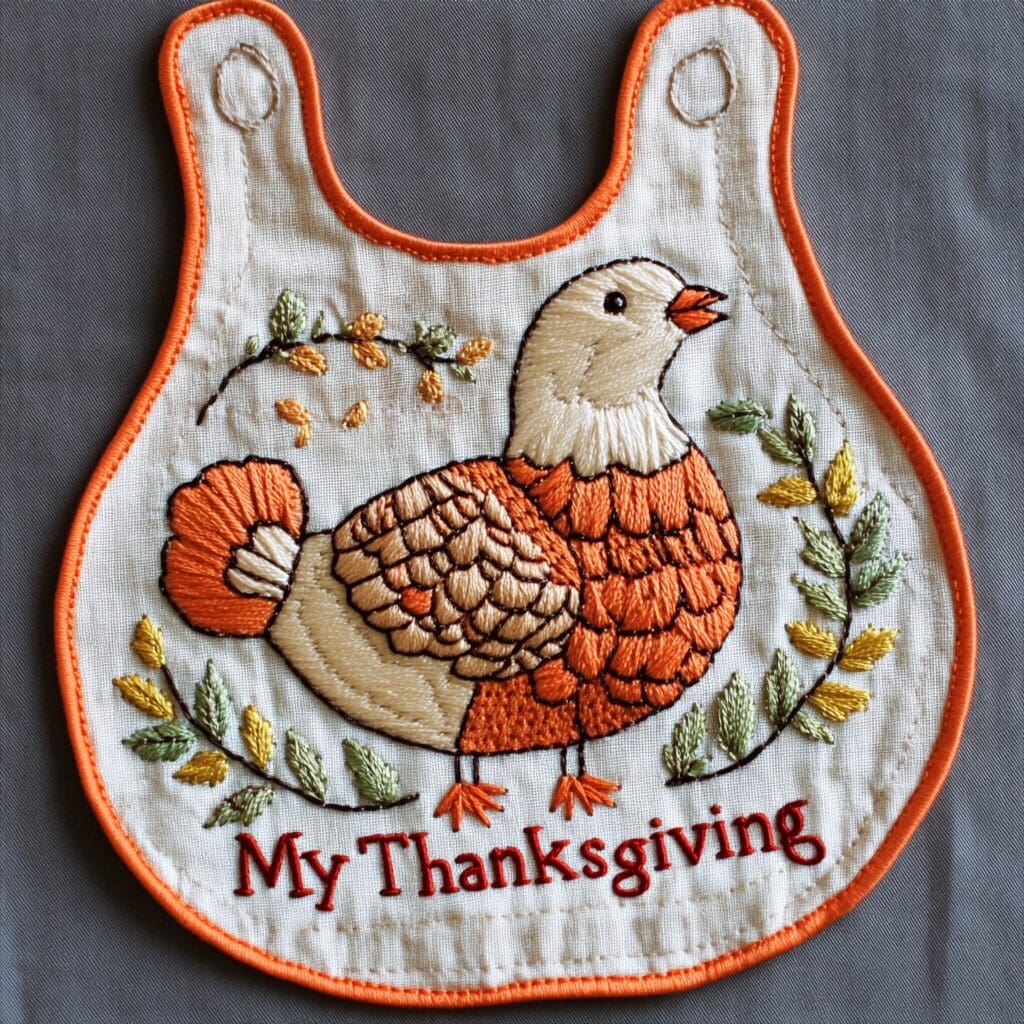
- Using embroidery thread, stitch a simple turkey or pumpkin design onto the bib. You can use a pre-drawn outline as a guide.
- Add extra details like leaves or a name using different colored threads.
- Finally, stitch “My First Thanksgiving” onto the bib, either above or below the design.
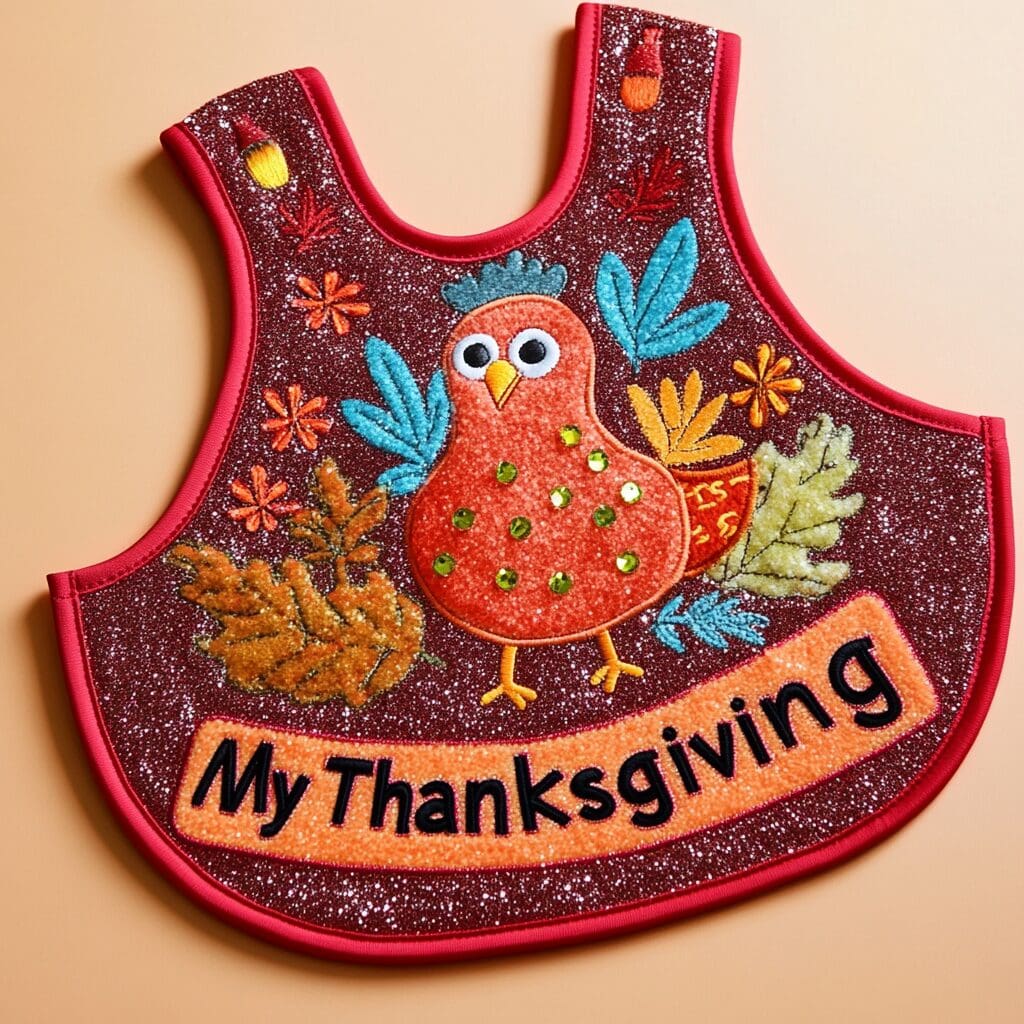
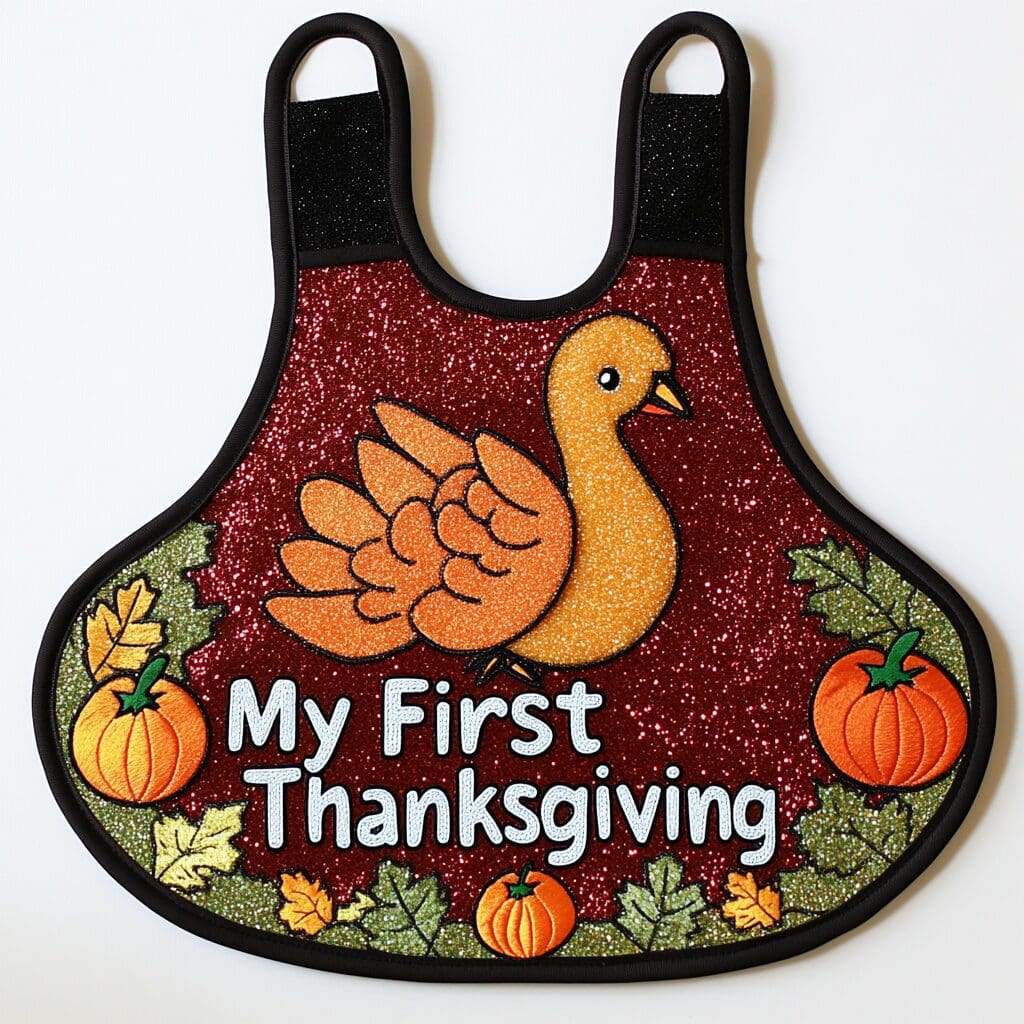
5. Glitter Accents Bib
- Apply fabric glue in the shape of a turkey, pumpkin, or fall leaves.
- Sprinkle glitter over the glued area and shake off any excess.
- Once dry, use fabric paint or markers to add “My First Thanksgiving” and other decorations around the glittery shapes.
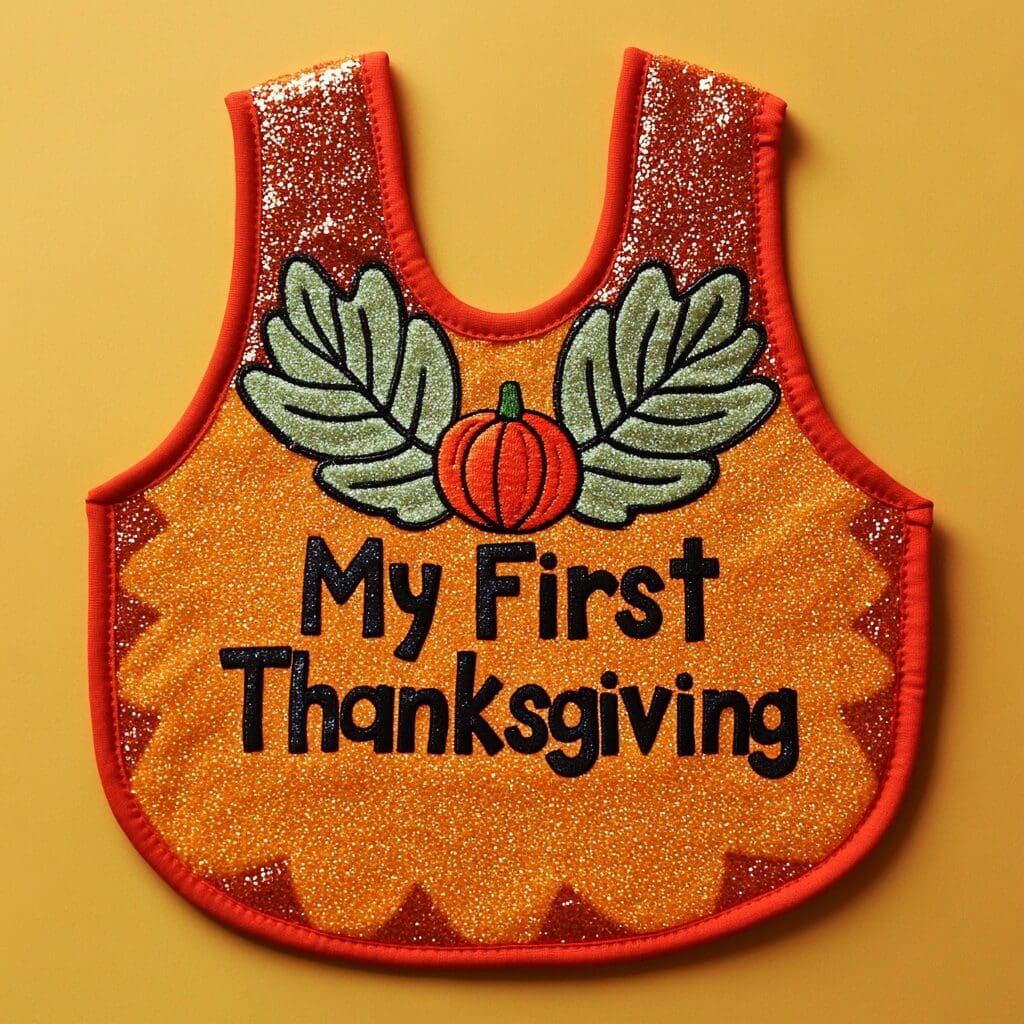
Creating your own My First Thanksgiving Bib is a simple and delightful way to celebrate your baby’s first Thanksgiving. Whether you prefer painting, sewing, or adding embellishments, these craft ideas offer easy and creative ways to personalize a bib that will make your little one’s first holiday extra special. This is a fun project and a meaningful keepsake that can be cherished for years to come.
These DIY bibs are perfect for those memorable Thanksgiving photos and can be passed down or kept as a heartwarming reminder of your baby’s first holiday season. Don’t be afraid to get creative and try different designs or techniques to make it truly unique!
For more crafting ideas, check out our articles on fall leaves banner ideas and how to paint a skeleton face for Halloween. Happy crafting, and enjoy your special Thanksgiving moments!

