Screen printing for beginners is an exciting, hands-on way to create custom designs on fabric, paper, or even wood. Using the silk screen printing method, you’ll learn to transfer your design onto your chosen material, opening up creative possibilities for DIY T-shirts, posters, bags, and more! This guide is here to show you each step involved, including how to use vinyl stencils to make clean, bold prints.
In screen printing, you use a screen with a stencil that blocks out parts of your design, allowing ink to transfer only through the open spaces. Beginners often start with simpler designs, but with a few screen printing basics, you’ll soon be making intricate designs too! This guide is designed to make each screen step easy to follow and will walk you through creating your first prints.
One popular way to make stencils is screen printing with vinyl, which lets you cut out detailed shapes and letters for clean, crisp lines. Using vinyl and a few simple tools, you can make reusable stencils and try your designs on different surfaces. With just a few supplies and this guide, you’re ready to start screen printing!
What You’ll Need
- Screen printing frame (try an 8×10 inch for starters)
- Screen printing squeegee (5-6 inches wide)
- Screen printing ink (fabric or paper, depending on your project)
- Stencil paper or vinyl
- Plain T-shirt or paper
- Craft knife
- Tape
- Old spoon or spatula
- Cardboard piece to place inside shirts
Method
1. Start by choosing a simple design that you’d like to print. For beginners, bold shapes or block letters work best.

2. Using stencil paper or vinyl, trace and cut out your design with a craft knife. Make sure the areas you want to print are the sections you remove from the stencil.

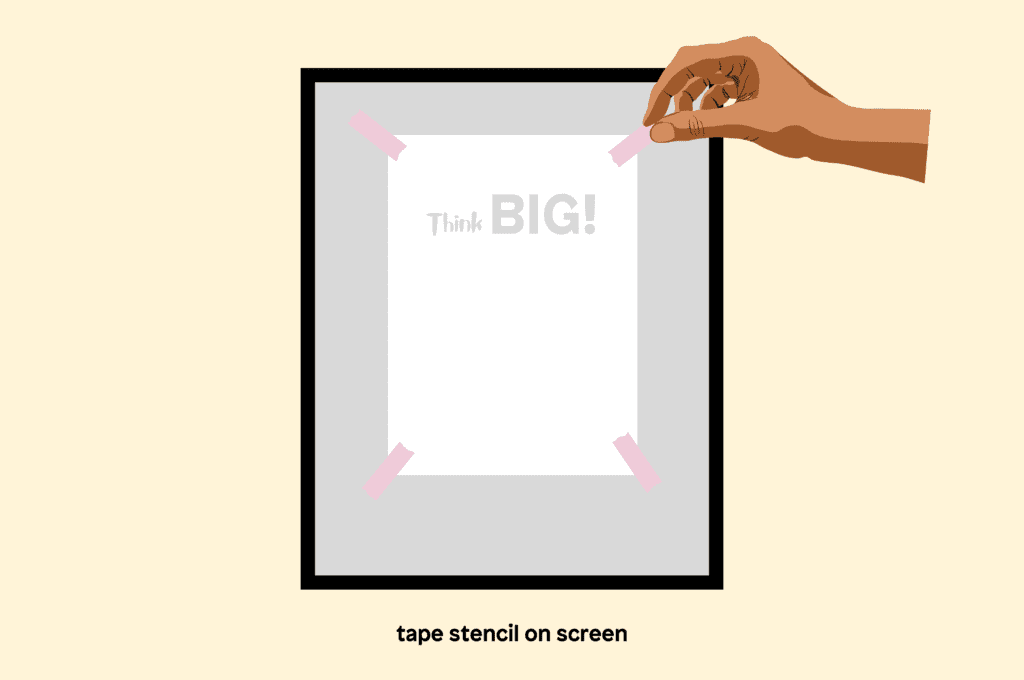
3. Center your stencil on the screen and secure it with tape. Ensure all edges are firmly taped to prevent ink from leaking around the edges.
4. Place a piece of cardboard inside the T-shirt or underneath the paper to create a firm printing surface and prevent ink from bleeding.
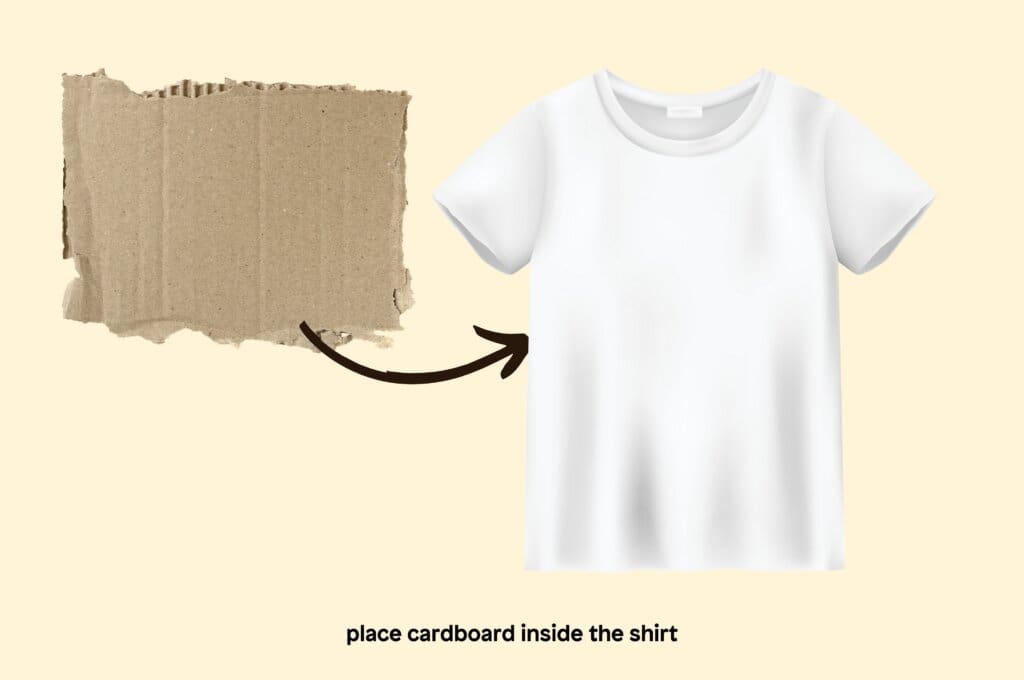
5. Lay the screen with the stencil side down onto your T-shirt or paper, making sure it’s centered and stable.
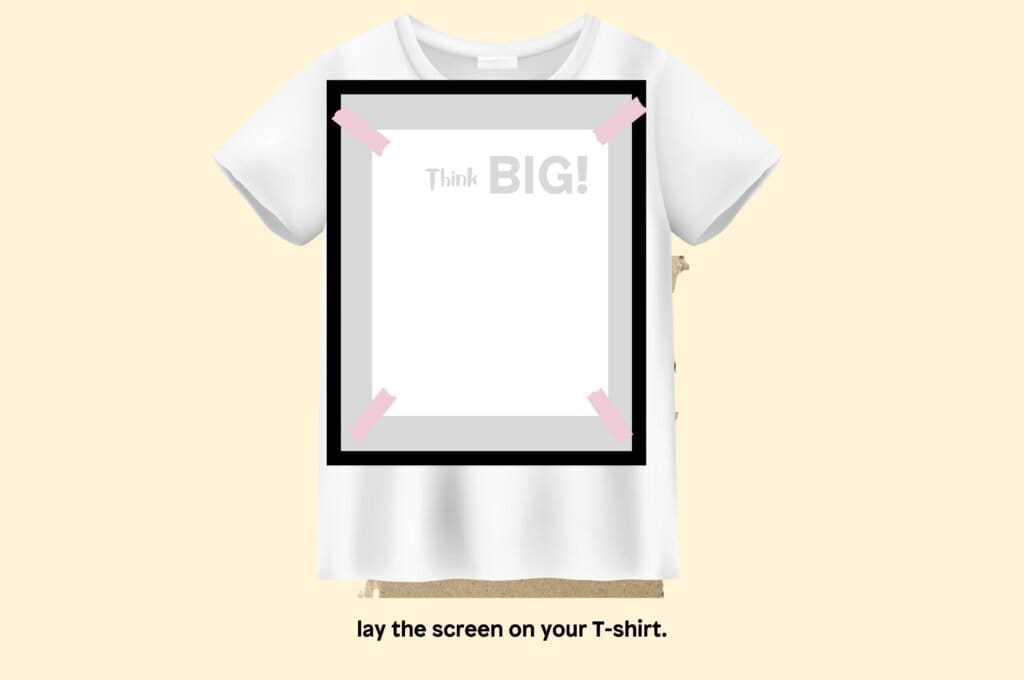
6. Scoop a small amount of ink at the top edge of your stencil. You’ll only need about a spoonful.
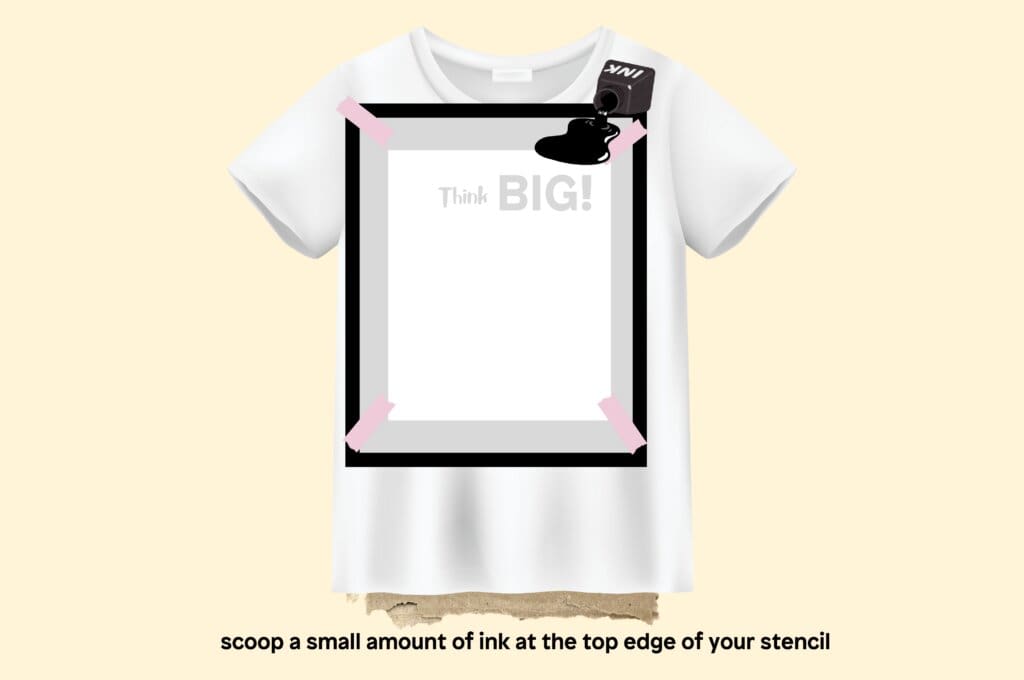
7. Hold the squeegee at a 45-degree angle and, with firm pressure, pull the ink across the screen in one smooth motion. This step pushes the ink through the stencil and onto your fabric or paper.
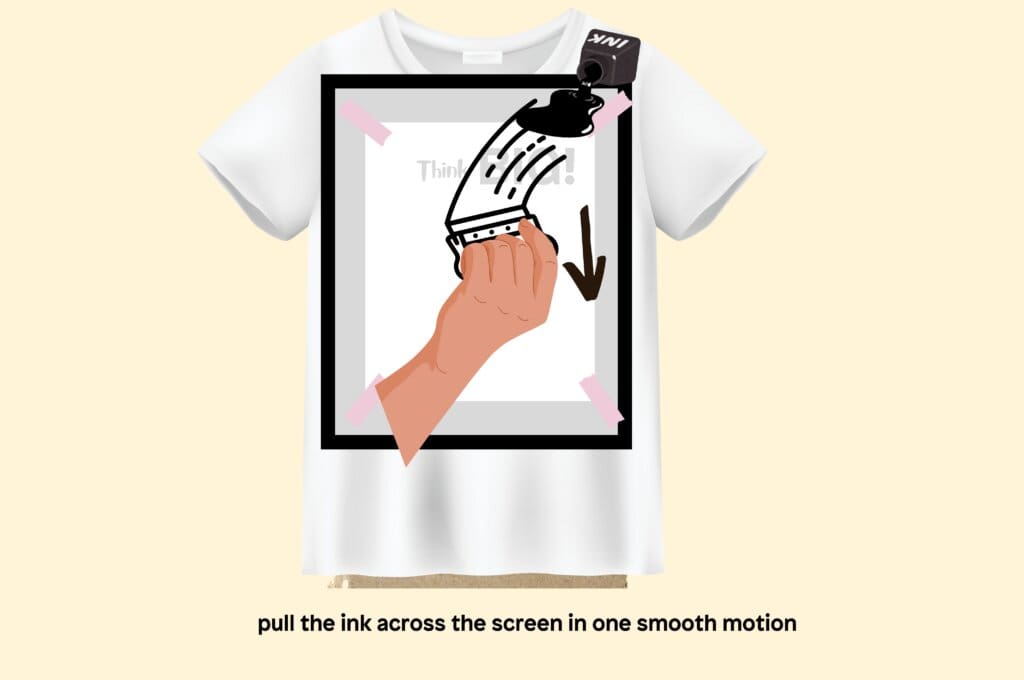
8. Gently lift the screen to reveal your printed design. Let it dry for 24 hours or follow the ink manufacturer’s instructions for drying and curing.

9. Immediately rinse the screen, squeegee, and other tools with warm water. Ink can dry quickly, so wash everything right away to keep your supplies ready for future use.


With these easy steps, screen printing for beginners can be a fun and creative activity for all ages. Once you’re comfortable with each screen step, you’ll be ready to explore other DIY projects, like learning how to make stickers with a Cricut or designing eco-friendly crafts such as fashion coloring pages.
As you master each new technique, you’ll have the skills to create unique designs on a variety of surfaces. Enjoy experimenting, and happy printing!
FAQs
Source
https://www.domestika.org/en/blog/9304-5-interesting-facts-about-screen-printing


