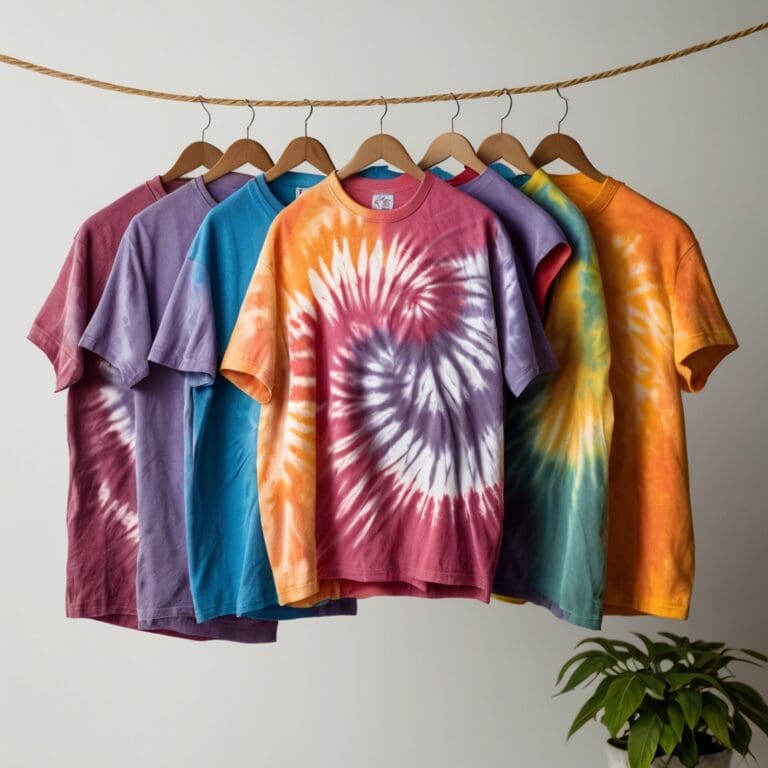
Creating a tie dye shirt is an exciting way to bring your creativity to life, and it’s easier than you might think! With these easy-to-follow tie dye shirt instructions, you’ll be able to make a one-of-a-kind wearable masterpiece, perfect for showing off your artistic side.
In this guide, we’ll walk through the essential steps to tie-dye your shirt, from choosing the best folding style to letting the dye set for a vibrant finish.
To start, pick a plain white shirt and choose colors that reflect your personality. There are countless ways to fold your shirt, each creating a unique pattern. Our tie dye shirt instructions will guide you through each step, showing you how to fold your shirt and apply the dye in an easy, mess-free way. Let the dye set, rinse, and reveal an amazing design made by you!
Once you see your finished shirt, you might just be inspired to make more for friends and family! Dyeing can be a fun solo project or group activity that’s perfect for all ages. After learning how to tie dye, you can use the same techniques to experiment with other fabrics, adding your personal touch to bags, pillowcases, and more.
Gather your materials, and let’s get started on your tie-dye adventure!
What You’ll Need
- White cotton shirt (pre-washed)
- Fabric dyes in various colors
- Squeeze bottles (for each dye color)
- Rubber bands
- Plastic gloves
- Plastic sheet or table cover (to protect surfaces)
- Plastic bags (for setting the dye)
Method
1. Cover your workspace with a plastic sheet or table cover to avoid dye stains. Wear plastic gloves to keep your hands clean.

2. Begin by soaking your shirt in water and then wringing out the excess water. The shirt should be damp but not dripping.

3. Try different folding techniques for unique patterns. Twist it in a spiral for a bullseye effect, fold it in accordion pleats for stripes, or pinch random sections for a crumpled look. Secure your folds with rubber bands.

4. Pour each dye color into a separate squeeze bottle. Wearing gloves, carefully squeeze the dye onto each section of your shirt, applying colors however you like.

5. Place your dyed shirt in a plastic bag to keep it moist and allow the colors to set for 6-8 hours, or overnight for the most vibrant results.

6. After the dye has set, remove the shirt from the plastic bag and rinse it under cold water until the water runs clear. Wash the shirt on its own in the washing machine to ensure excess dye is removed.

7. Allow your shirt to air dry or tumble dry on low heat, then show off your colorful creation!


Making a tie dye shirt is a fantastic, hands-on way to express your artistic side. With these easy tie dye shirt instructions, you can create a truly unique piece of clothing that’s all your own. This craft is also a great gateway to other creative projects like knitting projects for beginners or even designing your own fashion coloring pages.
So why stop at just one? Gather your supplies and create a full collection of DIY tie-dye items for yourself and others to enjoy!
FAQs
Source
https://www.domestika.org/en/blog/8803-5-interesting-facts-about-tie-dye

