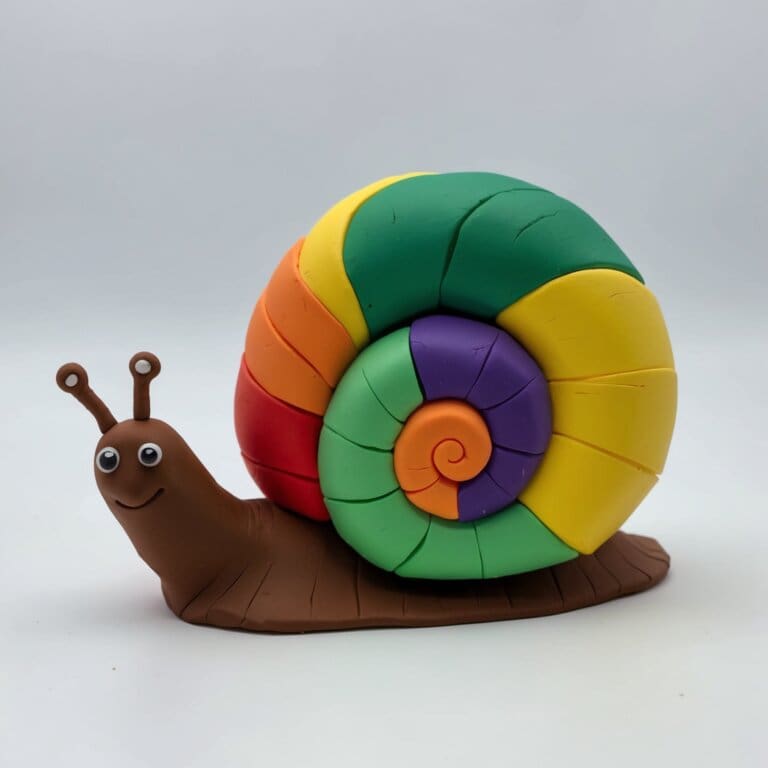
Creating a clay snail can be an enjoyable and imaginative project for kids and adults alike. Whether you’re using polymer clay or air dry clay, making a clay snail sculpture is a perfect way to introduce children to the art of sculpting.
This hands-on activity inspires creativity and improves fine motor skills as kids learn to roll, shape, and assemble clay into a delightful snail figure. Best of all, clay snails are simple to make and can be customized with fun colors and details.
The process of crafting a polymer clay snail or an air dry clay snail is straightforward, and the results are rewarding. With just a few steps and basic materials, you can bring a cute snail sculpture to life. You can make your clay snail as small or as large as you like, adding patterns or painting it once it dries. This craft is perfect for playdates, school projects, or simply a creative afternoon at home.
In this guide, we’ll show you how to make clay snail sculptures with step-by-step instructions. Let’s gather our supplies and get ready to create!
What You’ll Need
- Sculpting tools
- A smooth cylindrical object
- Water (optional, for air dry clay)
Method
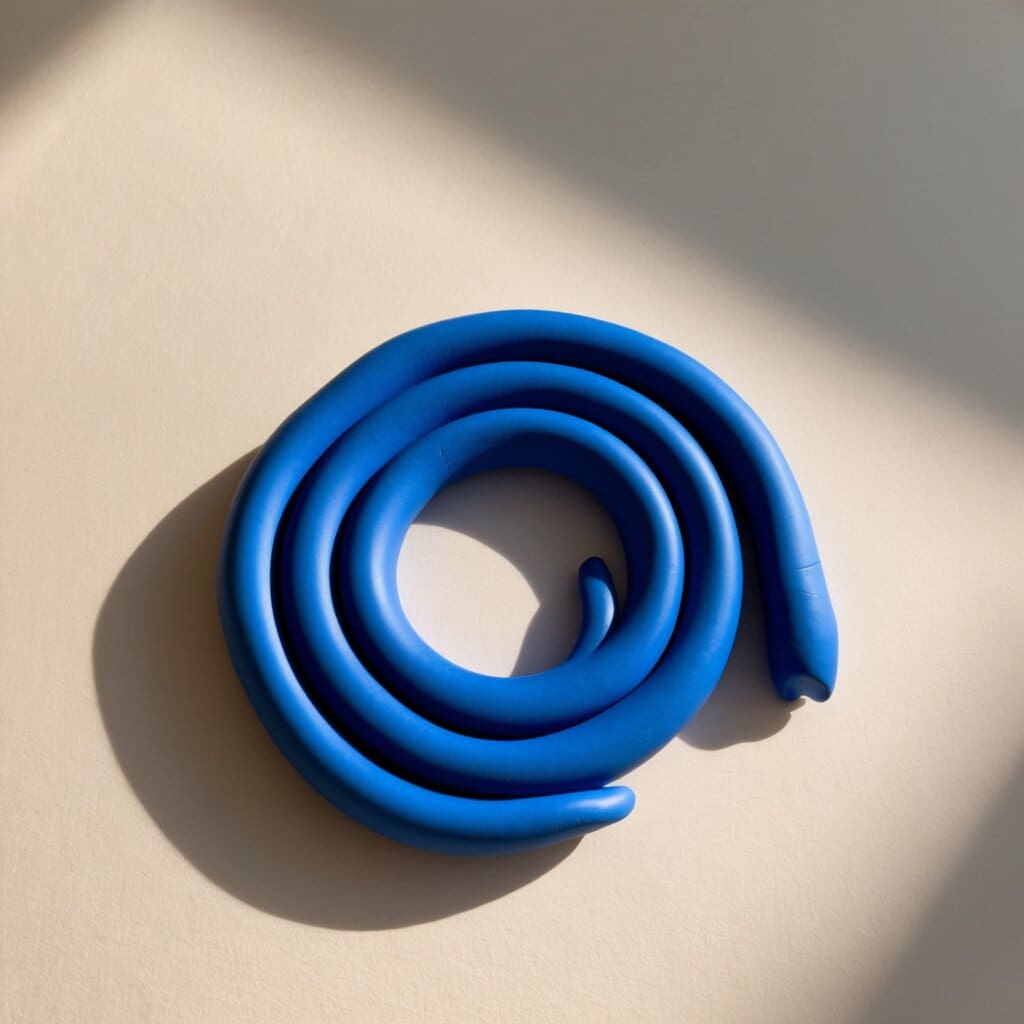
1. Start by rolling a piece of clay into a long, thin coil for the snail’s body.
2. Shape another piece of clay into a smooth, rounded spiral for the snail’s shell.
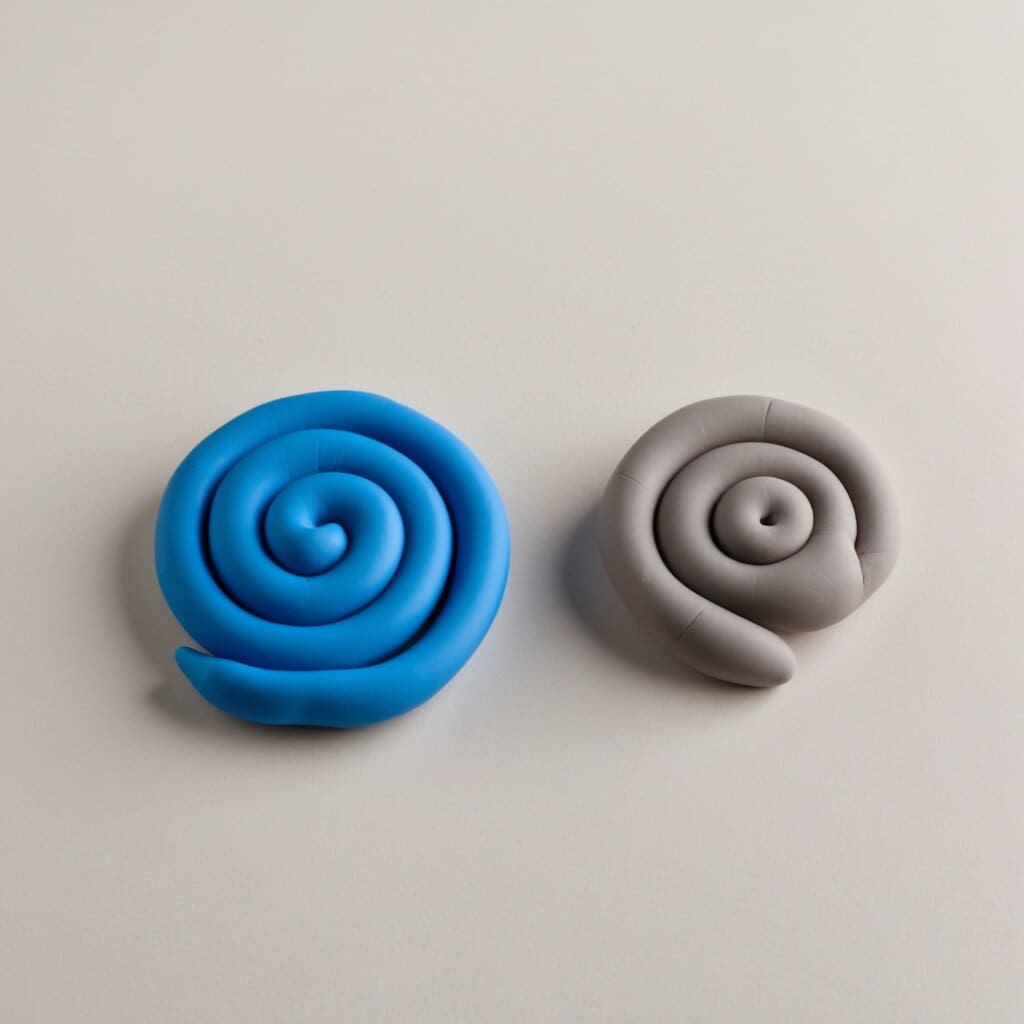
3. Attach the spiral shell to the body by gently pressing them together.
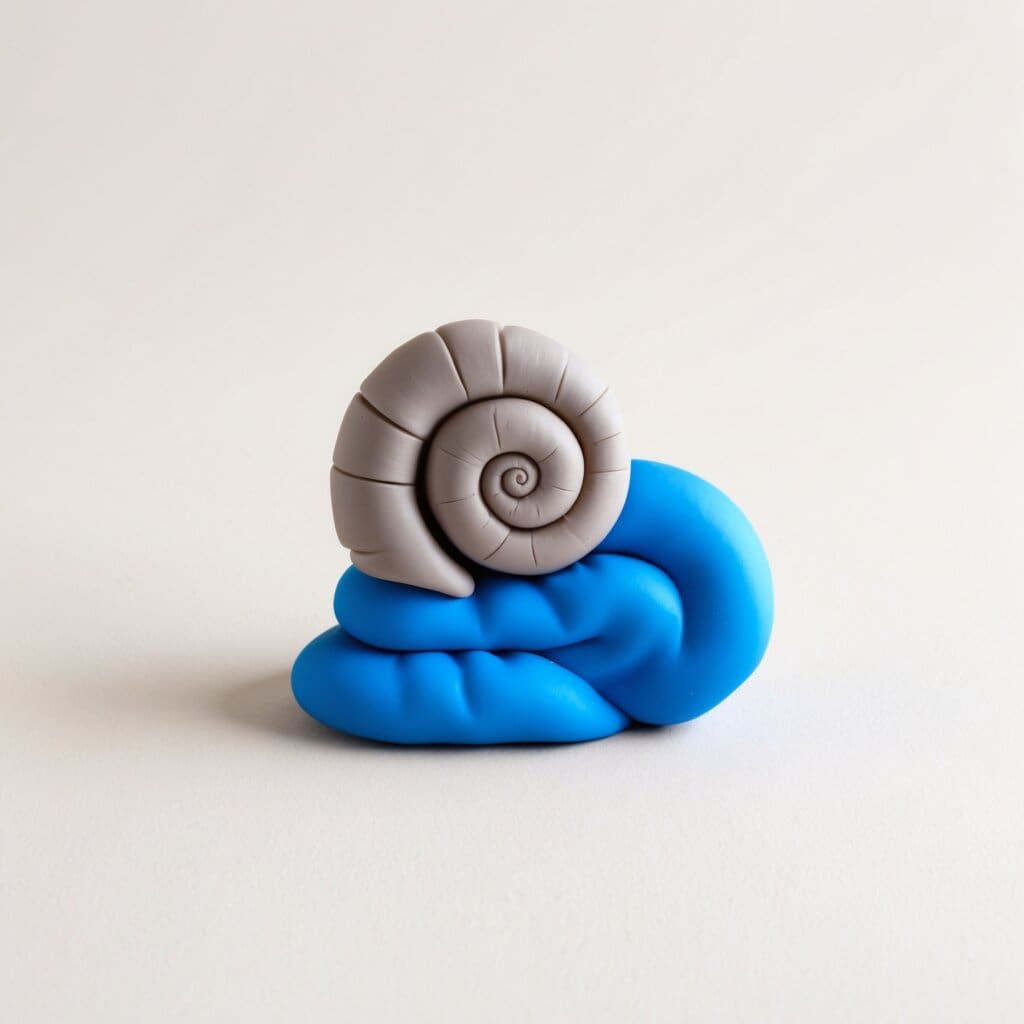
4. Use a toothpick or sculpting tool to add texture or patterns to the shell.
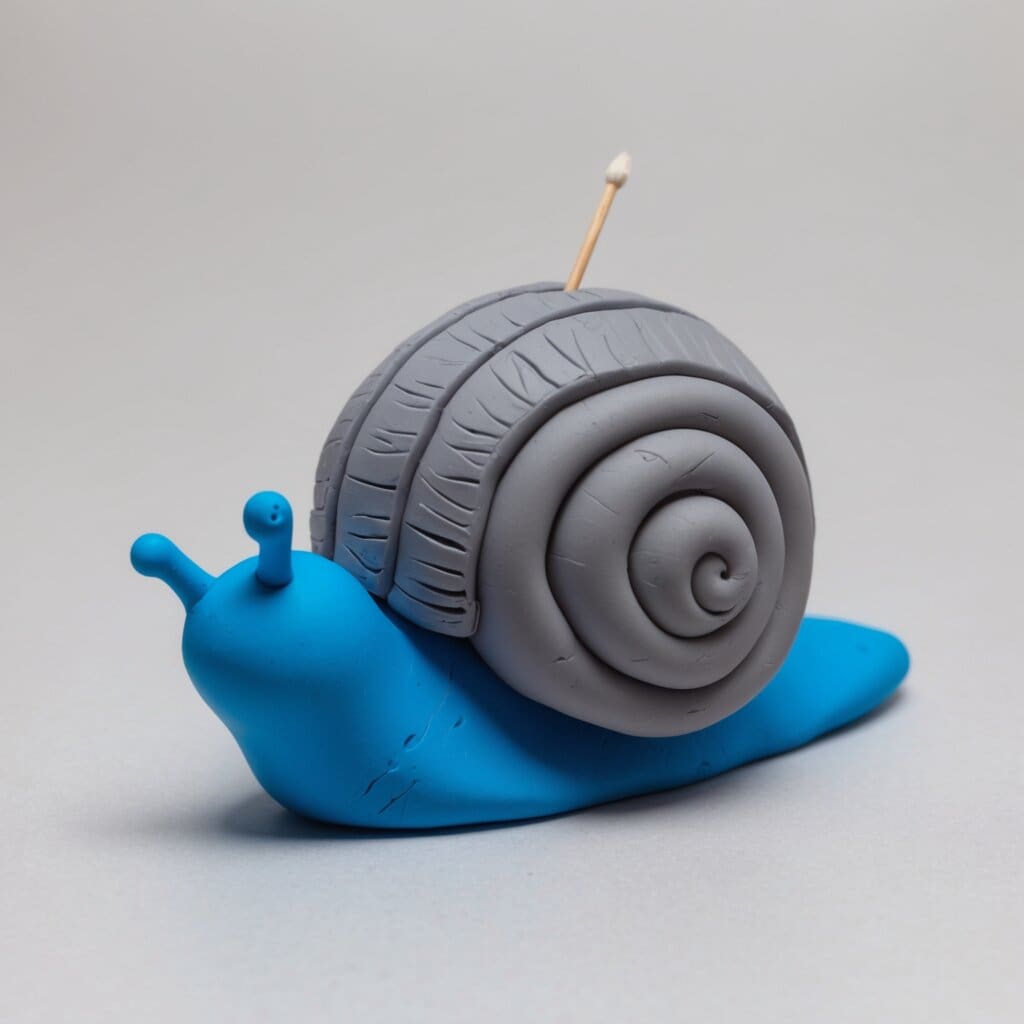
5. Create two small clay balls for the eyes and place them on top of the body.
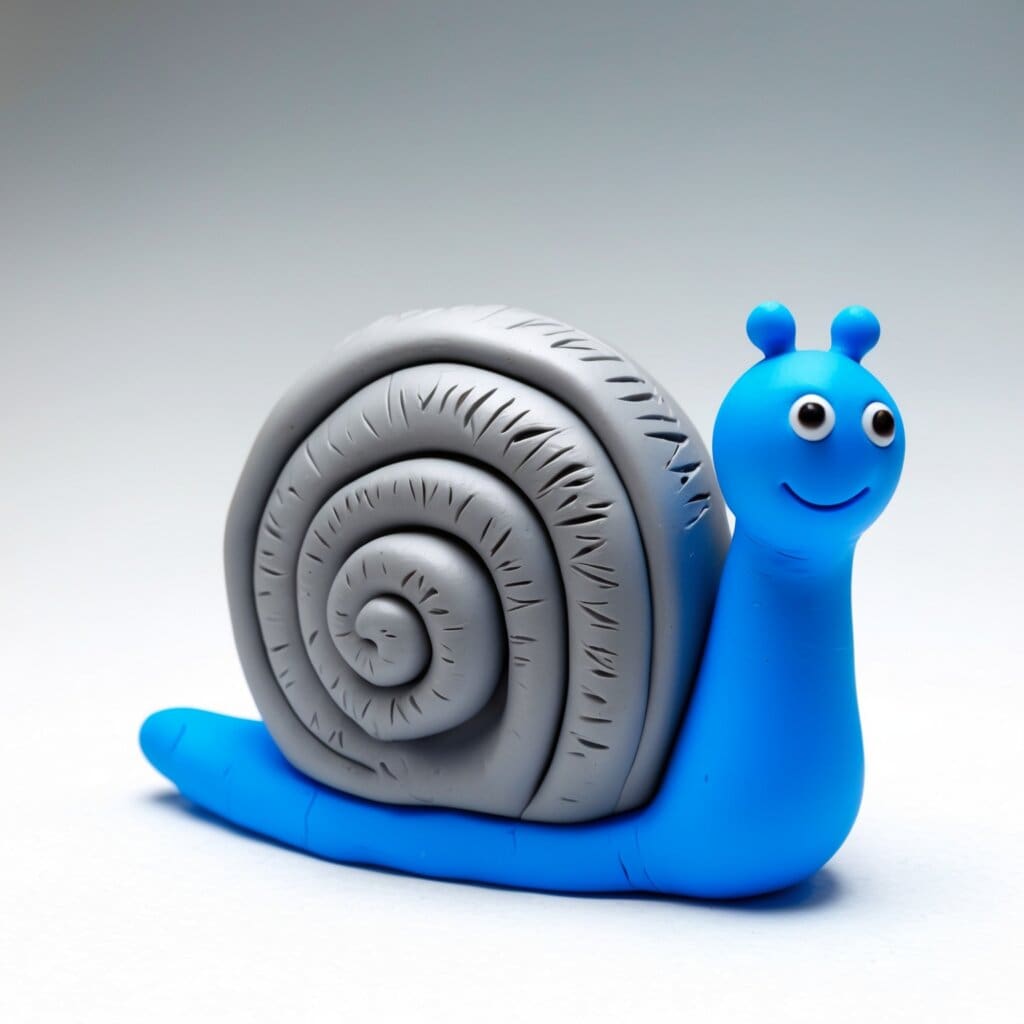
6. Add tiny clay rolls for the antennae and secure them to the top of the eyes.
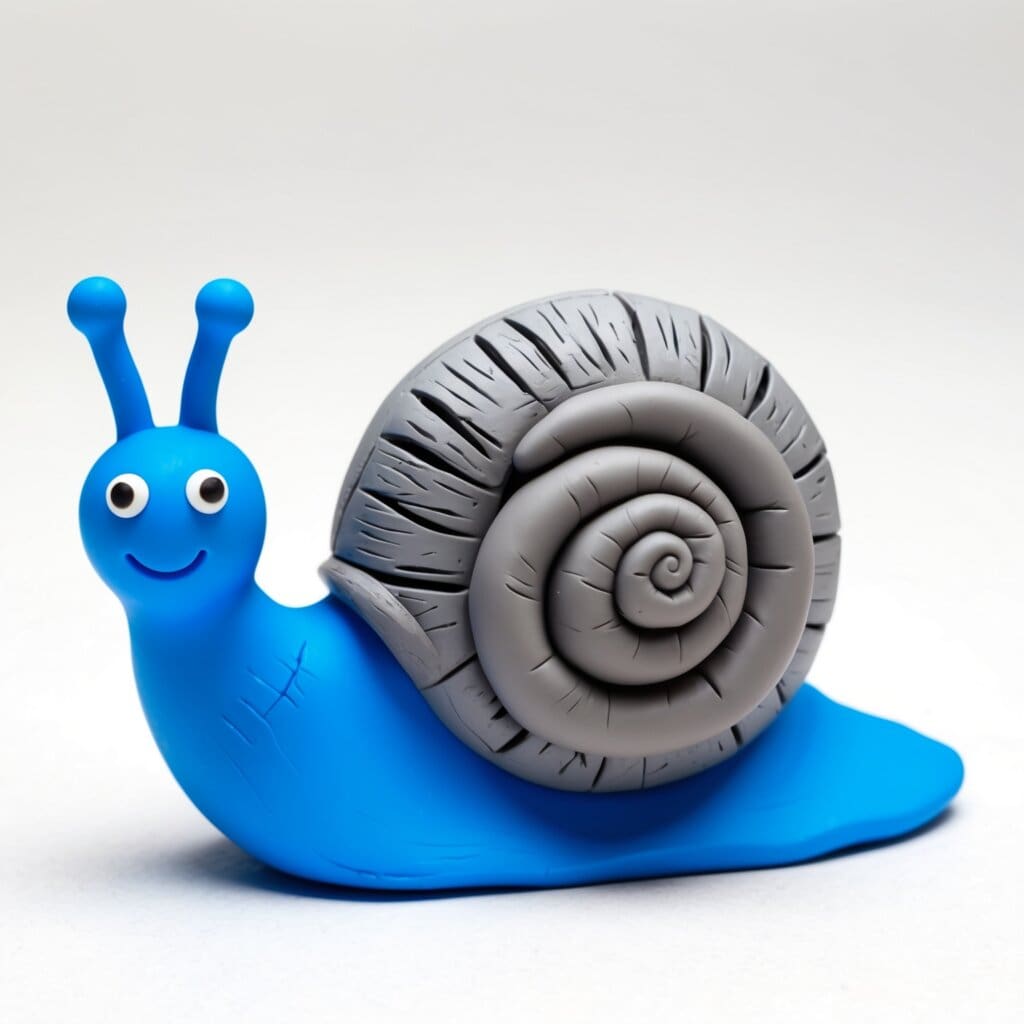
7. Let the air dry clay snail dry completely. You can design your snail in various ways; be flexible.
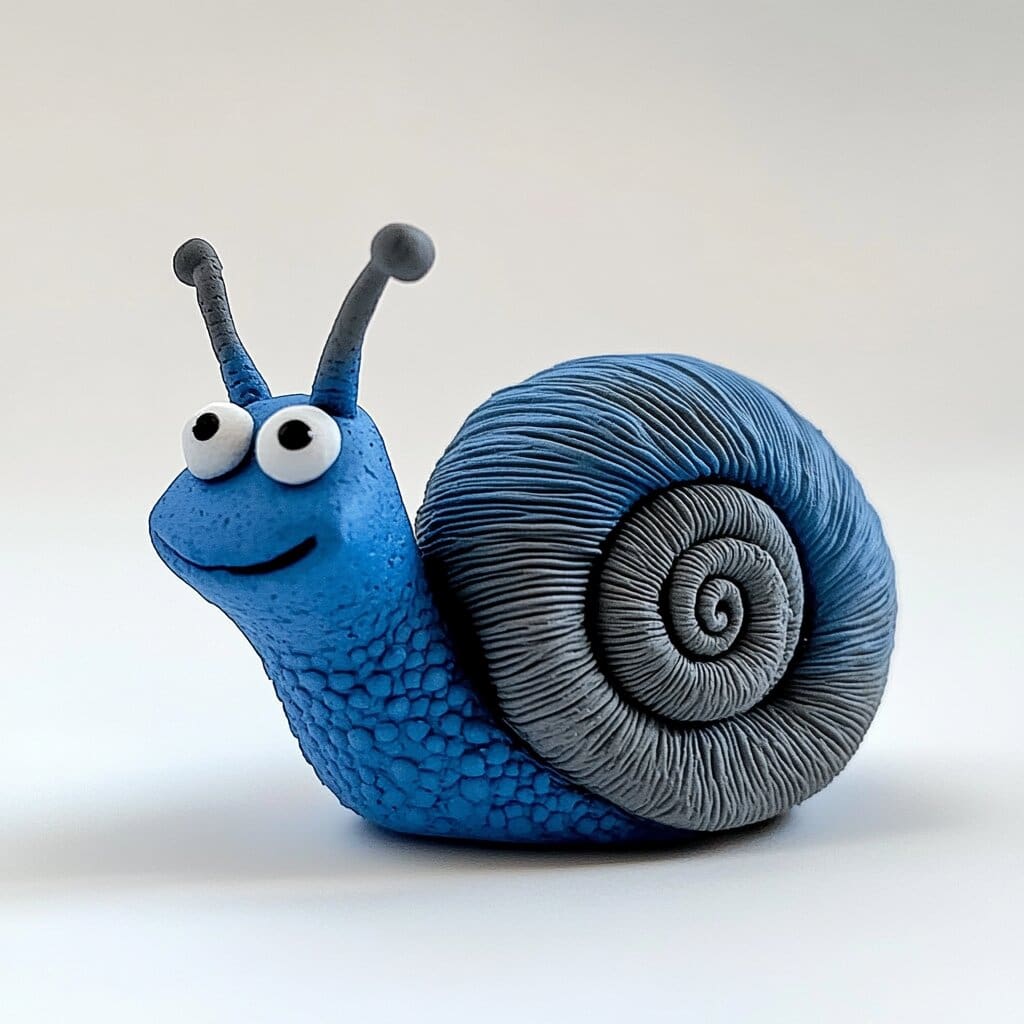
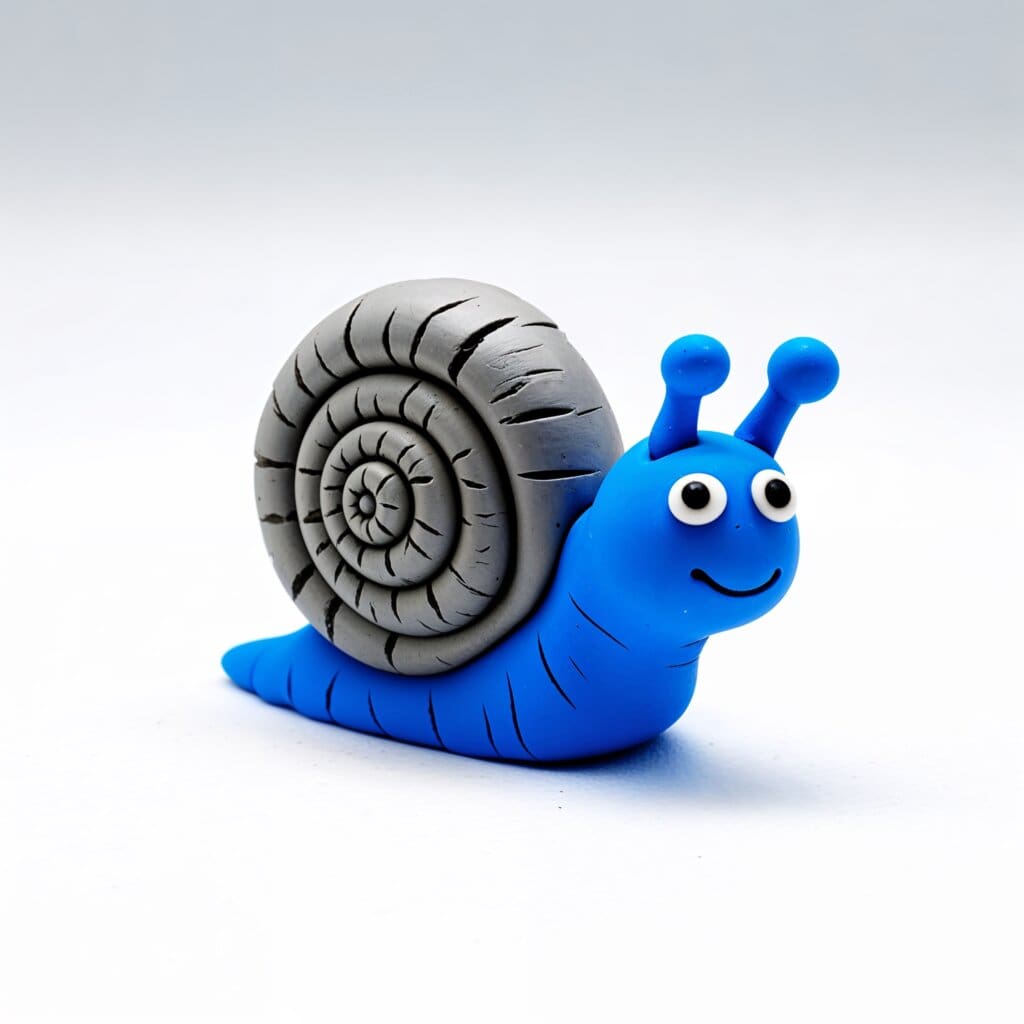
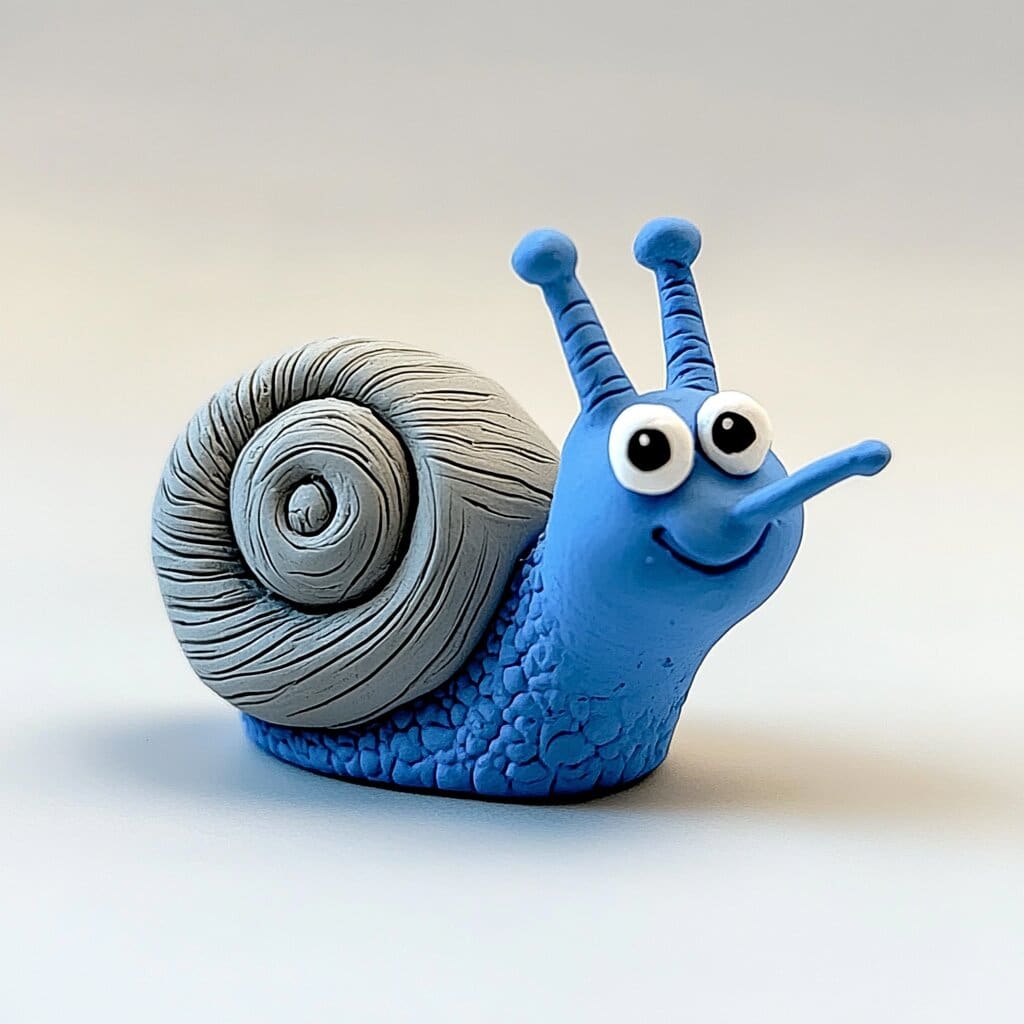
Making clay snail sculptures is a fun and educational activity that children and adults can enjoy together. The simple process of shaping, rolling, and attaching pieces of polymer clay or air dry clay allows for a wonderful opportunity to explore creativity and learn the basics of sculpting. Adding unique colors, textures, and patterns makes each clay snail one-of-a-kind.
Whether you choose to use polymer clay that requires baking or air dry clay that hardens naturally, this craft is a great way to engage kids and let their imaginations run wild. Clay snail sculptures can be displayed on a shelf, used as paperweights, or even gifted to friends and family as a handmade treasure.
For more creative inspiration and DIY projects, don’t forget to check out our articles on owl craft ideas for kids and how to make a memorable giant birthday card. These guides offer more fun ways to explore your artistic side!

