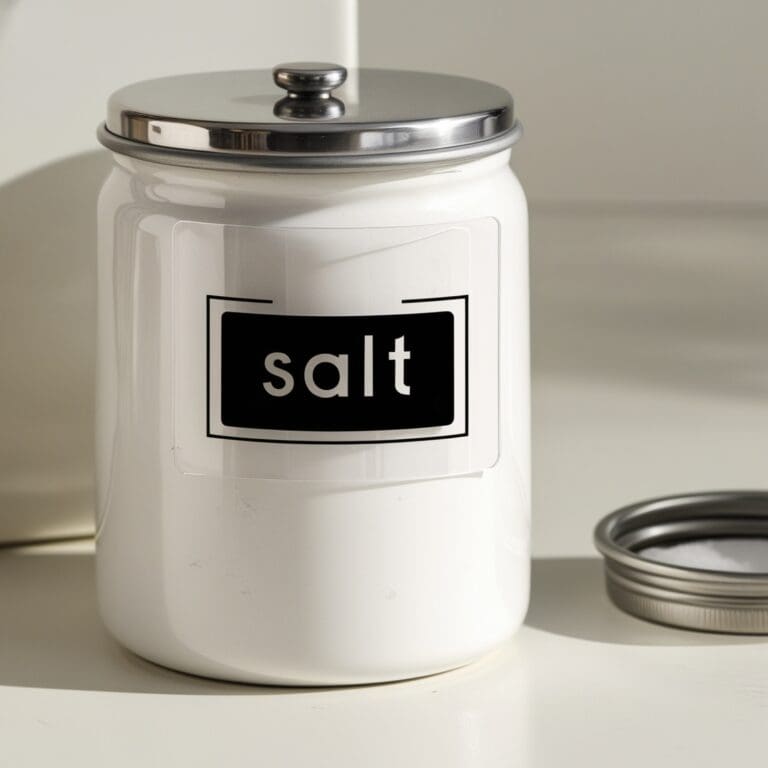
The Cricut label maker is an amazing tool for anyone who loves to get organized and add a personal touch to their spaces. Whether you’re labeling jars in the kitchen, creating custom office supplies, or organizing your kids’ school items, the Cricut label maker allows you to design beautiful, professional-looking labels effortlessly.
This versatile machine cuts with precision, giving you the freedom to personalize your labels with different fonts, shapes, and colors. One of the biggest advantages of using a Cricut label maker machine is its user-friendly design. Even if you’re a beginner, the software guides you step-by-step through the process, helping you select designs and sizes for your labels.
The machine handles everything from cutting to printing, so your labels turn out perfect every time. It’s an excellent option for casual DIY enthusiasts and experienced crafters. The Cricut label maker makes it easy to create high-quality, customized labels, for pantry jars, storage bins, gift tags or notebooks.
Whether you’re working on a small project or a complete home reorganization, this tool will simplify your process and let you showcase your creativity. You’ll love how professional and neat everything looks!
What You’ll Need
- Cricut Label Maker machine
- Cricut Design Space software
- Blank label sheets
- Transfer tape
- Weeding tool
- Cricut cutting mat
Method
1. Start by downloading and opening Cricut Design Space on your computer or mobile device. Select “New Project”.
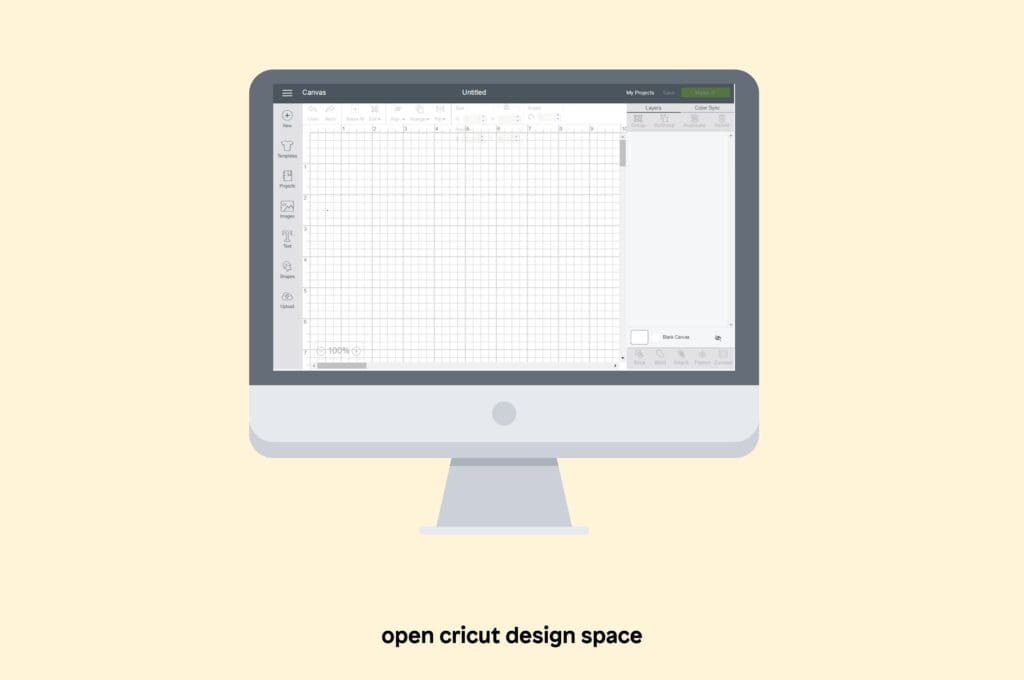
2. Choose the label size and shape you want to create. You can customize your design by adjusting the font, adding icons, or selecting colors.
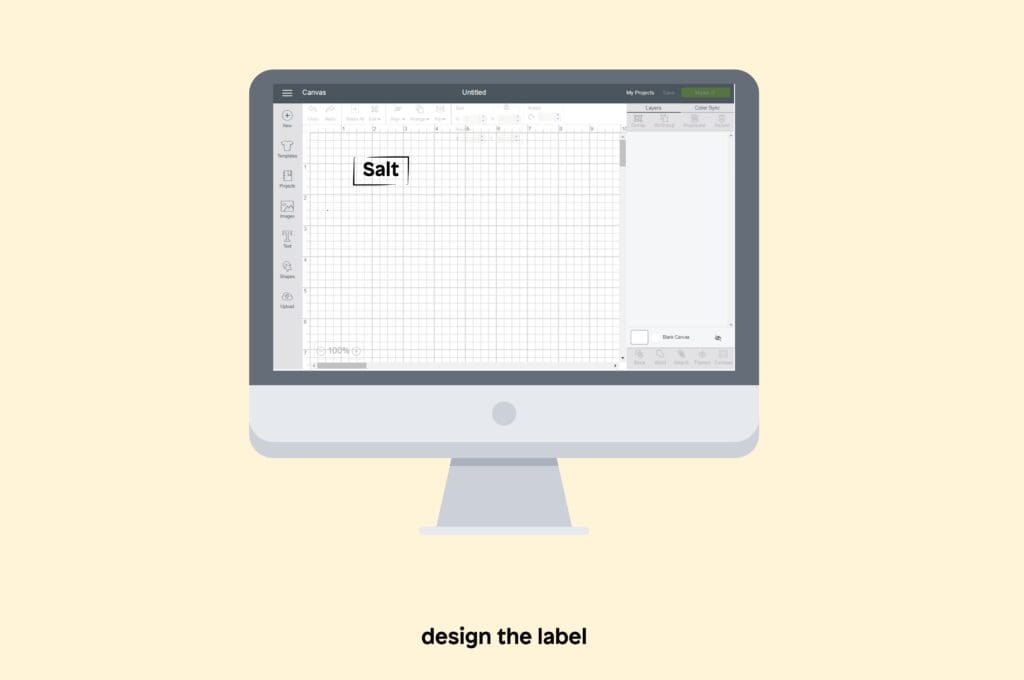
3. Once your design is complete, load the blank label sheets into your Cricut label maker.
4. Place the cutting mat with the blank label sheet into the machine and click “Make It” on the software.
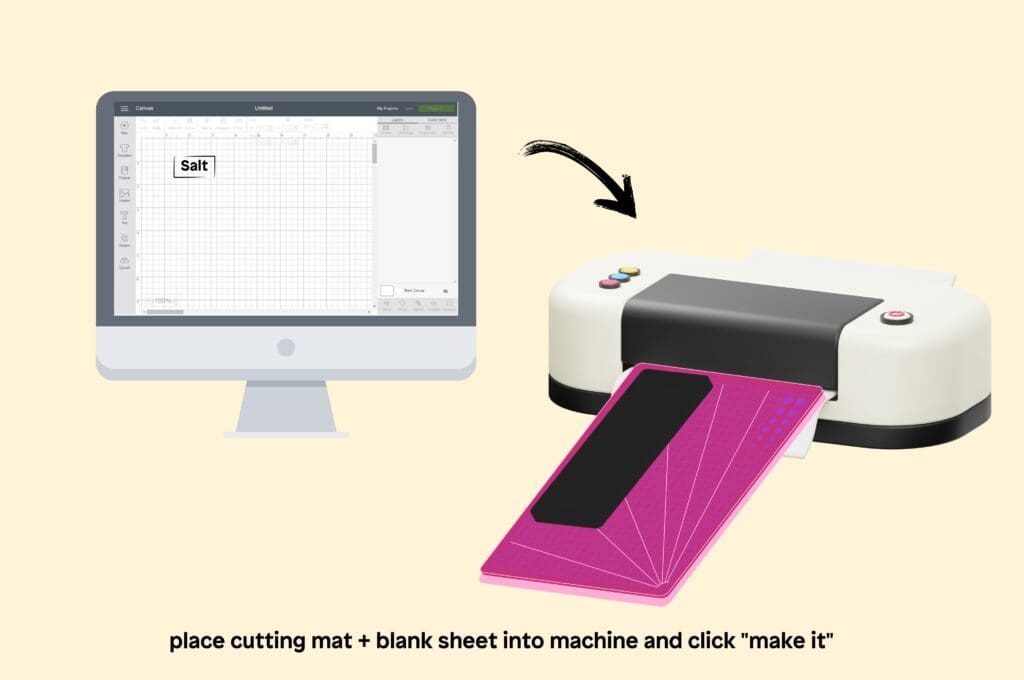
5. The Cricut will cut the labels precisely. Once the cutting is finished, carefully weed away the excess vinyl using the weeding tool.
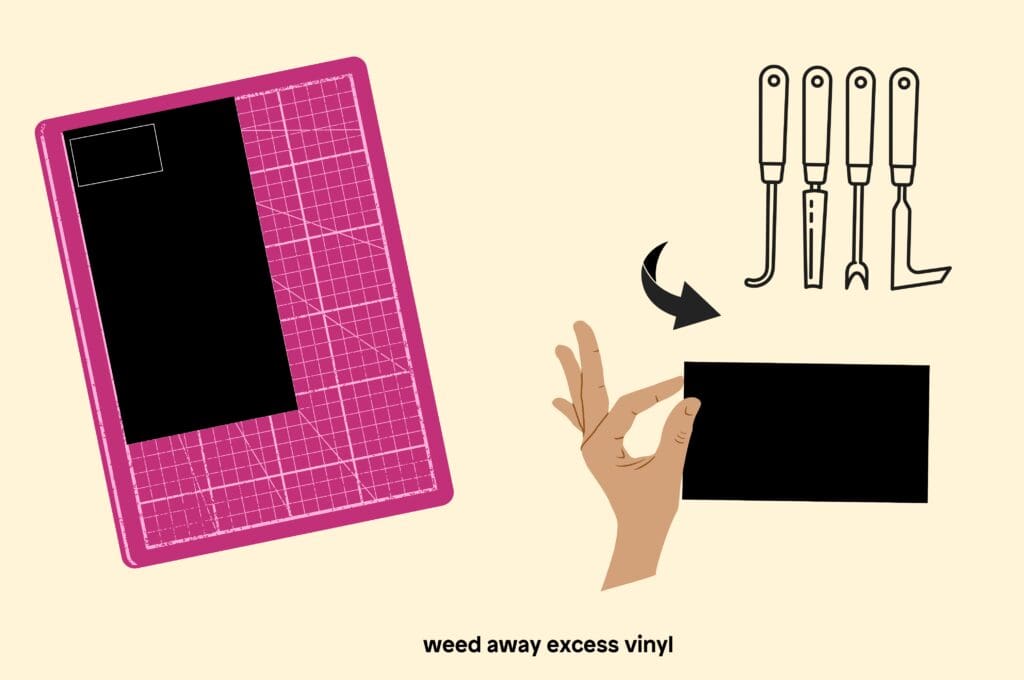
6. Apply the transfer tape over the top of your labels and press down firmly.
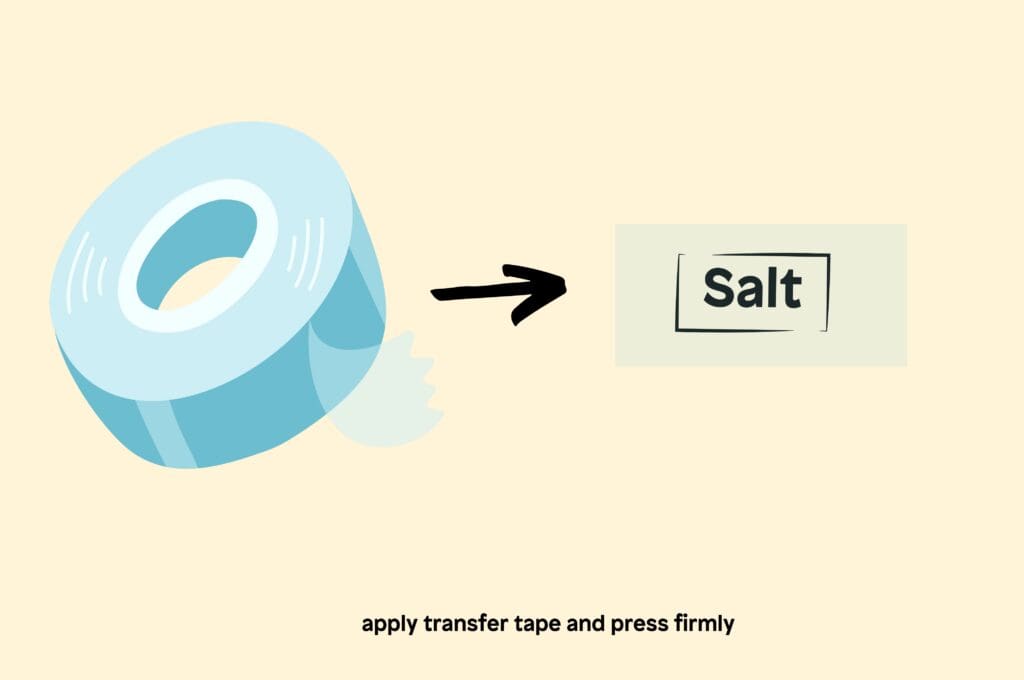
7. Peel off the backing and place the label on the desired surface, smoothing it out to remove air bubbles.
8. Remove the transfer tape, leaving your custom label perfectly applied.
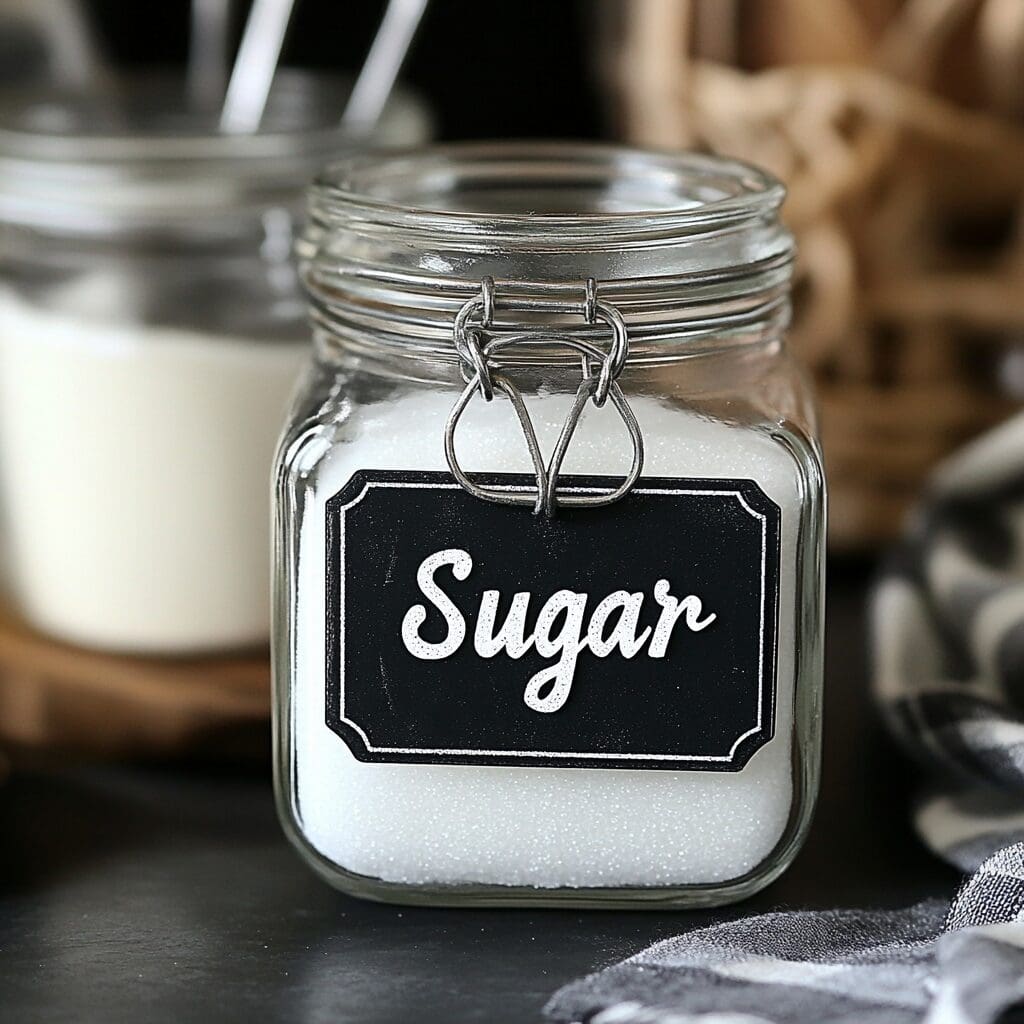
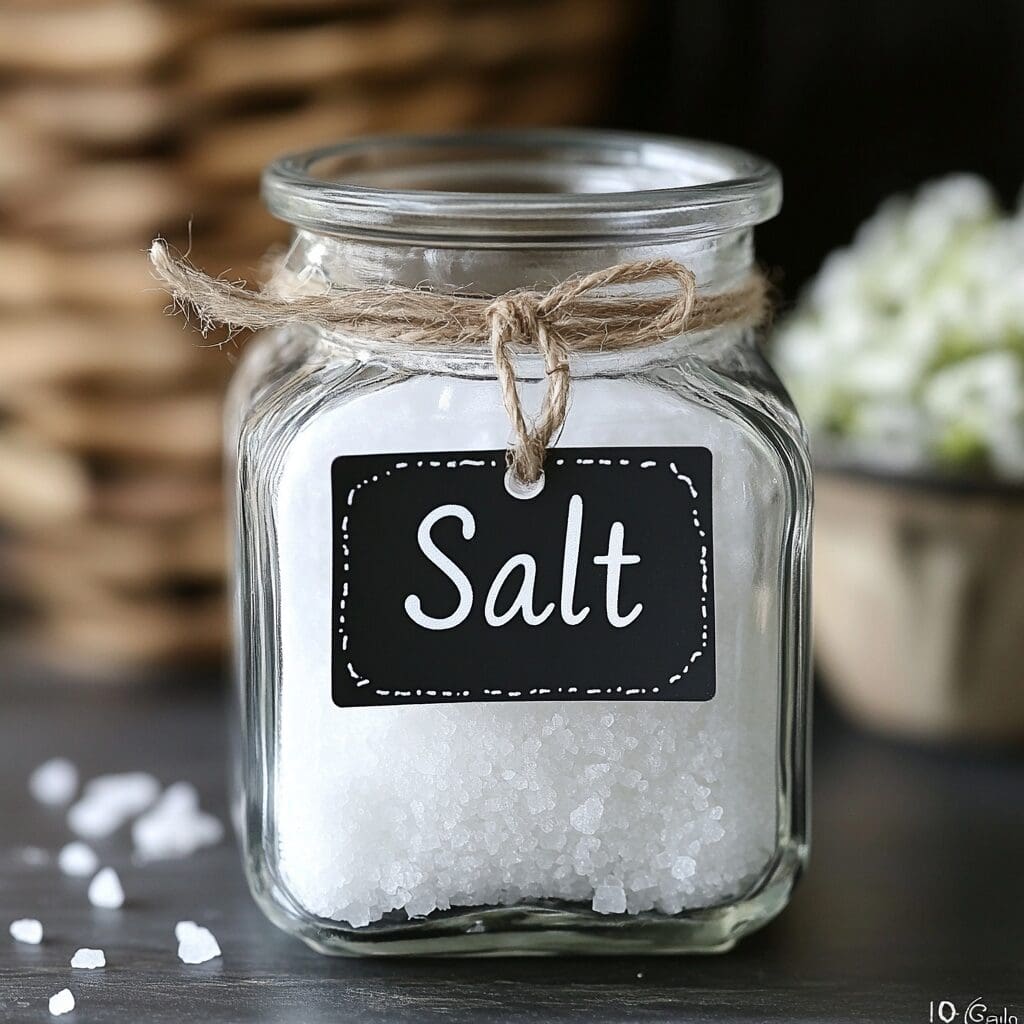
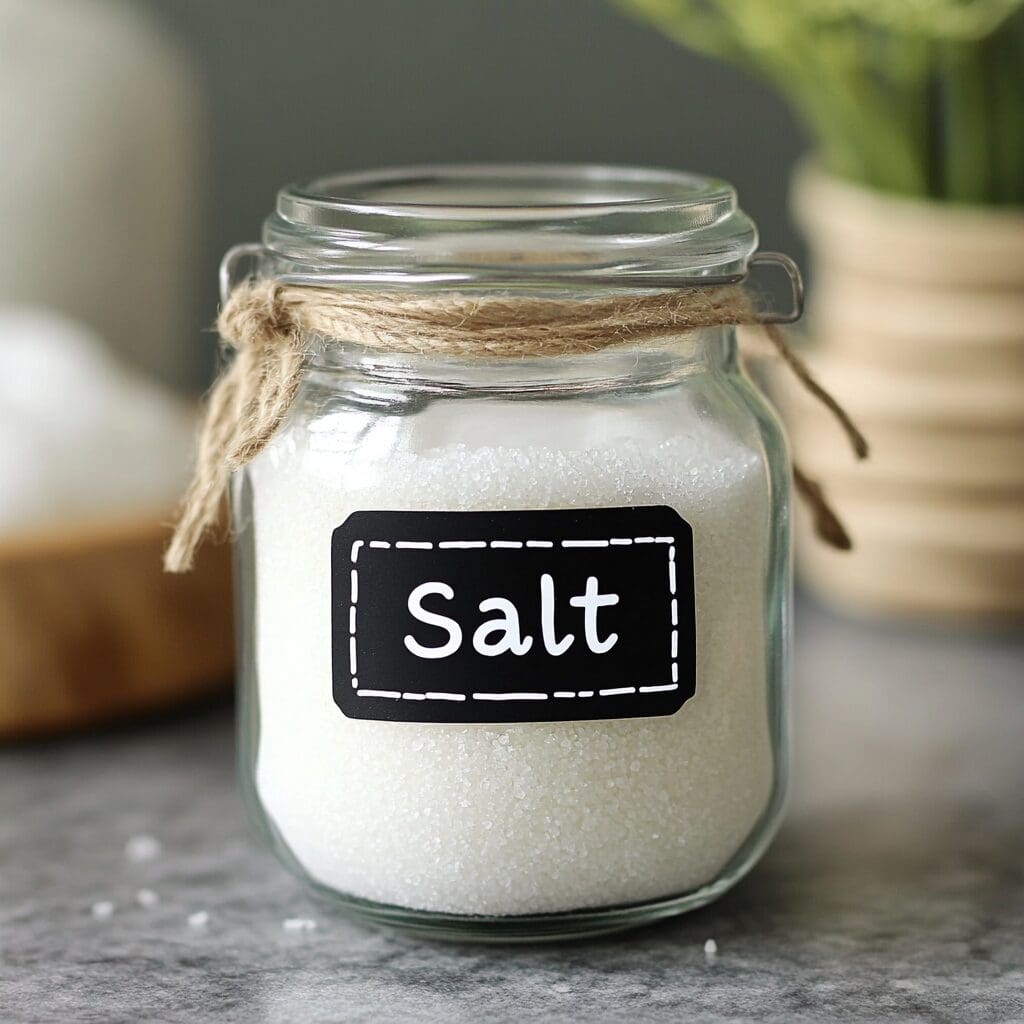
Now that you’ve mastered making custom labels with the Cricut label maker, you can take your crafting skills even further! Next, try designing your own stickers using the Cricut.
For a fun addition, pair your creations with inspirational coloring pages that allow you to explore your creativity even more. Whether it’s for gifts, personal use, or just for fun, the possibilities are endless with Cricut!
FAQs
Source
https://cricut.solotreni.net/blog/interesting-facts-about-the-cricut-application

