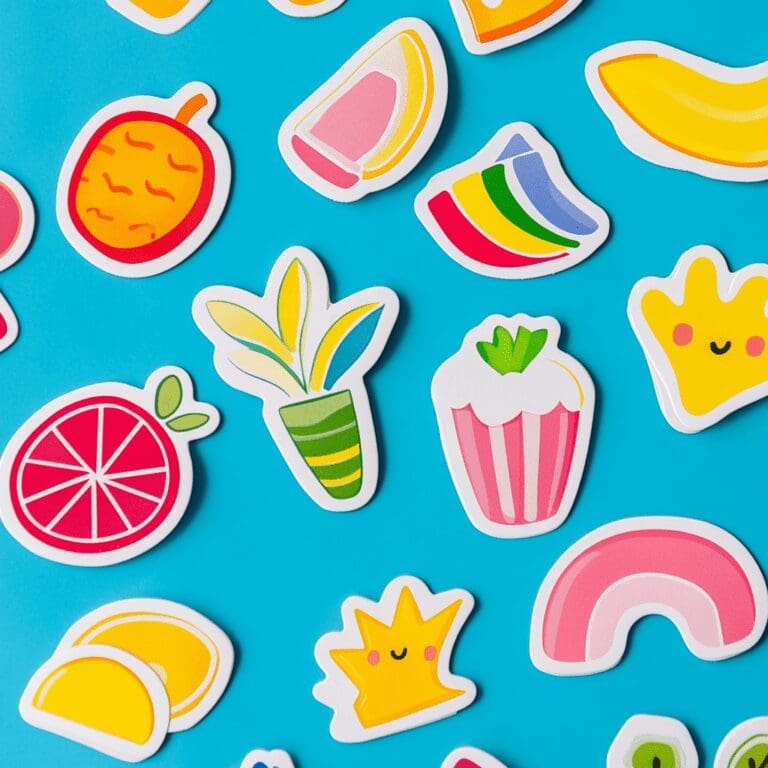
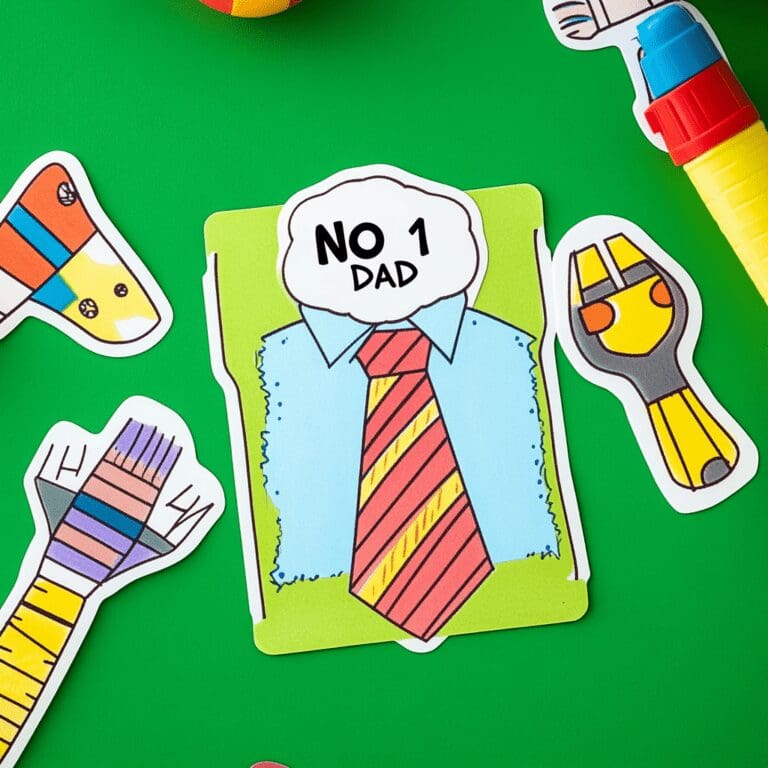
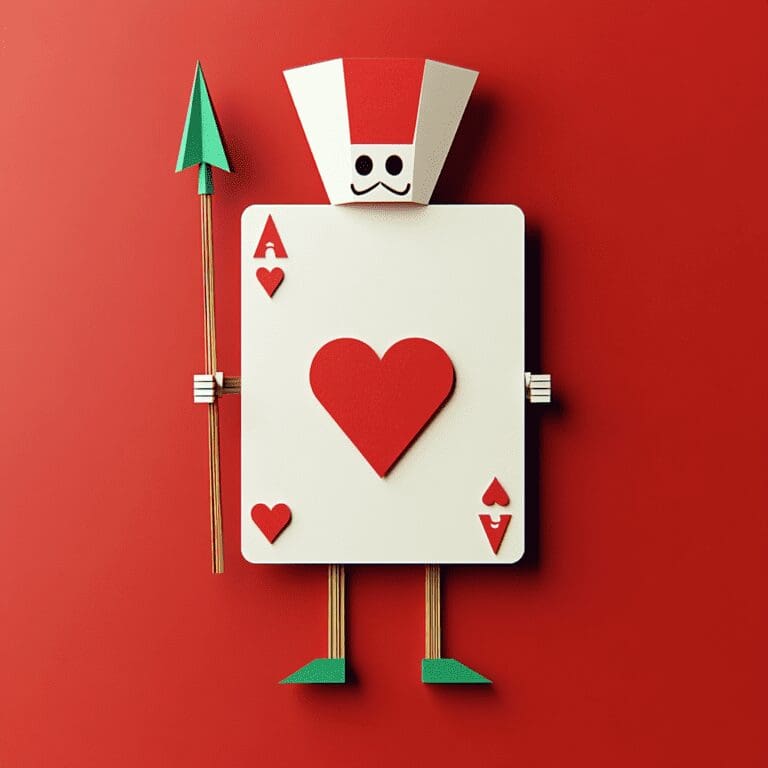
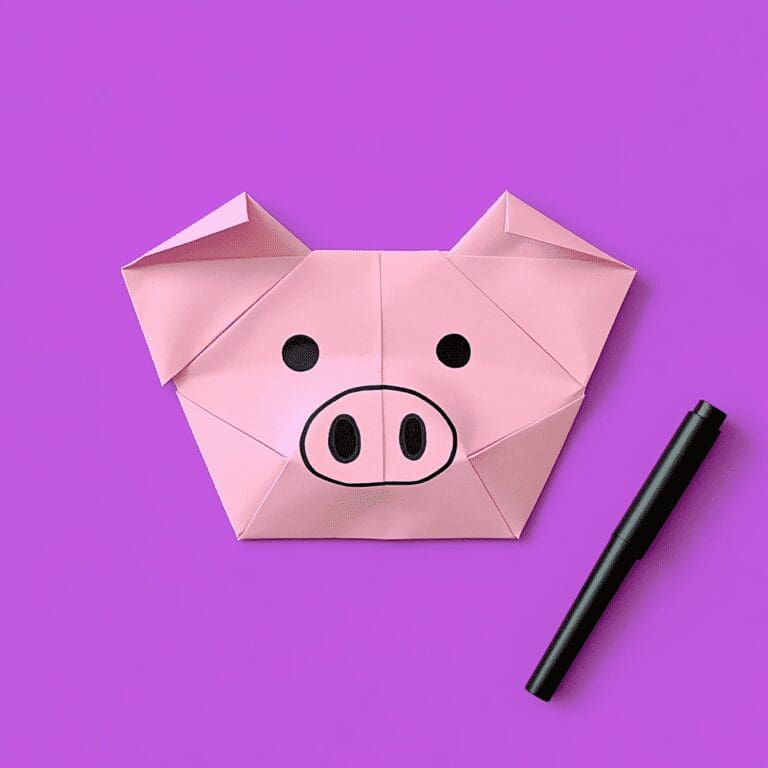
DIY stickers are a fun and easy way to add a personal touch to just about anything! Whether it’s decorating a notebook, personalizing your water bottle, or making gifts for friends, creating your own custom stickers is a great craft for kids and adults alike. Making DIY stickers is not only a creative activity but also an affordable way to bring your favorite designs to life. The best part? You can make them using simple materials that you probably already have at home!
This craft is perfect for a rainy day, a birthday party activity, or simply a way to keep kids entertained. Plus, learning how to make your own stickers encourages creativity, fine motor skills, and self-expression. You can draw your own designs, use images from magazines, or even print out your favorite pictures to turn into stickers.
In this article, we’ll show you how to create your own DIY stickers in just 7 simple steps. Get ready to design, cut, and stick your way to a fun afternoon of crafting!
What You’ll Need
Images (printed or cut from magazines)
Method
1. Start by deciding what you want your DIY stickers to look like. Draw your own designs with markers or crayons on plain paper, or you can cut out images from magazines or print images from the internet. If you’re feeling creative, try mixing your own hand-drawn designs with cutouts for a unique look!
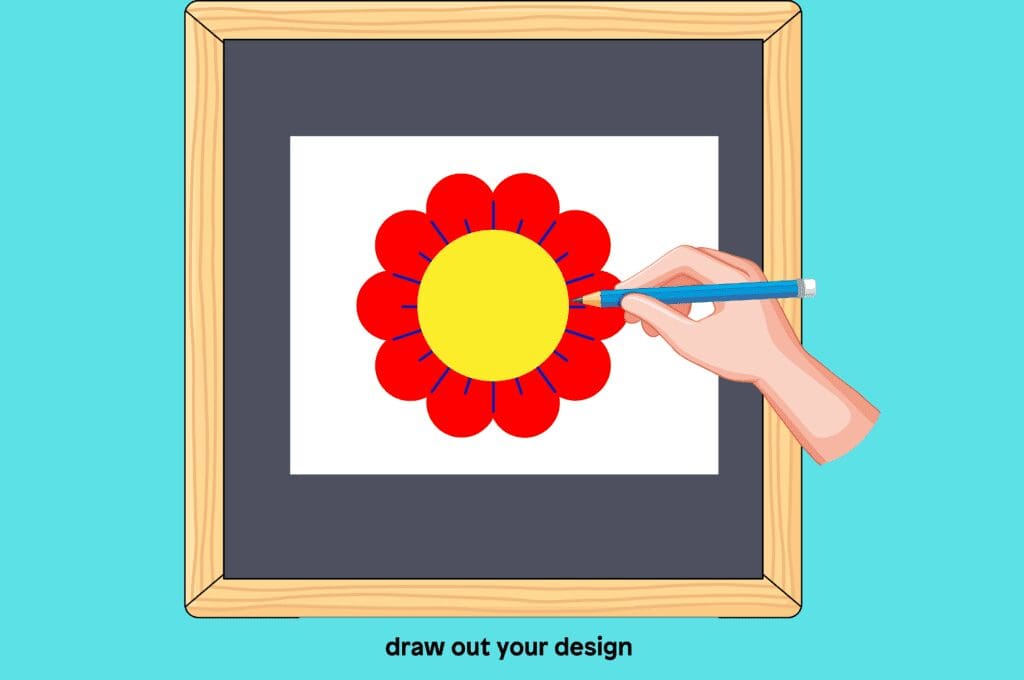
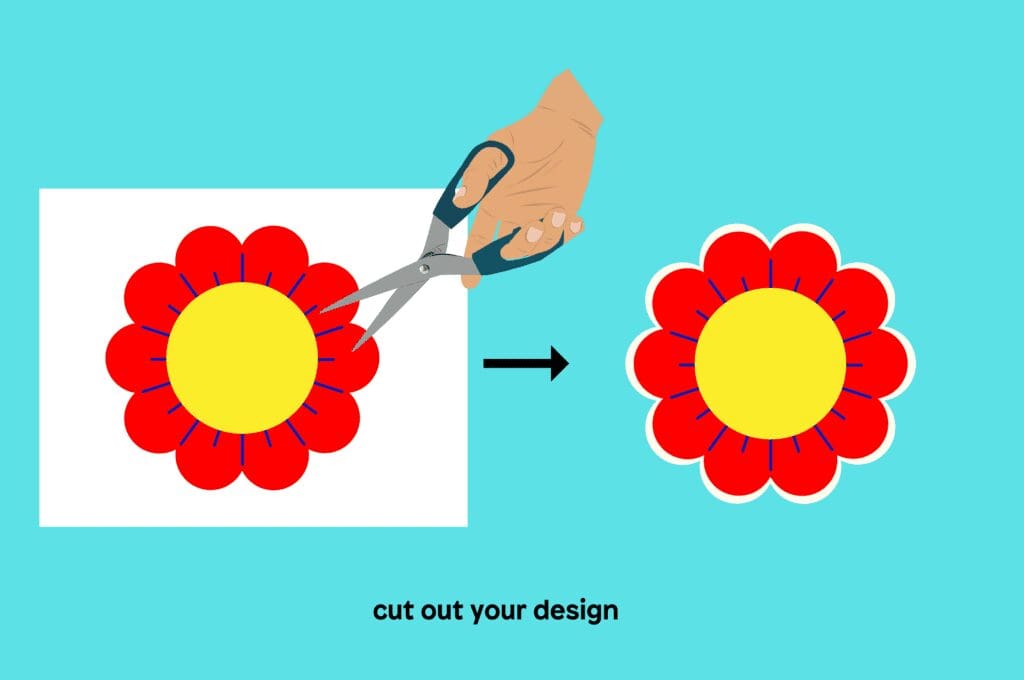
2. Once you’ve drawn or selected your designs, carefully cut them out. Try to cut as close to the edges of your design as possible for a neat finish. You can also leave a small border around the design if you like the look of a white outline.
3. Next, lay a sheet of parchment paper or wax paper on a flat surface. This will be the backing for your stickers. Make sure the sheet is large enough to fit all of your cut-out designs with some space in between each one.
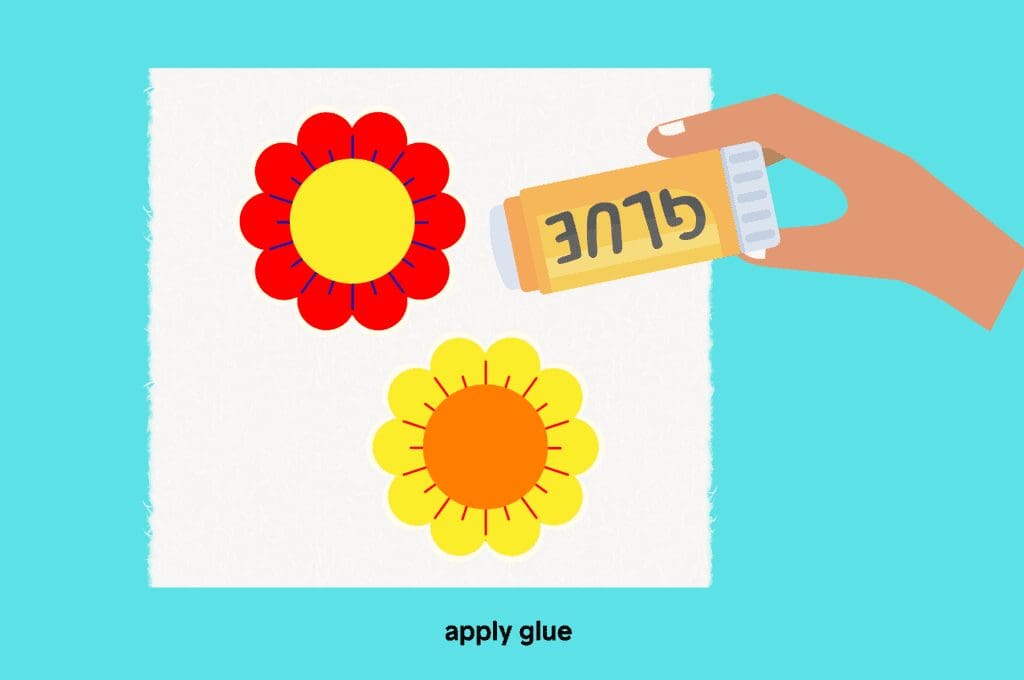
4. Take your glue and apply a thin layer to the back of your design. Stick your designs onto the wax paper or parchment paper, making sure they are secure and not wrinkled. This step will allow your stickers to be peeled off and used later.
5. To give your DIY stickers a smooth, glossy finish, cover each sticker with a piece of clear packing tape. If you’re making homemade stickers with packing tape, this step also helps to laminate the stickers and make them more durable. Press down on the tape firmly to make sure it sticks well to the design and eliminates any air bubbles.
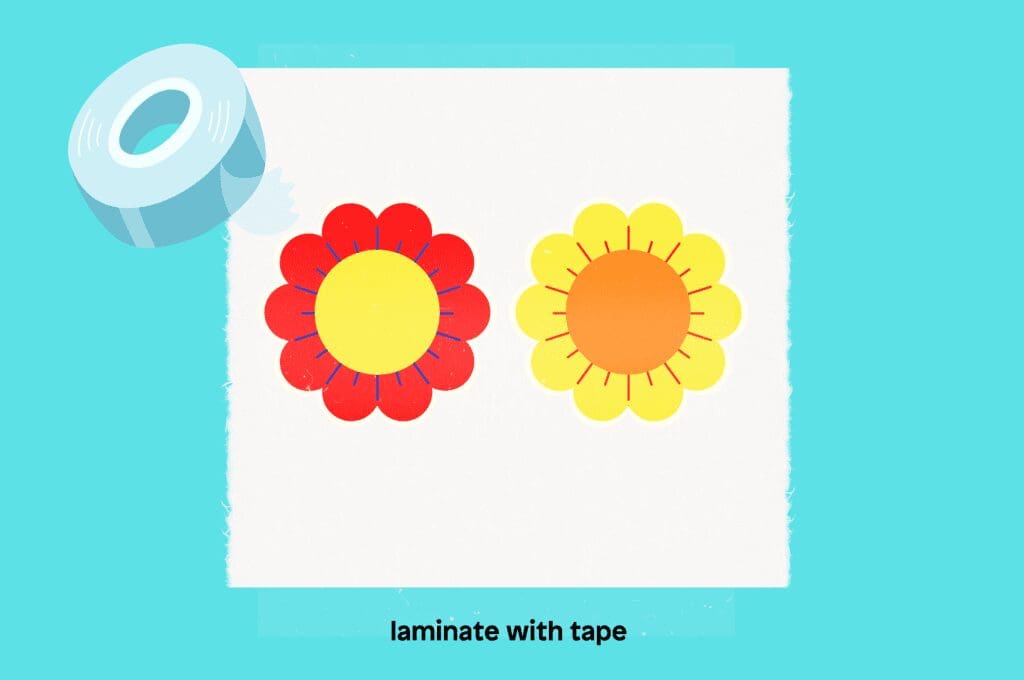
6. Once the packing tape is securely in place, use your scissors to carefully trim around each sticker again. Be sure to cut just outside the edges of your design, leaving a small tape border if desired. This will help keep the sticker sealed and give it a polished look.
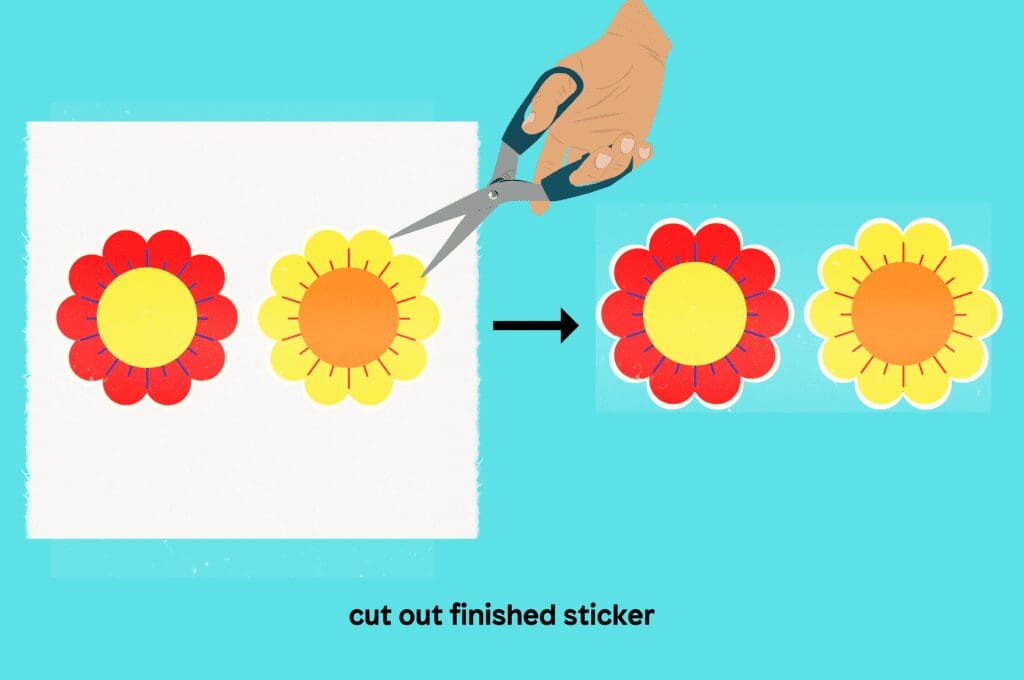
7. Your DIY stickers are now ready to use! When you want to apply them to something, simply peel them off the wax paper backing and stick them wherever you like. You’ve now learned how to make homemade stickers that are perfect for decorating all sorts of surfaces!
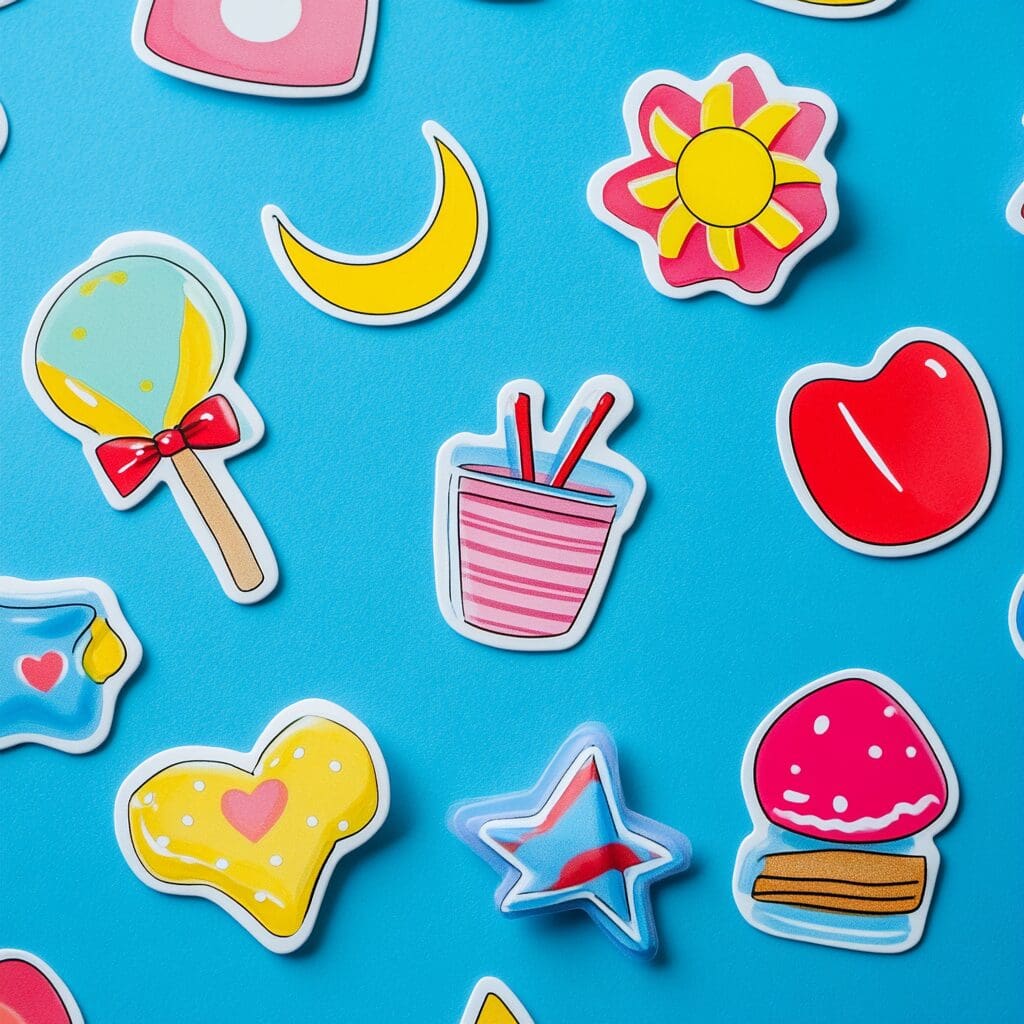
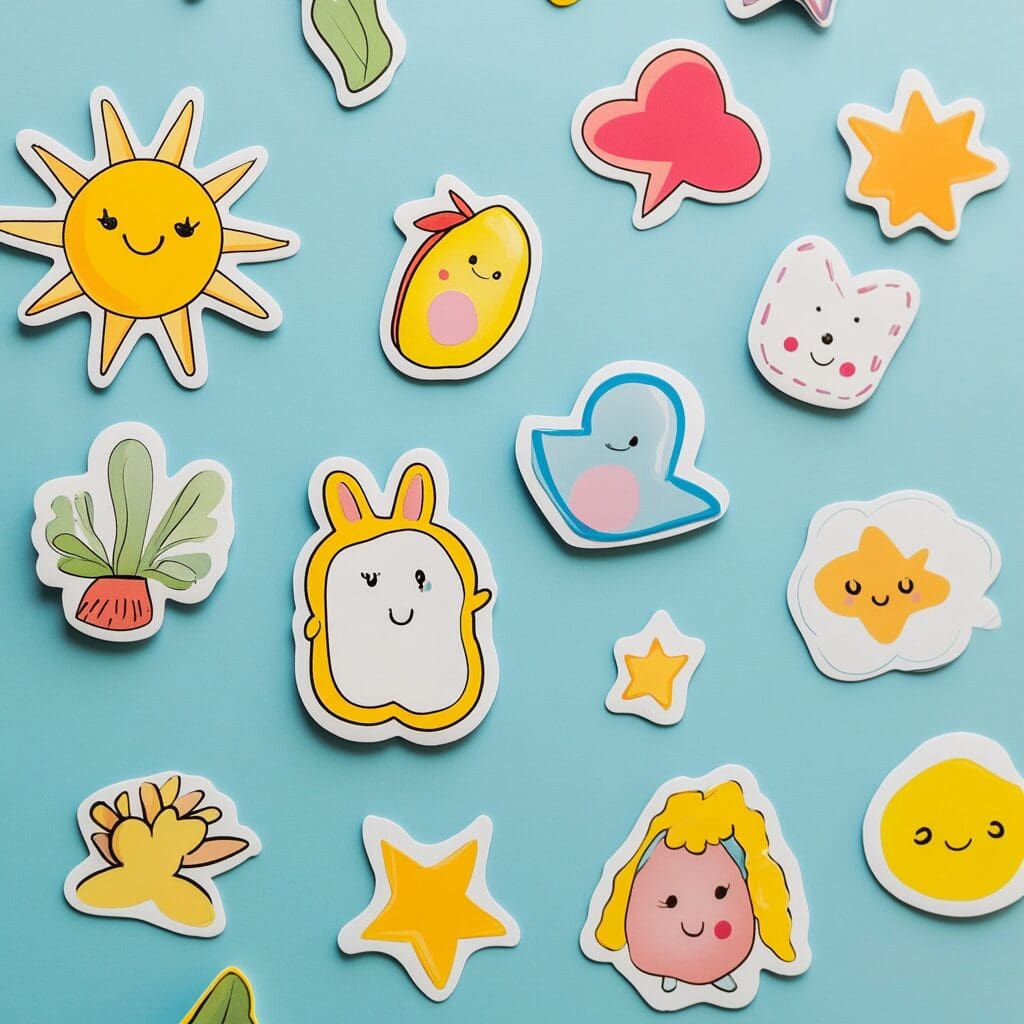
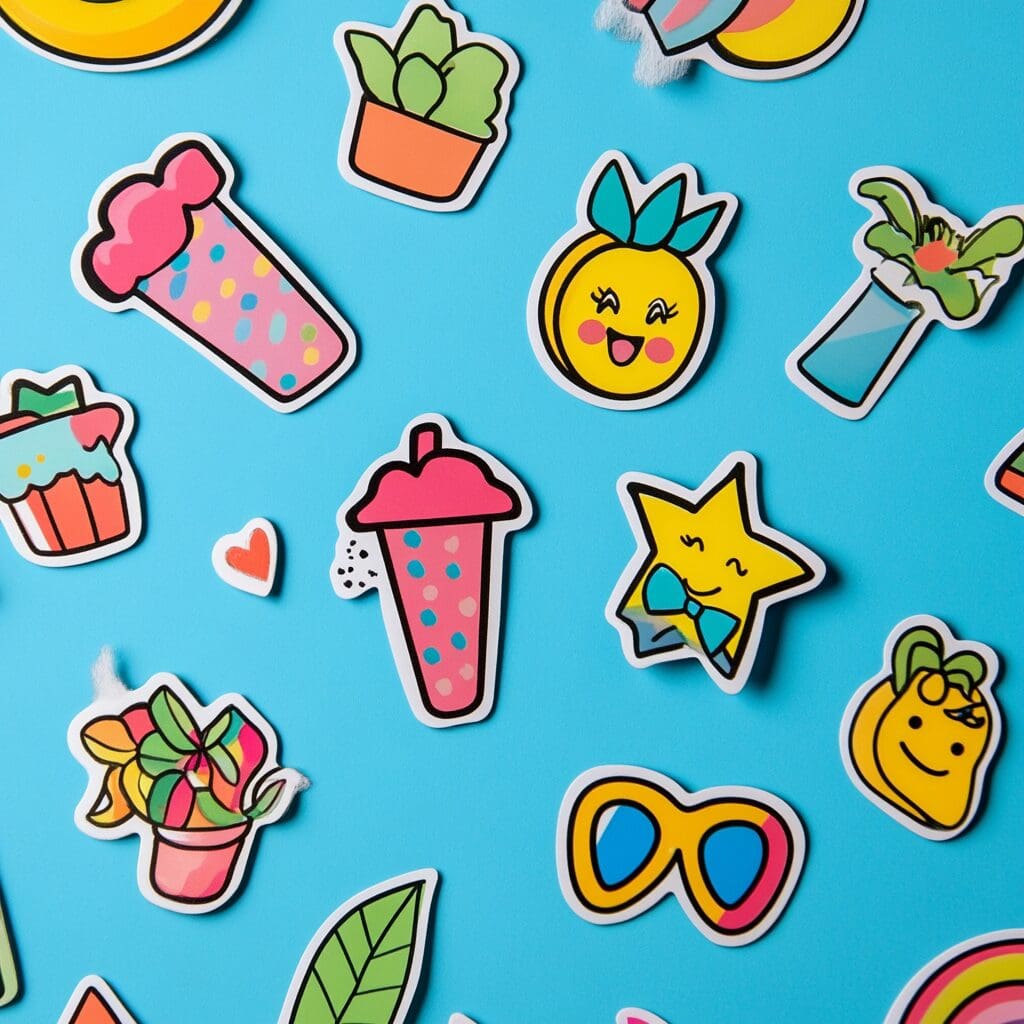
Creating your own DIY stickers is a fun and easy craft that can be enjoyed by kids and adults of all ages. Not only does it provide a creative outlet, but it also gives you the chance to personalize everyday items and gifts. By following these 7 simple steps, you can easily make stickers at home using materials you likely already have. Whether you’re decorating a planner, making labels, or just having fun with a rainy-day craft, these homemade stickers are sure to be a hit.
If you want to explore more fun DIY projects, be sure to check out our other articles on how to press flowers in a frame or how to sew a dress. Get ready to unleash your creativity and keep the crafting fun going all year round!

