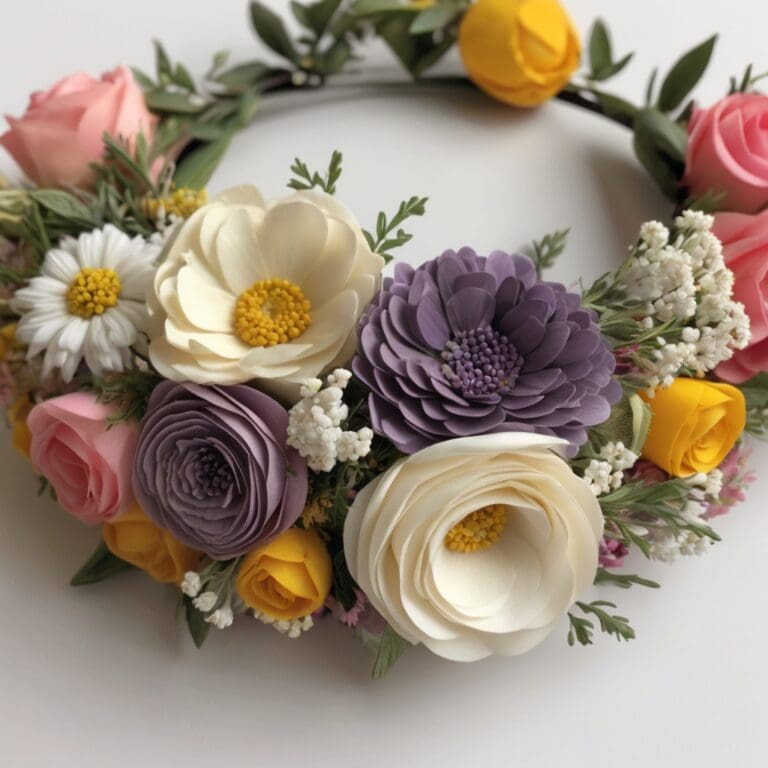
Flower headbands are a beautiful, nature-inspired accessory that you can easily make at home. In this guide, you’ll learn how to make flower headbands from scratch, perfect for special events or just for fun.
If you’ve ever wondered how to make a flower crown, or how to make a flower headband using real flowers, this craft is for you! Flower crowns can be made with a simple daisy chain step or a full, lush arrangement that looks beautiful in any outdoor setting. Each flower crown you make will be one of a kind, and the process is simple and rewarding.
Creating a flower headband is a lovely activity that brings together natural beauty and creative expression. Whether you’re preparing for a special event or just want to make something unique, this guide will show you how to combine flowers, greenery, and a few basic supplies to make a flower headband you’ll love.
Real flowers like roses, lavender, and daisies give the crown a fresh, fragrant touch, adding to the charm of this handmade accessory. Kids and adults alike can enjoy this fun project, and with a few steps, you’ll have a professional-looking flower crown ready to wear.
From the simple process of gathering the blooms to attaching each flower with floral tape, every part of the process is easy to follow. By learning how to make a flower headband with fresh flowers, you’ll not only have a beautiful accessory but also a wonderful memory of creating it.
What You’ll Need
- Fresh flowers (daisies, roses, lavender, or baby’s breath)
- Floral wire
- Green floral tape
- Scissors
- Wire cutters
- Optional: Ribbon for tying the ends
Method
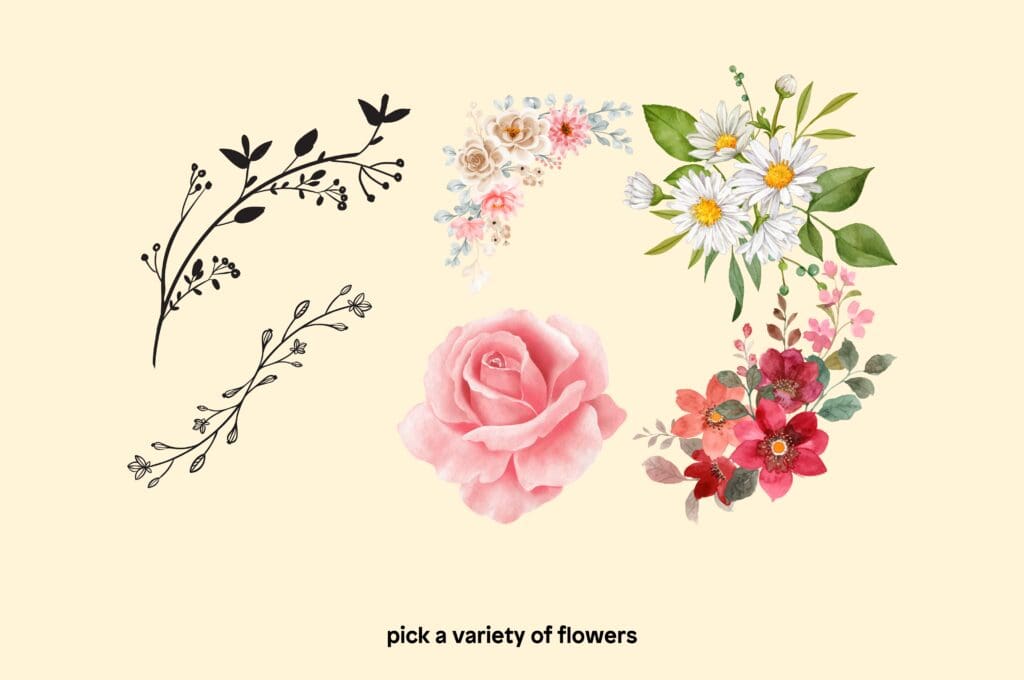
1. Start by selecting fresh flowers for your headband. Daisies, roses, lavender, or baby’s breath are ideal for a long-lasting headband. Pick a variety of colors and sizes for a balanced look.
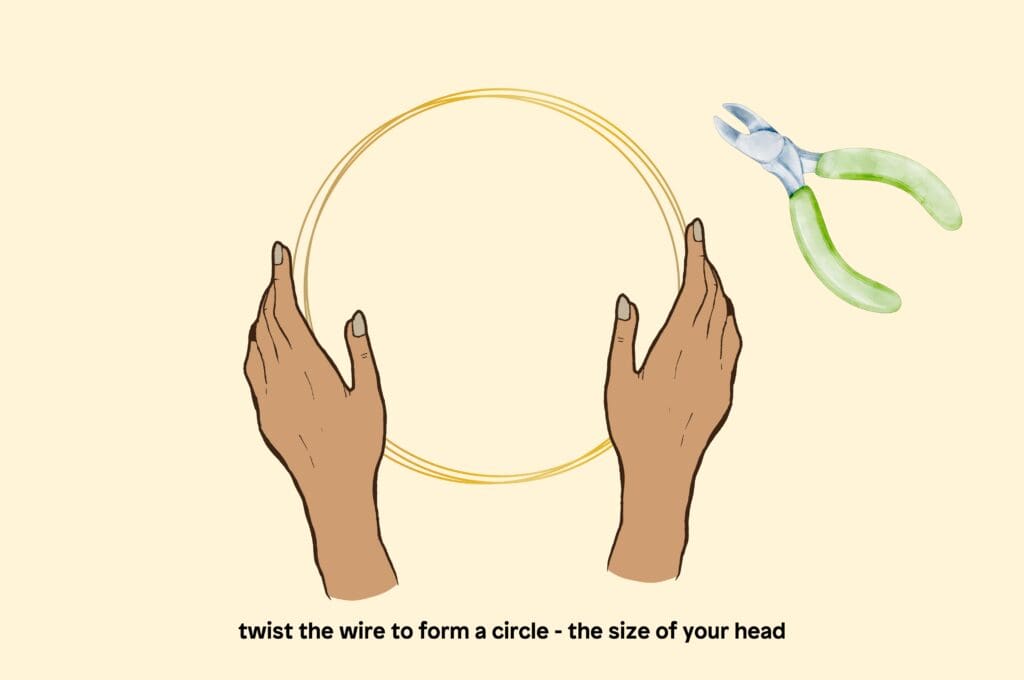
2. Measure the floral wire around your head, then cut it to fit comfortably. Twist the ends together to create a secure circle that will act as the base of your flower crown.
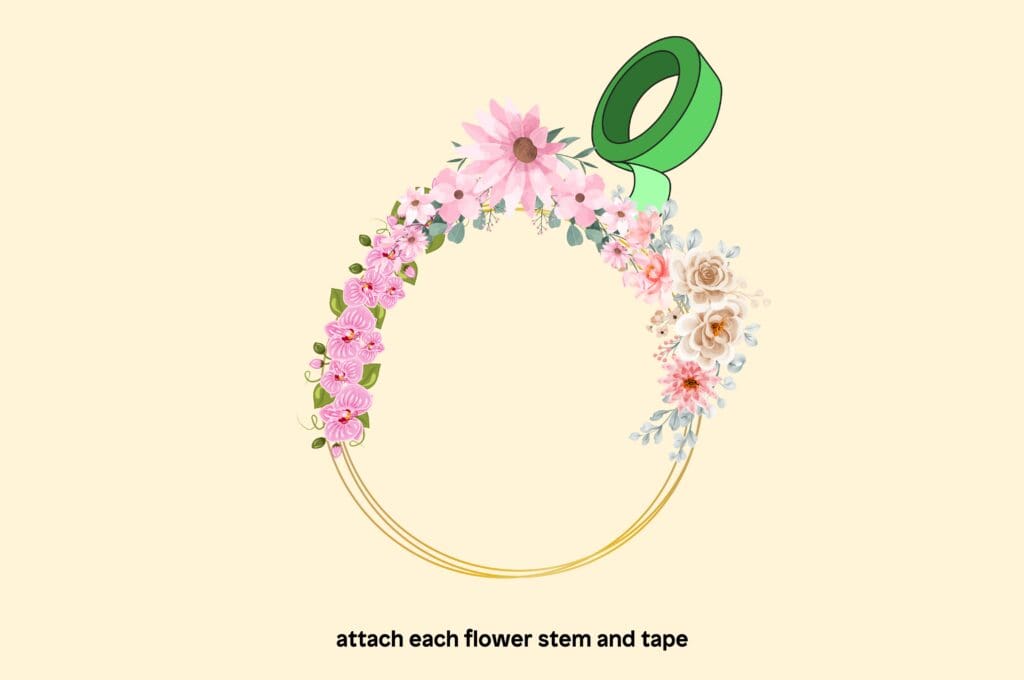
3. Trim each flower’s stem to about 1 inch, making it easier to attach. Place each flower along the wire, securing it with green floral tape by wrapping the tape tightly around the stem and wire.
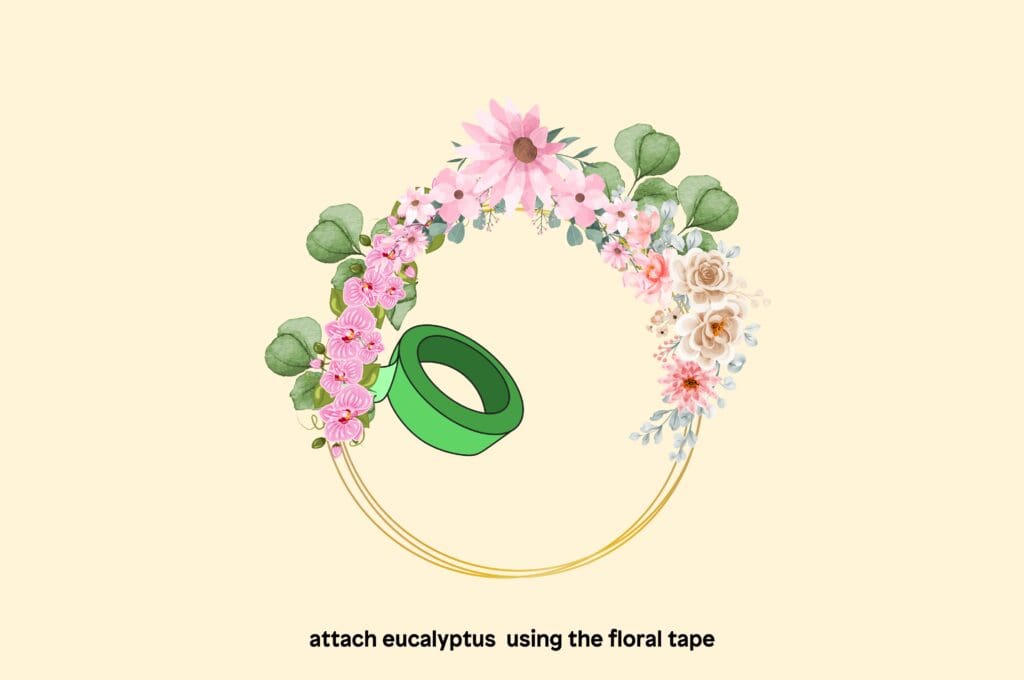
4. Add small pieces of greenery, like eucalyptus or ivy, in between flowers for added texture. Secure them in the same way with floral tape for a fuller look.
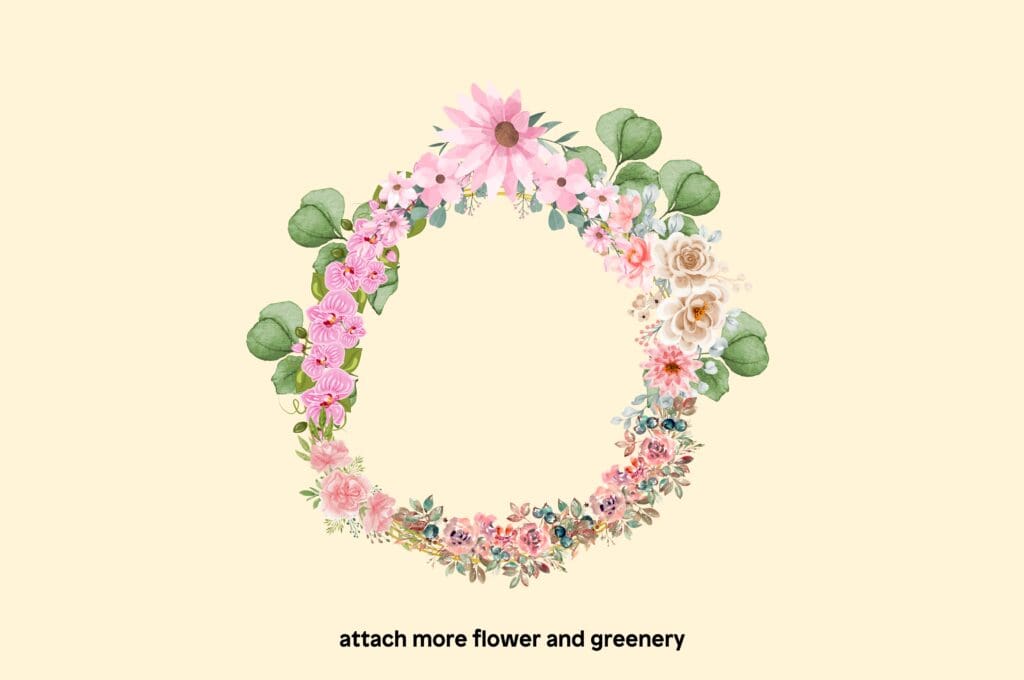
5. Continue attaching flowers and greenery until the wire circle is completely covered. Check that each piece is secure to avoid any shifting.
6. Optionally, tie a ribbon at the back of the headband for a decorative touch and additional support.
7. Place the flower headband on your head, make any final adjustments for comfort, and enjoy your beautiful flower crown!


Creating a flower headband is a delightful way to add a touch of nature to your style, perfect for summer festivals, outdoor events, or just playful days. If you enjoyed making this headband, try out other nature-inspired DIY projects like making a tie-dye shirt, which complements a flower crown beautifully for a relaxed, boho look.
For even more creativity, explore our collection of fashion coloring pages, where you can design new outfits and styles. With these projects, you’ll have a fun mix of handmade accessories and inspiration at your fingertips!
FAQs
Source
https://www.forestandtheflowers.co.uk/blog/the-history-behind-flower-crowns

