Pressing flowers in a frame is a wonderful way to preserve the beauty of nature and create stunning, timeless artwork. This simple craft is perfect for kids and families who want to turn fresh flowers into long-lasting decorations.
Whether you’re gathering flowers from your garden or picking them up from a local shop, learning how to press flowers in a frame is a fun and educational activity that will fill your home with colorful floral art once the pressed flower frames are completed.
Pressing flowers involves flattening and drying them to preserve their shape and color. By placing them in a frame, you can decoratively showcase your floral masterpieces. This craft is not only a great bonding activity, but it also teaches patience, as you’ll have to wait weeks for flowers to dry. Once they are ready, you can display them proudly, making for a lovely piece of home decor or even a thoughtful gift.
In this blog, we will walk you through how to press flowers in a frame using simple materials. Kids will love the process of watching their flowers transform, and the final product is sure to bring joy to anyone who sees it.
What You’ll Need
- Fresh flowers (pick your favorites!)
Method
1. Start by selecting the flowers you want to press. It’s best to pick them on a dry day when they are fresh and full of color. If needed, trim the stems and leaves to fit your frame.

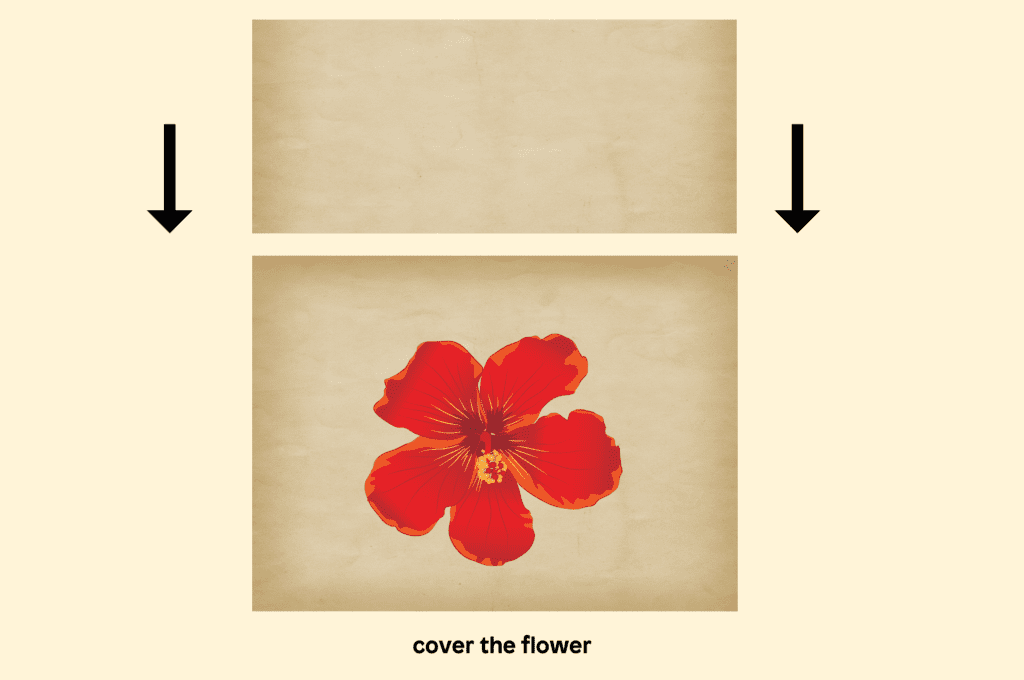
2. Take a piece of parchment paper or newspaper and place your flowers on it. Make sure they’re spread out and not overlapping. Lay another sheet of paper over the flowers to cover them completely.

3. If using books, place the paper with the flowers inside the pages of a heavy book. Add a few more books on top for added pressure. If using a flower press, follow the instructions on how to use it. You’ll need to wait weeks for the flowers to dry and press fully.

4. After waiting about two to three weeks for the flowers to dry, carefully open the book or flower press to check if they are ready. The flowers should be flat, dry, and slightly papery. If they’re not fully dried, give them a few more days.
5. Open your picture frame and remove the glass. You may want to clean the glass with a soft cloth to ensure there are no smudges or dust.
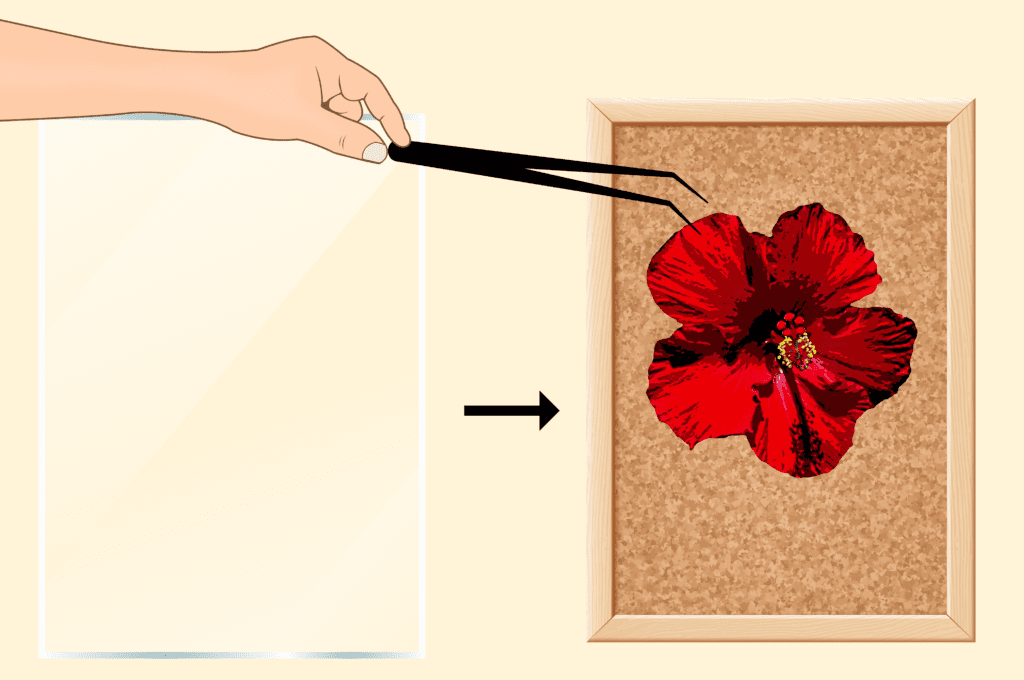
6. Use tweezers to carefully arrange your pressed flowers on the backing of the frame. Once you’re happy with the layout, place the glass back on top to secure the flowers. If needed, use small pieces of clear tape to keep the flowers in place.

7. Close the frame, and your beautiful pressed flowers are ready to be displayed! You can hang it on a wall, set it on a shelf, or even gift it to someone special.

Pressing flowers in a frame is a timeless craft that allows kids and families to enjoy nature’s beauty for years to come. By learning how to press flowers in a frame, you’re not only preserving a piece of nature but also creating unique, personalized artwork that can brighten any space. With just a few simple steps, children can enjoy the process of choosing flowers, pressing them, and displaying their creations proudly.


This craft also encourages patience, as you’ll need to wait weeks for flowers to dry properly. Once the flowers are pressed and framed, you’ll have a one-of-a-kind piece of art that makes for a perfect gift or keepsake. So, gather your supplies, head outdoors to find some beautiful blooms, and start pressing!
If you loved this craft, be sure to check out our other fun projects, like ways to use printable stars for fun crafts and air-dry clay craft ideas. There’s always something new and creative to explore!


