Creating a mug rug is a delightful way to combine craft and functionality. This simple project not only enhances your coffee or tea time but also adds a personal touch to your home. A mug rug is perfect for catching spills and protecting surfaces, making it a practical addition to any kitchen or dining area.
Crafting a mug rug offers a wonderful opportunity for both kids and adults to explore basic sewing techniques. With just a few materials and some creativity, you can make a mug rug that reflects your unique style. Whether you’re a beginner or have some sewing experience, this project is enjoyable and satisfying.
The beauty of a mug rug lies in its versatility. You can customize it with different fabrics, patterns, and embellishments to match your decor or gift it to someone special. This craft also serves as a great way to spend quality time with family, making it a fun and engaging activity for all ages.
What You’ll Need
- Sewing Machine: Optional but recommended for faster stitching
Method
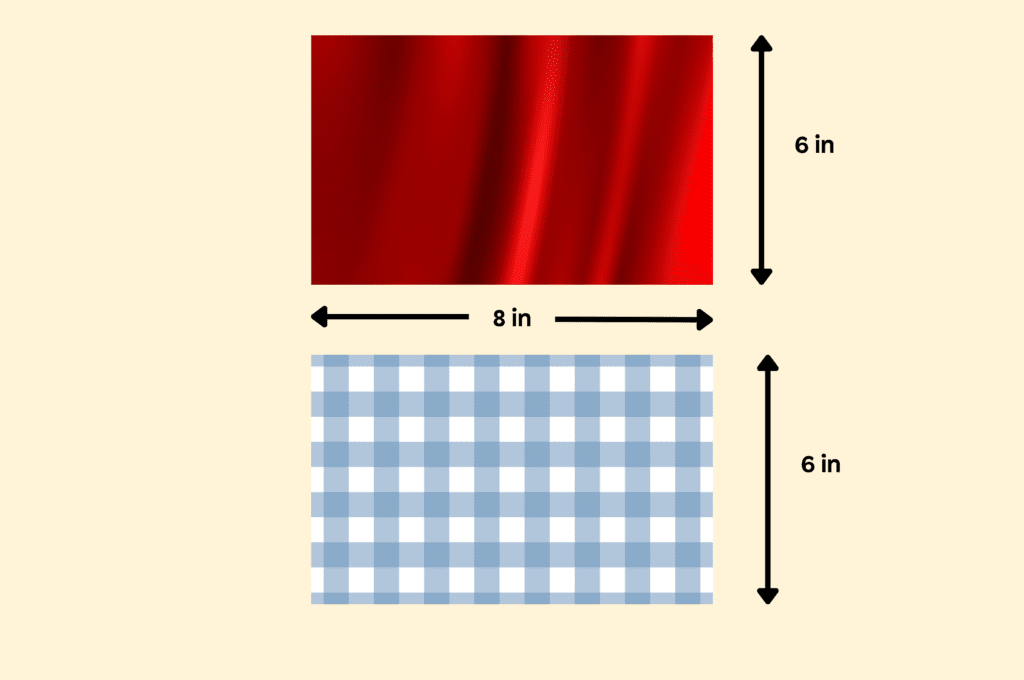
1. Begin by cutting two rectangles of fabric, each measuring 6 x 8 inches (15 x 20 cm). These will be the front and back of your mug rug.
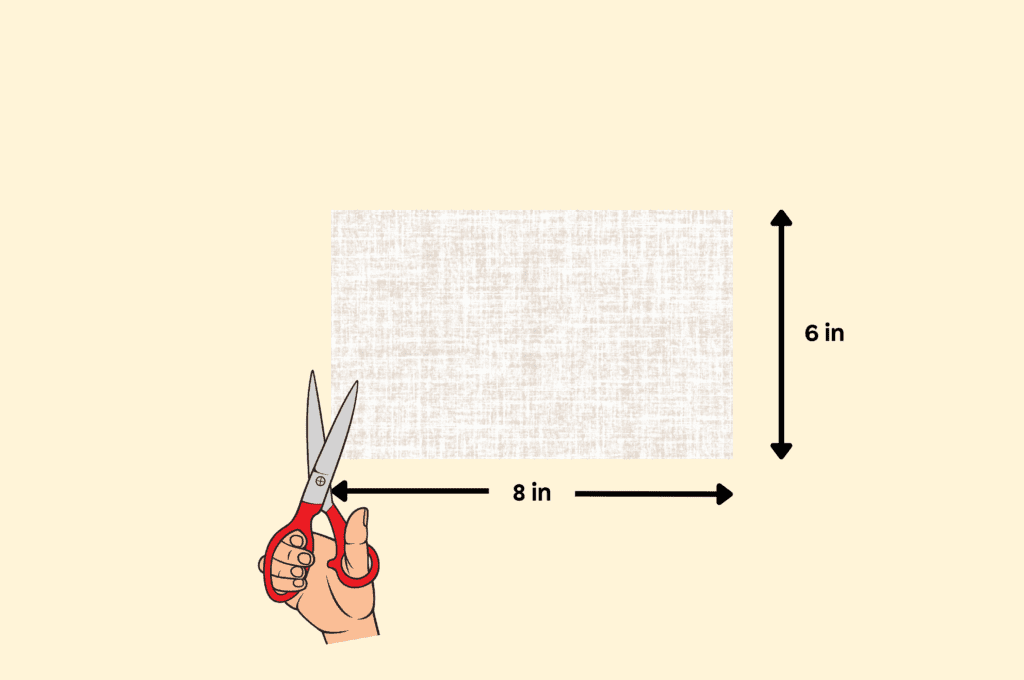
2. Cut a piece of batting to match the size of your fabric rectangles. This adds a layer of cushioning to your mug rug.
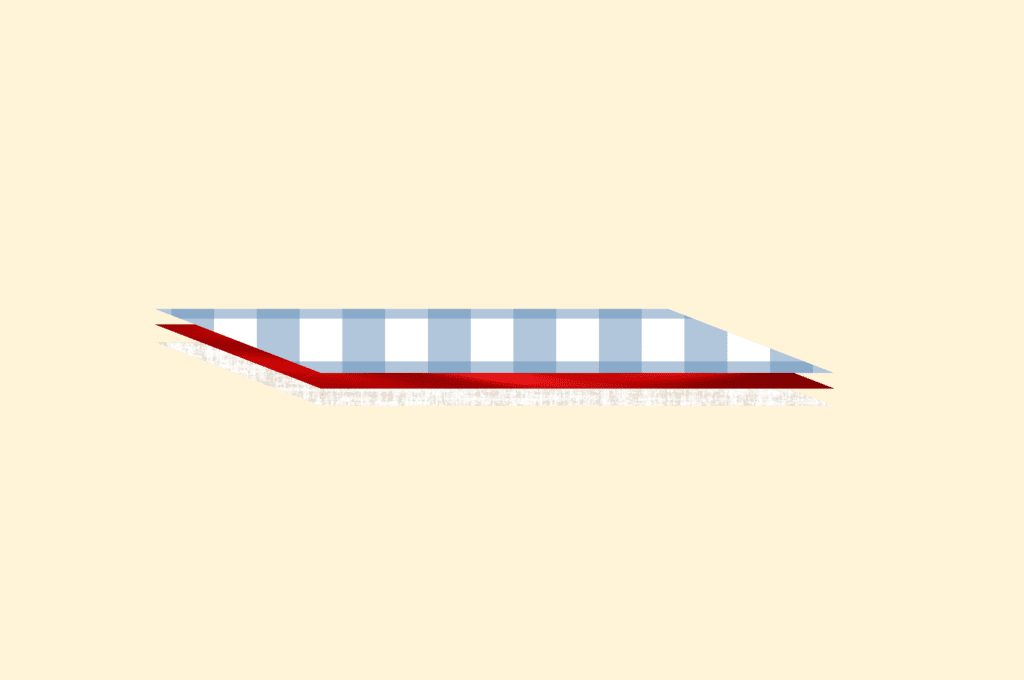
3. Place one fabric piece on top of the batting, and then place the second fabric piece on top of this, right sides facing each other.
4. Pin the layers together around the edges to keep them from shifting while you sew.
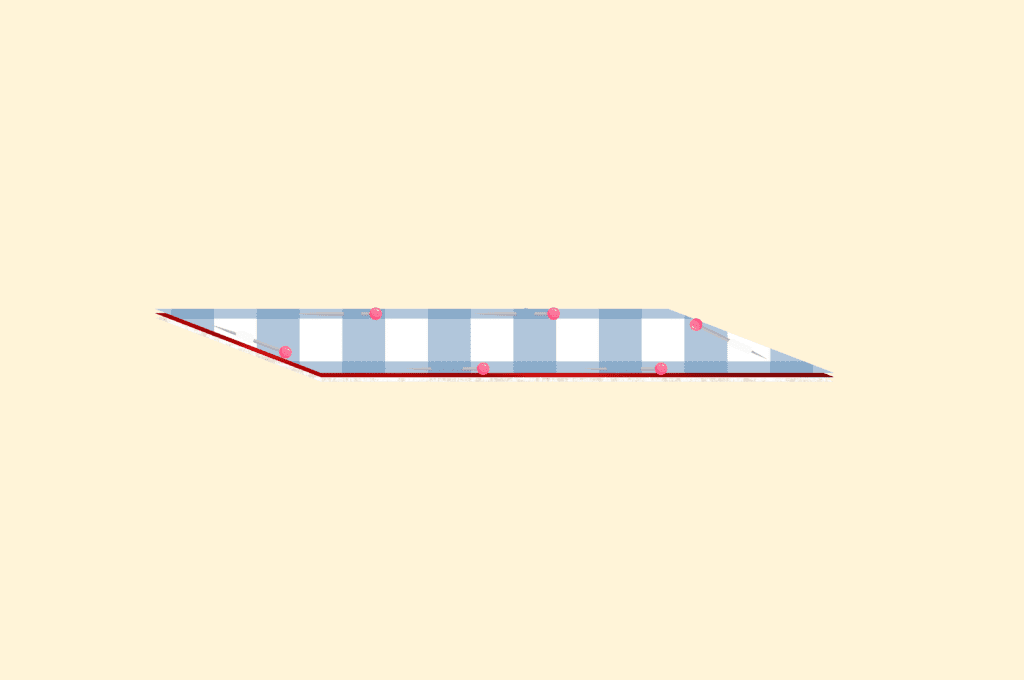
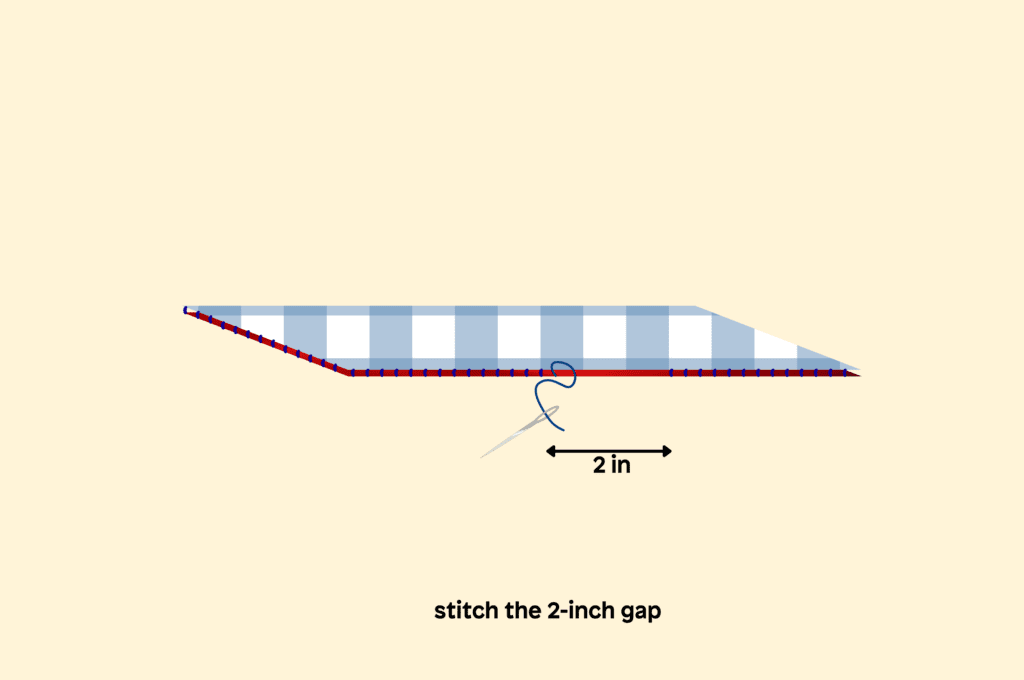
5. Using a sewing machine or needle and thread, sew around the edges, leaving a 1/4-inch (0.6 cm) seam allowance. Remember to leave a 2-inch (5 cm) gap on one side for turning the rug right side out.
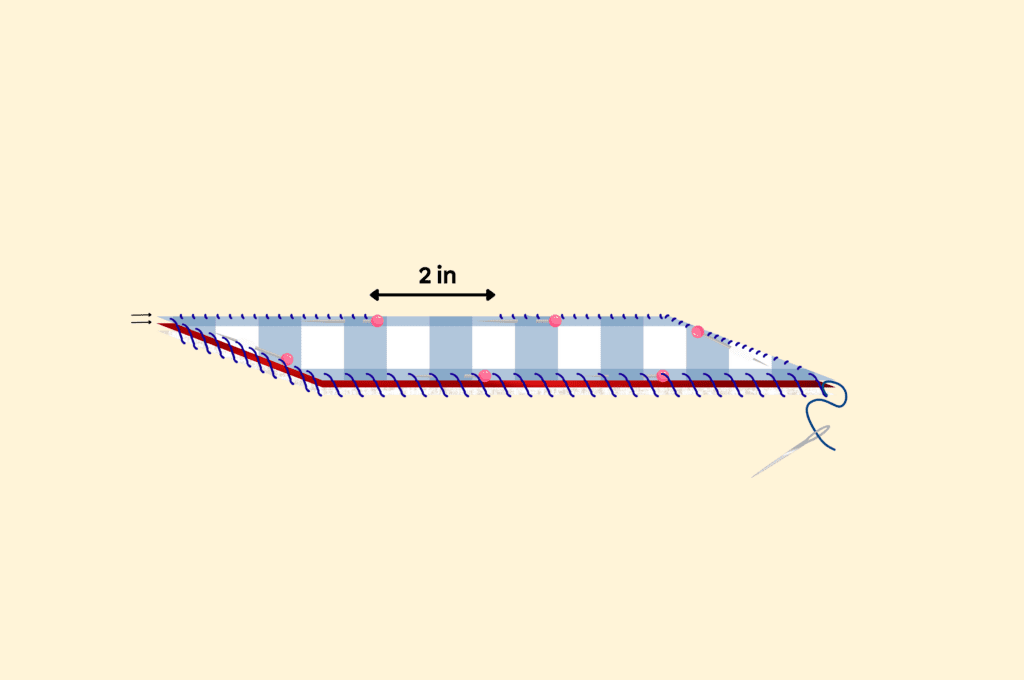
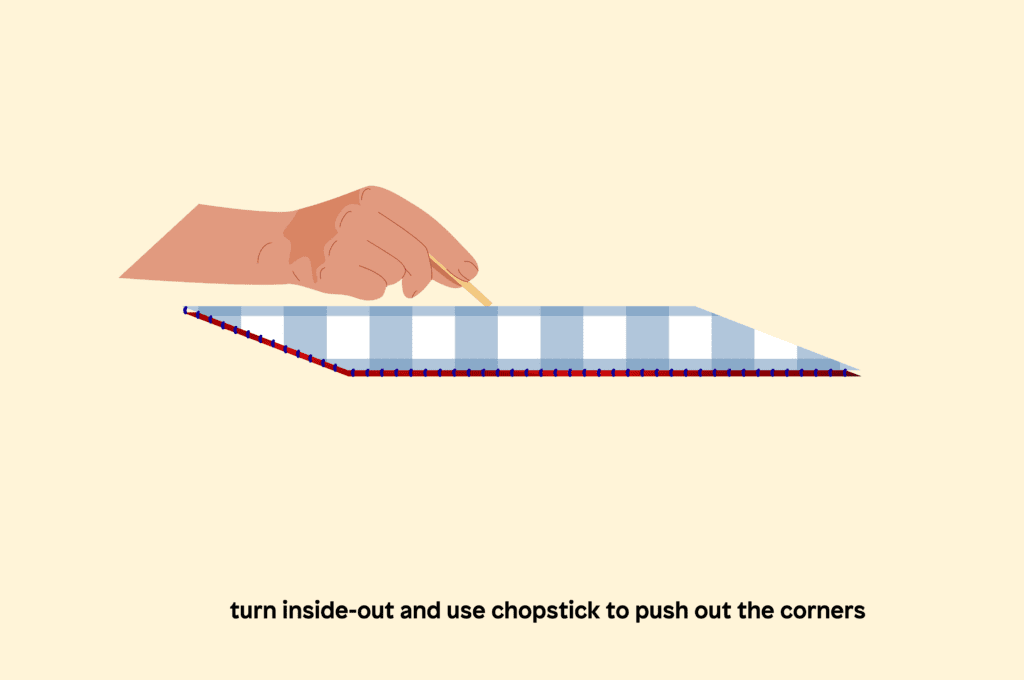
6. Carefully turn the mug rug right side out through the gap you left. Use a pencil or a chopstick to push out the corners so they are sharp and neat.
7. Fold in the raw edges of the gap and stitch it closed by hand or machine.
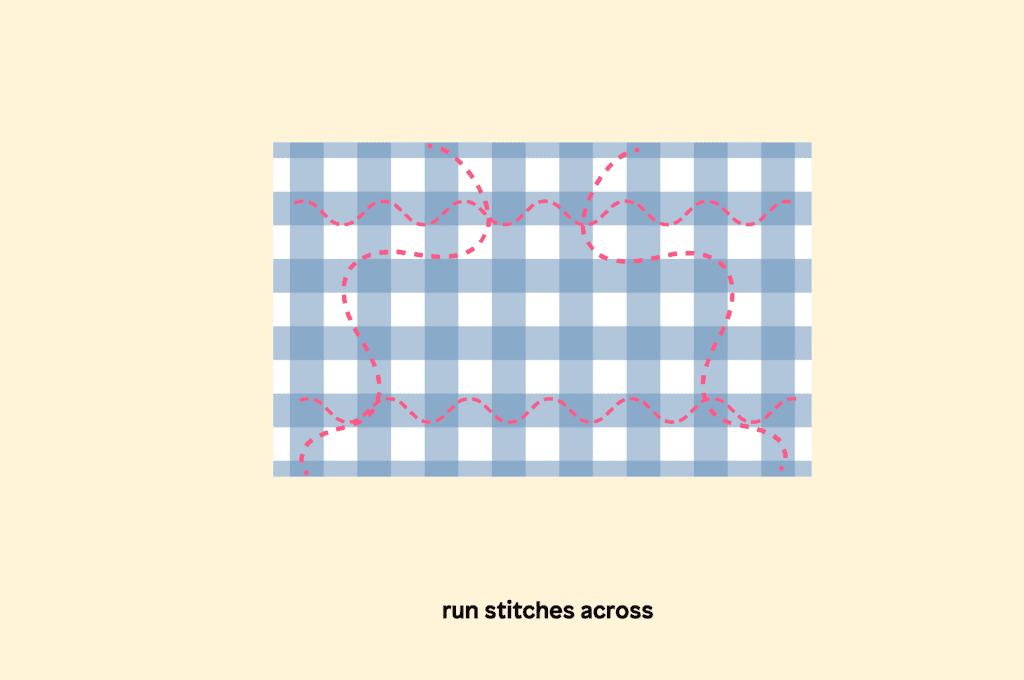
8. To keep all the layers together, sew a few lines of stitching across the rug in a grid pattern or any design you like. This adds a decorative touch and helps prevent shifting.
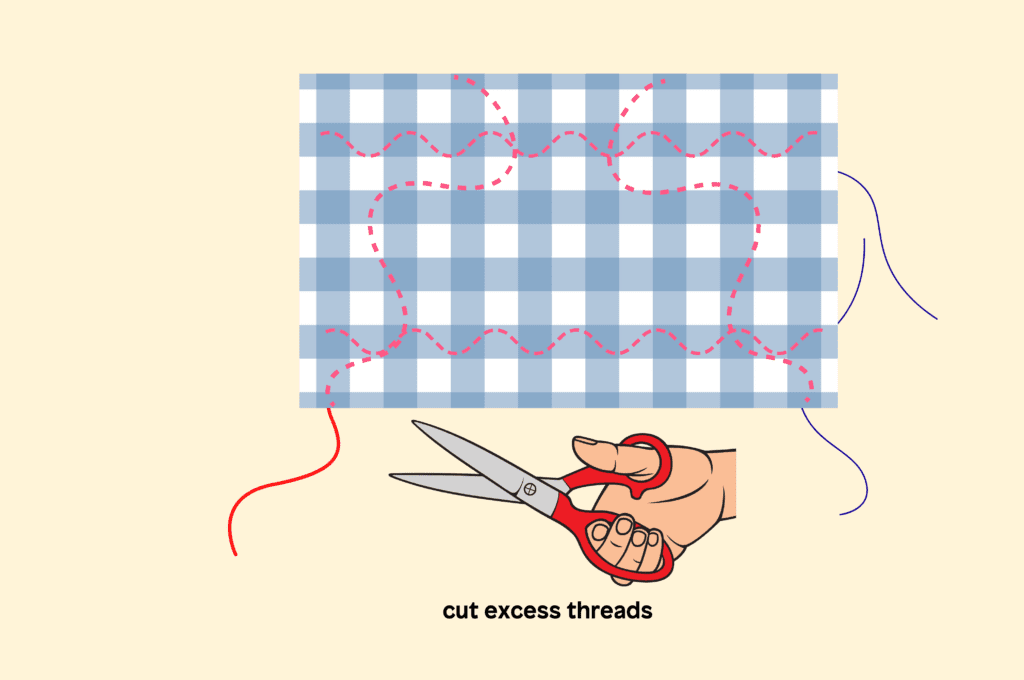
9. Trim any excess threads and give your mug rug a final press with an iron on a low setting to remove any wrinkles.
Creating a mug rug is an enjoyable project that can be customized to suit any style. Whether you’re making one for yourself or as a gift, this easy DIY craft adds a touch of creativity to your everyday moments.
Once you’ve completed your mug rug, you might be interested in exploring more creative activities. Consider adding some boba coloring pages for a fun, themed artistic session, or embark on a new project like building a raft for adventurous play. Both of these activities offer exciting opportunities for creativity and hands-on fun.


